Hop Into Joy: Whimsical Easter Bunny Cake Recipe for Spring
Soft, moist, and utterly charming, this delightful easter bunny cake recipe brings whimsy to your holiday dessert table.
Bakers adore how this sweet creation captures the playful spirit of spring celebrations.
The fluffy layers combine classic vanilla flavors with adorable bunny-shaped design elements.
Each slice promises a magical moment of pure delight for children and adults alike.
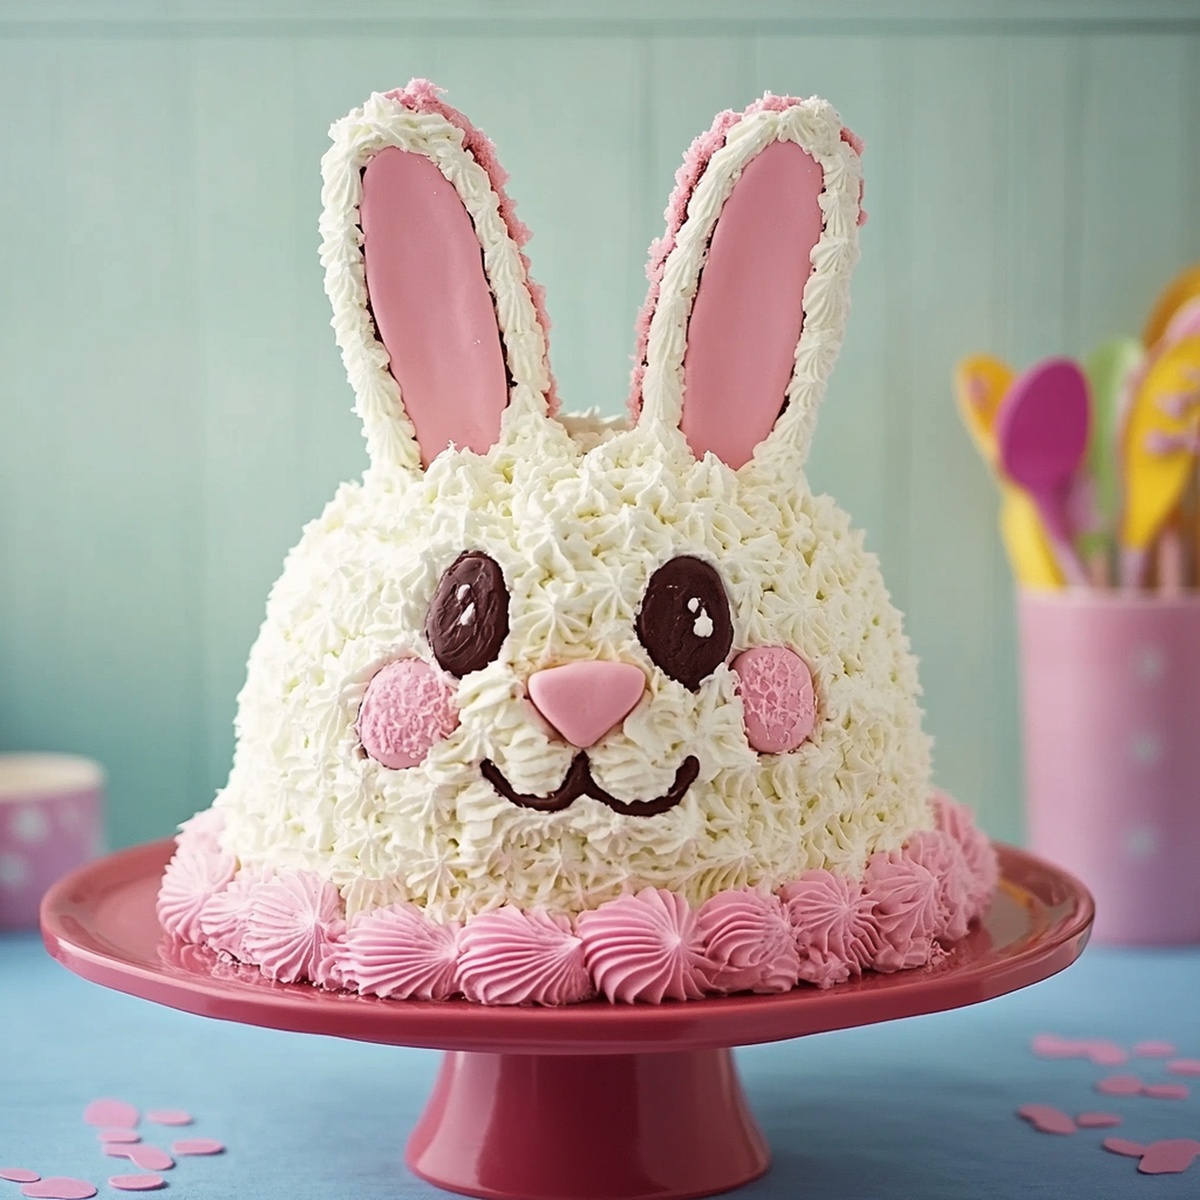
Decorated with pastel frosting and cute details, this cake becomes the centerpiece of any Easter gathering.
Craft a showstopping dessert that will have everyone smiling and reaching for seconds.
Your guests will fall in love with this irresistible bunny-themed treat that’s as delicious as it is cute.
Quick Recipe Overview
What You’ll Use In Easter Bunny Cake
For Cake Base:For Frosting and Covering:For Decorative Details:Kitchen Tools For Easter Bunny Cake
Easy Guide For Easter Bunny Cake
Whip up your cake batter and pour it into two round pans. Bake until golden and a toothpick comes out clean. Let the cakes cool completely on a wire rack.
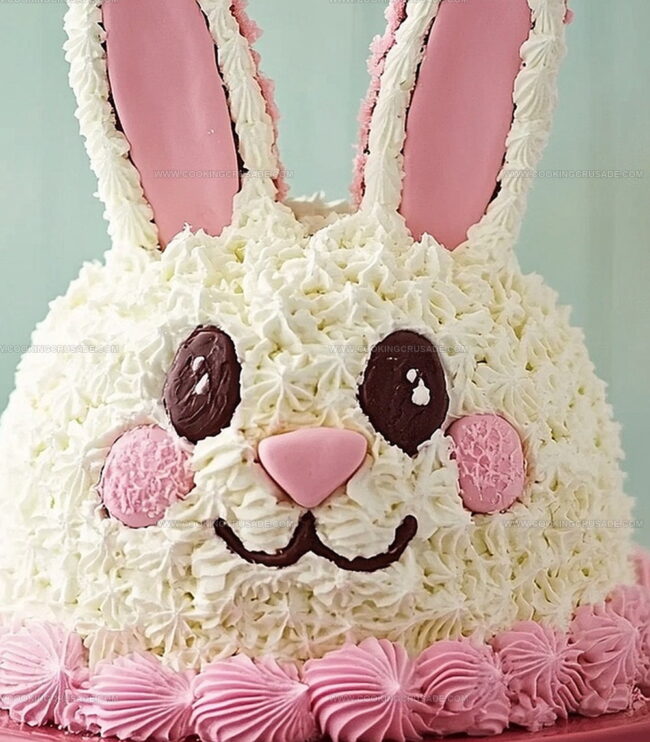
Transform your cake into a playful bunny by cutting one cake into adorable ears and a charming bow tie. Position the main cake layer as the head, then carefully place the ears and bow tie in their perfect spots.
Cover the entire cake with a smooth layer of creamy frosting. Start with a light crumb coat, then add a generous final layer that makes your bunny look fluffy and delightful.
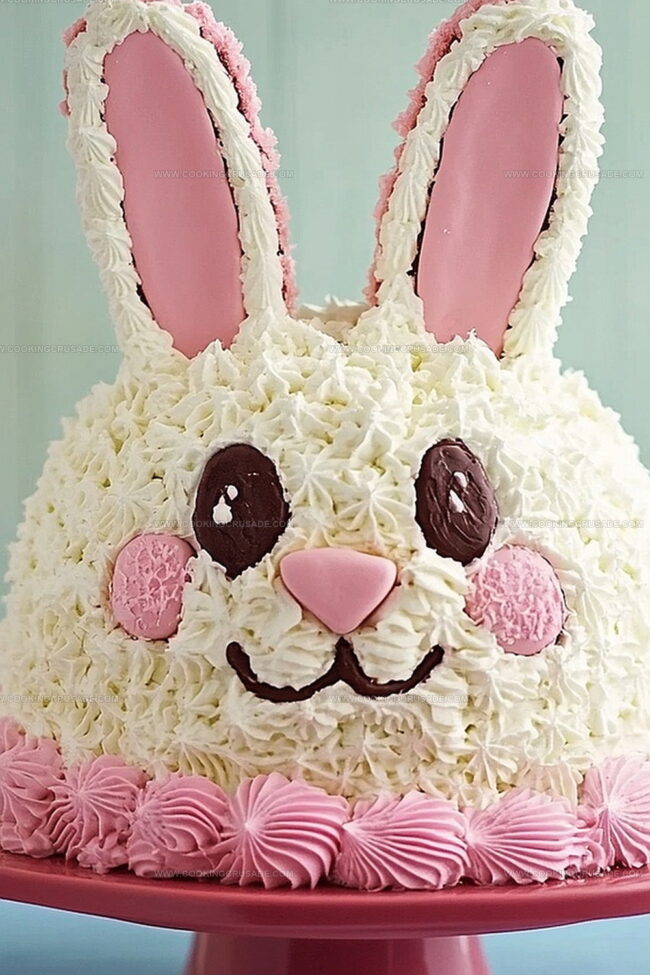
Sprinkle shredded coconut all over to create a soft, furry texture. Bring your bunny to life with candy eyes, a cute button nose, and licorice whiskers. Add a touch of pink to the ears to make them pop. Optional: Scatter green coconut around the base to create a whimsical grassy scene.
Ideas To Change Up Easter Bunny Cake
How To Serve Easter Bunny Cake Sweetly
Store Easter Bunny Cake The Smart Way
Print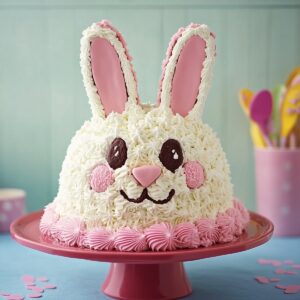
Adorable Easter Bunny Cake Recipe
- Total Time: 1 hour
- Yield: 13 1x
Description
Delightful Easter Bunny Cake merges playful design with classic vanilla sponge layers. Marshmallow frosting and cute decorative details make this festive dessert perfect for spring celebrations.
Ingredients
- 1 box (15.25 oz / 432 g) white or vanilla cake mix
- 3 large eggs
- 1 cup (240 ml) water
- ½ cup (120 ml) vegetable oil
- 2 cups (16 oz / 454 g) vanilla frosting
- 1 ½ cups (120 g) sweetened shredded coconut
- Jelly beans
- Candy-coated chocolates
- Red licorice strings
- Pink construction paper or pink sprinkles
- Optional: Green-tinted coconut or green sprinkles
Instructions
- Preparation: Grease and flour two 8-inch circular baking pans. Mix cake ingredients according to package instructions, ensuring smooth blending of all components. Evenly distribute batter between prepared pans.
- Baking: Position pans in a preheated 350F (175C) oven. Bake for 25-30 minutes, checking doneness with a toothpick. Rest cakes in pans for 10 minutes, then transfer to a cooling rack.
- Cake Sculpting: Position first cake layer on a serving platter. Strategically cut second cake to form bunny ears and bow tie. Carefully carve two curved ear sections from cake edges, reserving central portion for the bow tie.
- Frosting Application: Apply an initial thin crumb coat to seal cake surface. Briefly refrigerate to set. Spread a generous, uniform frosting layer completely covering the cake.
- Decorative Detailing: Sprinkle shredded coconut to create a furry texture. Use jelly beans or candy-coated chocolates for eyes and nose. Craft whiskers and mouth with red licorice strands.
- Final Embellishments: Accent ear regions with pink-tinted coconut or sprinkles. Optional: Add green-tinted coconut around cake base to simulate a landscape. Carefully arrange decorative elements to capture the bunny’s playful essence.
Notes
- Prevent Cake Sticking: Thoroughly grease and flour cake pans, ensuring complete coverage to guarantee easy cake removal without breaking.
- Batter Consistency Matters: Mix cake ingredients gently but thoroughly, avoiding overmixing which can create tough, dense cake texture. Smooth batter ensures even baking and soft crumb.
- Precision in Cake Cutting: Use a sharp serrated knife for clean, precise cuts when shaping bunny ears and bow tie. Slightly freeze cake for 15 minutes before cutting to minimize crumbling.
- Frosting Technique: Apply a thin crumb coat first and refrigerate briefly to create a smooth base. This prevents loose cake particles from mixing into final frosting layer, resulting in a cleaner, more professional appearance.
- Prep Time: 30 minutes
- Cook Time: 30 minutes
- Category: Desserts
- Method: Baking
- Cuisine: American
Nutrition
- Serving Size: 13
- Calories: 300
- Sugar: 30 g
- Sodium: 200 mg
- Fat: 12 g
- Saturated Fat: 2 g
- Unsaturated Fat: 8 g
- Trans Fat: 0 g
- Carbohydrates: 45 g
- Fiber: 1 g
- Protein: 3 g
- Cholesterol: 40 mg
Olivia Bennett
Co-Founder & Content Creator
Expertise
Nutritional Analysis, Dietary Accommodations, Food Writing and Blogging,
Education
University of Texas at Austin
Institute of Culinary Education, New York, NY
Olivia Bennett is Cooking Crusade’s go-to expert for nutritious, feel-good food. Based in Austin, she blends her degree in Nutrition from the University of Texas with plant-based culinary training from the Institute of Culinary Education.
Olivia’s recipes are all about balance: vibrant, wholesome, and easy-to-love dishes that work for all kinds of eaters. Her mission is simple: to make healthy eating approachable and genuinely tasty, with tips that support your lifestyle, not complicate it.