Adorable Mini Easter Cakes Recipe: Tiny Treats for Springtime
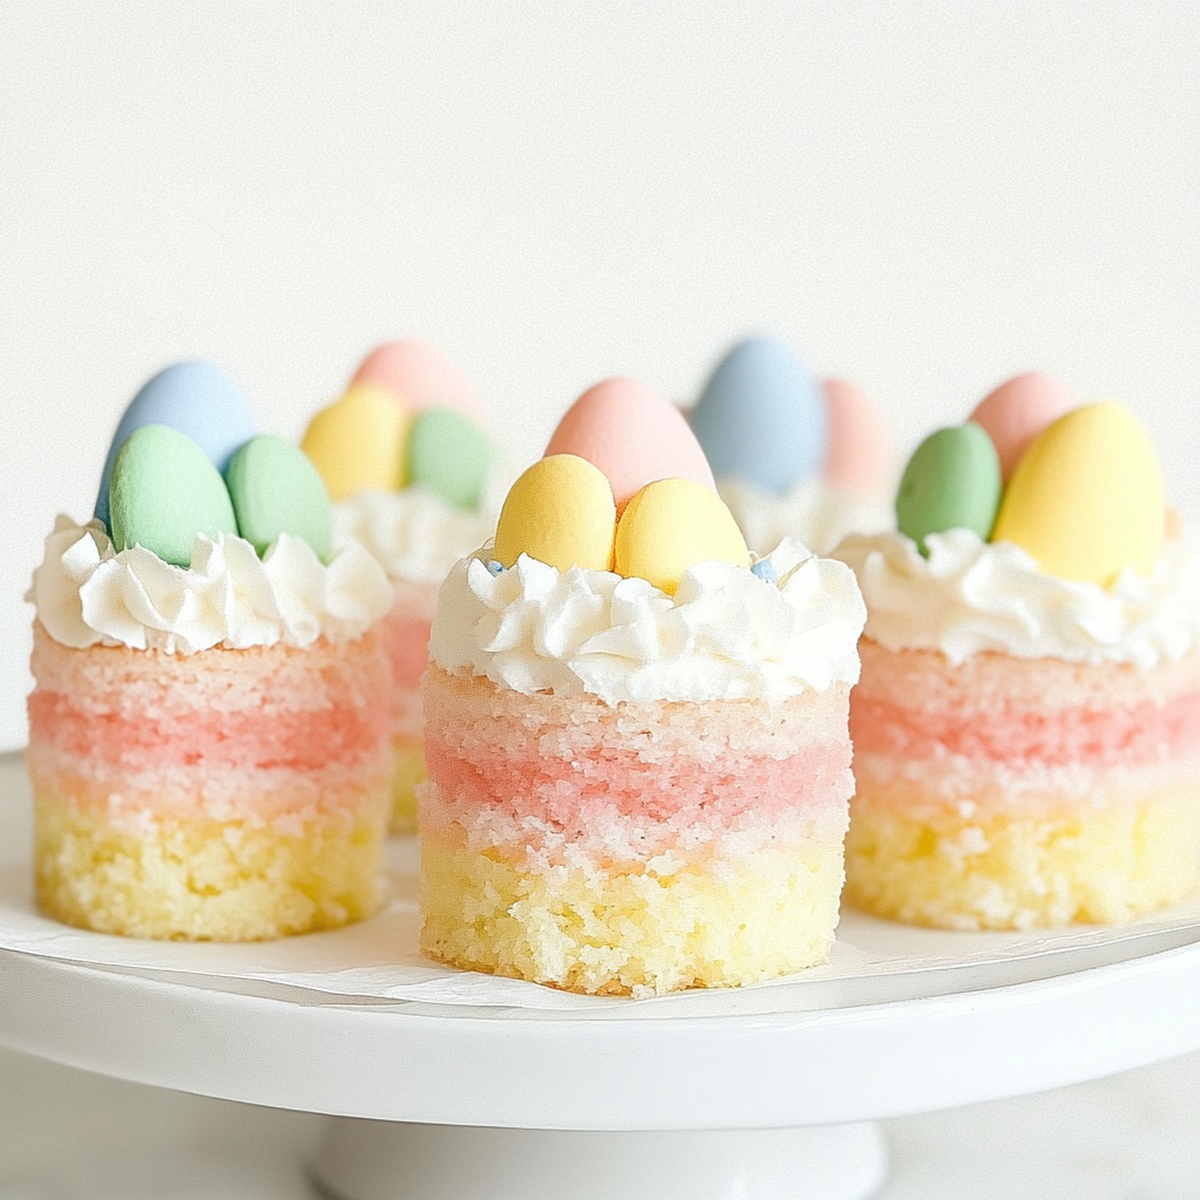
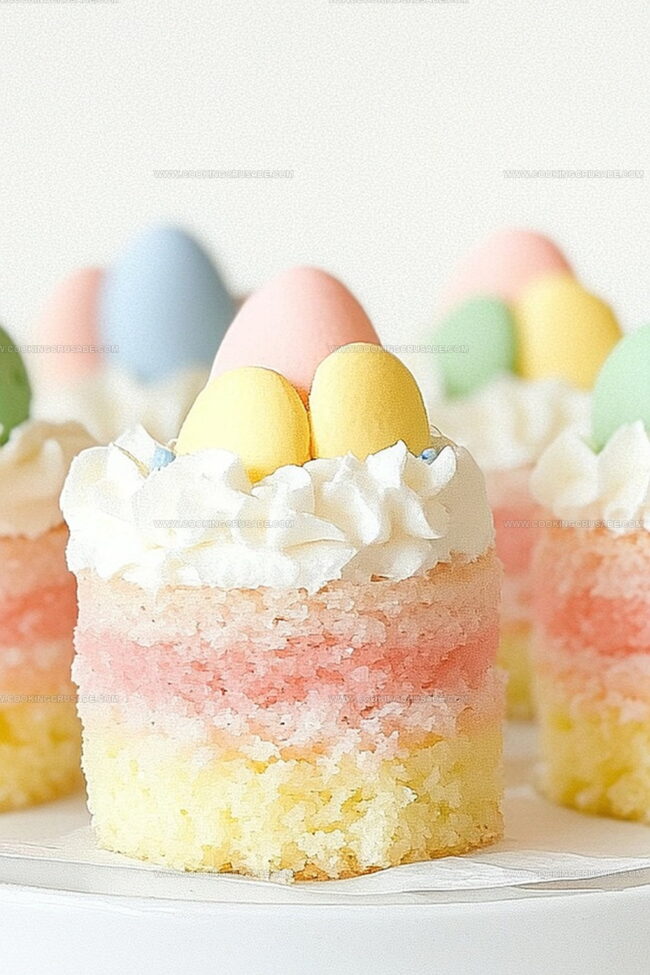
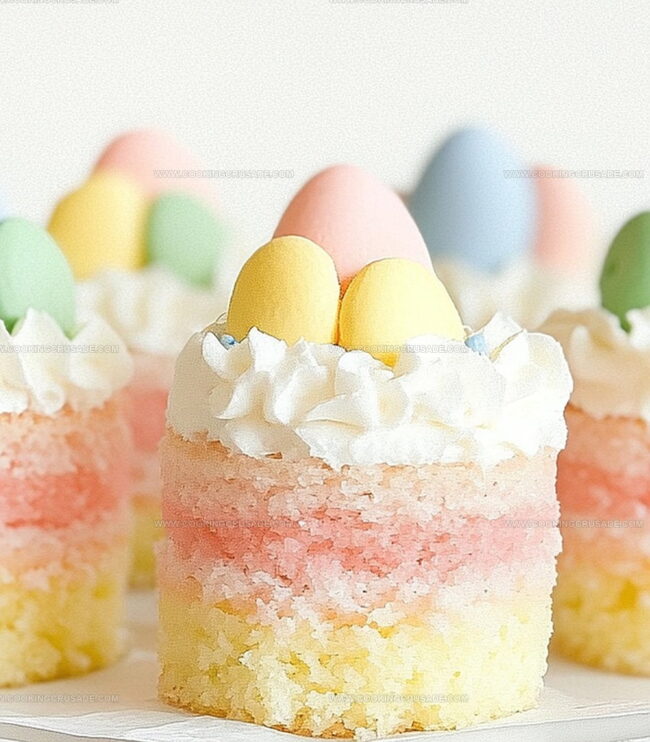
Sweet and delightful mini easter cakes bring a touch of whimsy to your holiday dessert table.
Pastel-colored frostings and delicate decorations make these tiny treats irresistible.
Bakers love creating these petite confections that pack a serious flavor punch.
Each mini cake bursts with springtime charm and celebrates the season’s festive spirit.
Decorated with light, fluffy buttercream and adorned with pastel sprinkles, these miniature delights are sure to charm guests of all ages.
The small size makes them perfect for Easter gatherings and easy to share.
You’ll want to whip up a batch of these adorable mini easter cakes and watch smiles bloom around the table.
Quick Recipe Overview
What You Need For Mini Easter Cakes
For Cake Base:For Liquid Ingredients:For Decoration and Finishing:Baking Tools For Mini Easter Cakes
How To Make Mini Easter Cakes At Home
Crank your oven to a toasty 350F. Grab a mini cake pan and give it a quick spray of cooking oil. In one bowl, blend flour, baking powder, and a pinch of salt. In another bowl, cream butter and sugar until they transform into a fluffy cloud. Drop in eggs one by one, stirring after each. Mix in vanilla for extra flavor. Slowly fold in flour and milk, creating a silky smooth batter. Want pastel magic? Divide the batter and swirl in some food coloring.
Scoop the batter into cake molds, filling each about three-quarters full. Slide the pan into the oven and bake for 12-15 minutes. Check doneness with a toothpick – it should come out clean. Let the cakes rest in the pan for a few minutes, then transfer to a cooling rack.
Whisk powdered sugar, milk, and vanilla until you’ve got a glossy mixture. Feeling creative? Split the glaze into separate bowls and tint with soft pastel colors.
Drizzle or spread the colorful glaze over your cooled cakes. Sprinkle with festive Easter decorations like mini chocolate eggs or a dusting of coconut for that perfect finishing touch.
Tips To Decorate Mini Easter Cakes
How To Serve Mini Easter Cakes Sweetly
Keep Mini Easter Cakes Soft And Fresh
Print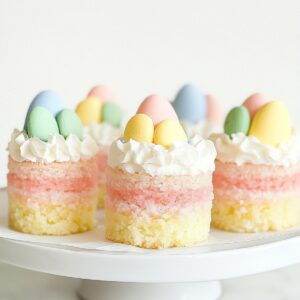
Adorable Mini Easter Cakes Recipe
- Total Time: 30 minutes
- Yield: 13 1x
Description
Sweet mini Easter cakes bring delightful springtime charm to holiday dessert tables. Pastel-frosted miniature treats showcase festive elegance with delicate decorations that charm guests.
Ingredients
- 1 ½ cups (360 ml) all-purpose flour
- ½ cup (120 ml) unsalted butter, softened
- ¾ cup (150 g) granulated sugar
- 2 large eggs
- ½ cup (120 ml) whole milk
- 1 ½ tsps baking powder
- ½ tsp salt
- 1 tsp vanilla extract
- Gel food coloring (optional for pastel-colored cakes)
- 1 ½ cups (180 g) powdered sugar
- 2–3 tbsps milk or heavy cream
- ½ tsp vanilla or almond extract
- Gel food coloring (pastel pink, yellow, blue, green)
- Easter sprinkles
- Mini chocolate eggs or jellybeans
- Shredded coconut (optional, for a grass effect)
Instructions
- Mixture Preparation: Blend flour, baking powder, and salt thoroughly in a mixing bowl, ensuring no lumps develop.
- Butter Transformation: Cream butter and sugar until achieving a light, pale, and fluffy consistency that appears almost cloud-like.
- Batter Development: Gently fold eggs into the butter mixture one at a time, incorporating vanilla extract to elevate the aromatic profile. Alternate adding dry ingredients and milk, stirring until a silky, uniform batter forms without overmixing.
- Color Infusion: If desired, divide batter into separate bowls and delicately introduce gel food coloring to create soft, muted pastel hues.
- Oven Readiness: Preheat oven to 350F (175C) and prepare mini cake or cupcake pan with a light grease coating to prevent sticking.
- Baking Process: Distribute batter into individual molds, filling approximately three-quarters of each cavity. Bake for 12-15 minutes, checking doneness with a toothpick that should emerge clean and dry.
- Cooling and Finishing: Allow cakes to rest in the pan for five minutes, then transfer to a wire rack for complete cooling. Craft a glossy glaze by whisking powdered sugar with milk and vanilla extract, optionally adding pastel food coloring.
- Decorative Finale: Once completely cooled, adorn mini cakes with drizzled glaze or frosting, and embellish with Easter sprinkles, chocolate eggs, or coconut shavings for a festive touch.
Notes
- Control Mixing Intensity: Avoid overmixing the batter to prevent dense, tough cakes; stir just until ingredients are combined for a light, tender texture.
- Temperature Precision: Use room temperature eggs and butter to ensure even mixing and optimal cake volume, creating a smoother, more consistent batter.
- Color Cautionary Note: Add gel food coloring sparingly and gradually to achieve soft pastel shades without overwhelming the delicate cake flavor.
- Baking Uniformity: Fill cake molds evenly and consistently, leaving slight space at the top to allow proper rising and prevent overflow during baking.
- Prep Time: 15 minutes
- Cook Time: 15 minutes
- Category: Desserts, Snacks
- Method: Baking
- Cuisine: British
Nutrition
- Serving Size: 13
- Calories: 245
- Sugar: 20 g
- Sodium: 150 mg
- Fat: 10 g
- Saturated Fat: 6 g
- Unsaturated Fat: 4 g
- Trans Fat: 0 g
- Carbohydrates: 36 g
- Fiber: 1 g
- Protein: 3 g
- Cholesterol: 50 mg
Olivia Bennett
Co-Founder & Content Creator
Expertise
Nutritional Analysis, Dietary Accommodations, Food Writing and Blogging,
Education
University of Texas at Austin
Institute of Culinary Education, New York, NY
Olivia Bennett is Cooking Crusade’s go-to expert for nutritious, feel-good food. Based in Austin, she blends her degree in Nutrition from the University of Texas with plant-based culinary training from the Institute of Culinary Education.
Olivia’s recipes are all about balance: vibrant, wholesome, and easy-to-love dishes that work for all kinds of eaters. Her mission is simple: to make healthy eating approachable and genuinely tasty, with tips that support your lifestyle, not complicate it.