Irresistible Bacon Cheeseburger Bombs Recipe for Family Fun
Sinking your teeth into these irresistible bacon cheeseburger bombs that burst with flavor in every single bite.
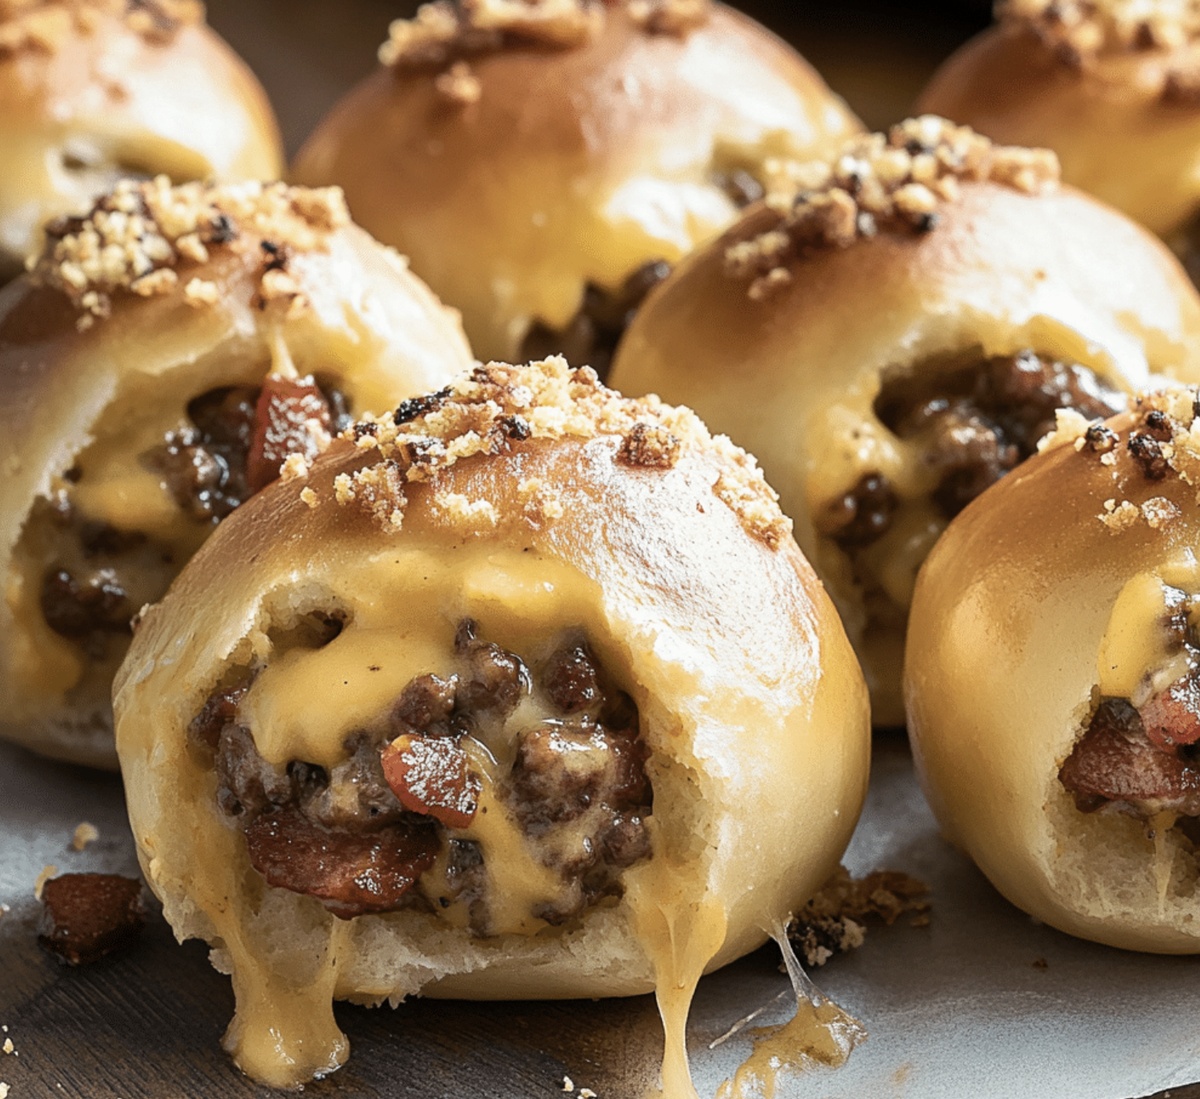
These delectable handheld treats combine all the classic burger elements into one incredible package.
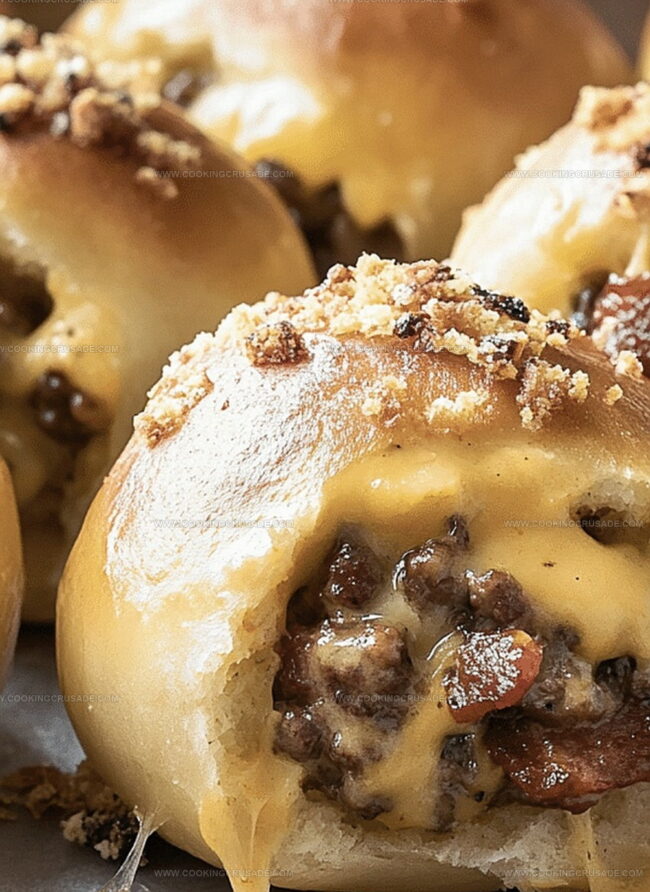
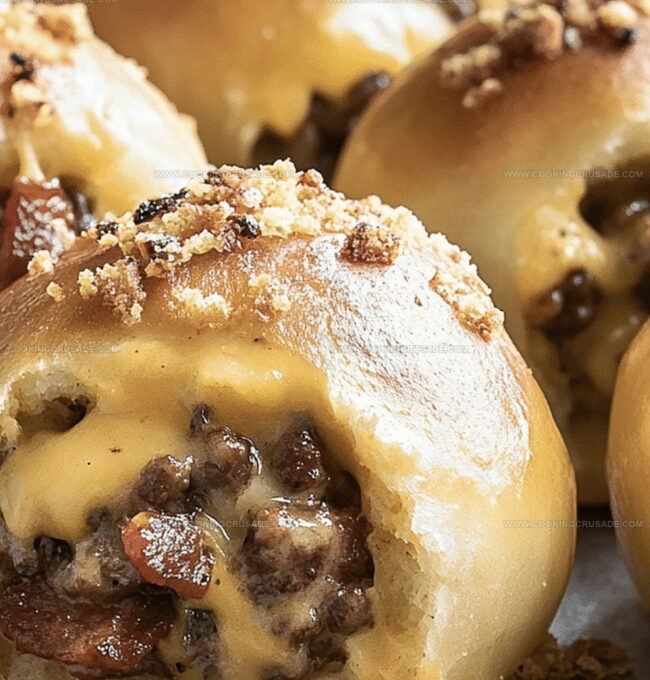
Crispy bacon adds a smoky crunch while melted cheese creates an ooey-gooey center that makes hearts melt.
Packed with savory ground beef and wrapped in a golden, pillowy dough, each bomb delivers maximum satisfaction.
Friends and family will absolutely go crazy over these bite-sized delights that transform ordinary appetizers into something extraordinary.
Weekend gatherings or game nights just became way more exciting with these crowd-pleasing morsels.
Jump right in and experience a flavor explosion that guarantees smiles all around.
Why Bacon Cheeseburger Bombs Recipe Is A Bite-Sized Winner
What You’ll Need For Bacon Cheeseburger Bombs Recipe
Main Protein Base:Cheese and Dairy:Dough and Seasoning Components:Cooking Accessories:How To Make Bacon Cheeseburger Bombs Recipe In Steps
Step 1: Create Flavor-Packed Filling
Grab a skillet and warm it up over medium heat. Toss in ground beef and diced onions, cooking until the meat turns beautifully brown and the onions become soft and translucent. Drain away any extra grease. Sprinkle in a delightful mix of seasonings:Stir everything together and let the flavors mingle for a couple of minutes. Take the skillet off the heat and let the mixture cool down slightly.
Step 2: Craft Burger Parcels
Fire up the oven to 375F. Grab a baking sheet and line it with parchment paper. Gently flatten each biscuit into a wide circle about 4 inches across. Create a cheesy center by placing a cheese square right in the middle of each biscuit. Spoon a hearty portion of the beef mixture on top of the cheese, then crown it with another cheese square. Now comes the fun part – carefully fold the biscuit edges over the filling, pinching and sealing to create a perfect little ball.
Step 3: Wrap in Crispy Bacon
Take a slice of bacon and lovingly wrap each dough ball. If needed, secure the bacon with a toothpick to keep everything snug and secure.
Step 4: Bake to Golden Perfection
Arrange the bacon-wrapped bombs on the prepared baking sheet. Give them a quick brush with beaten egg and sprinkle sesame seeds if you’re feeling fancy. Slide the tray into the oven and bake for 20-25 minutes. You’re looking for a gorgeous golden-brown exterior and crispy bacon that’ll make your mouth water.
Step 5: Serve and Enjoy
Carefully remove the bombs from the oven and let them rest for a few minutes. Plate up these delicious parcels and serve with your favorite dipping sauce – ketchup, mustard, or whatever makes your taste buds dance!
Pro Tip: These bombs are best enjoyed hot and fresh, right out of the oven. They’re perfect for game day, movie night, or anytime you want a seriously delicious handheld meal!
Tips To Keep Bacon Cheeseburger Bombs Recipe Juicy
How To Store Bacon Cheeseburger Bombs Recipe The Smart Way
What To Eat With Bacon Cheeseburger Bombs Recipe
Creative Takes On Bacon Cheeseburger Bombs Recipe
FAQs For Bacon Cheeseburger Bombs Recipe
These bombs combine all the classic flavors of a cheeseburger – juicy ground beef, melty cheese, and crispy bacon – wrapped in a soft biscuit dough. They’re like a handheld burger that’s perfect for snacking or parties.
Yes! You can assemble the bombs and refrigerate them before baking. Just add a few extra minutes to the cooking time if you’re baking them straight from the fridge. You can also freeze them unbaked for up to a month.
Make sure to wrap the bacon tightly around the dough ball and secure it with a toothpick if needed. The high oven temperature helps crisp up the bacon, but you can also broil for 1-2 minutes at the end for extra crispiness.
Lean ground beef (80/20 or 85/15) works great. The fat content helps keep the meat moist and flavorful. Just be sure to drain any excess grease after cooking to prevent soggy bombs.
Print
Bacon Cheeseburger Bombs Recipe
- Total Time: 40 minutes
- Yield: 8 1x
Description
Bacon cheeseburger bombs deliver explosive flavor straight from comfort food heaven. Crispy exterior gives way to melted cheese and savory beef, promising a mouthwatering experience that will satisfy your craving for classic American cuisine.
Ingredients
Meats and Protein:
- 1 lb (450 g) ground beef
- 8 slices of bacon
- 8 slices of cheddar cheese (cut into squares)
Seasonings and Condiments:
- 1 tablespoon ketchup
- 1 tablespoon mustard
- 1 teaspoon garlic powder
- 1 teaspoon smoked paprika
- Salt and pepper, to taste
Dough and Additional Ingredients:
- 1 can (16 oz / 450 g) refrigerated biscuit dough (8 biscuits)
- ½ cup (75 g) diced onion
- 1 large egg (beaten, for egg wash)
- Sesame seeds (optional)
Instructions
- Craft the flavorful filling by sizzling ground beef with diced onions in a skillet until meat browns and onions turn translucent. Infuse the mixture with ketchup, mustard, and aromatic spices like garlic powder and smoked paprika. Season with salt and pepper, then allow the robust blend to cool slightly.
- Prepare the oven to 375F (190C) and line a baking sheet with parchment paper. Gently flatten each biscuit into a delicate circular shape, creating a canvas for the savory stuffing.
- Position a square of cheese at the center of each biscuit, creating a molten core. Generously spoon the seasoned beef mixture atop the cheese, then crown with another cheese square to ensure maximum cheesy indulgence.
- Carefully gather the biscuit edges, tenderly sealing the filling within by pinching and forming a compact spherical shape that conceals the delectable interior.
- Enrobe each dough bundle with a crisp bacon slice, wrapping it snugly around the exterior. Secure with a toothpick if needed to maintain the elegant package.
- Delicately brush the bacon-wrapped bombs with beaten egg, creating a golden sheen. Optionally scatter sesame seeds across the surface for added texture and visual appeal.
- Slide the prepared bombs into the preheated oven, allowing them to bake until the dough transforms to a rich golden hue and the bacon achieves a perfect crispness, approximately 20-25 minutes.
- Once baked, extract from the oven and permit a brief cooling period. Serve alongside complementary condiments like tangy ketchup or zesty mustard for dipping pleasure.
Notes
- Customize the beef mixture by adding diced jalapeños or chopped pickles for extra flavor and texture.
- Ensure the ground beef is fully drained to prevent soggy biscuit dough and maintain a crisp texture.
- Choose lean ground beef to reduce excess grease and create a cleaner, more enjoyable filling.
- Experiment with different cheese varieties like pepper jack or sharp cheddar for unique taste profiles.
- Prep bacon bombs ahead of time by assembling and refrigerating, then baking just before serving for convenient meal planning.
- Use kitchen shears to easily cut bacon slices in half for more manageable wrapping around the dough balls.
- Replace ground beef with ground turkey or plant-based crumbles for a lighter or vegetarian alternative.
- Allow bombs to cool slightly to prevent burning and let the cheese set for a more stable filling.
- Prep Time: 15 minutes
- Cook Time: 25 minutes
- Category: Lunch, Dinner, Appetizer, Snacks
- Method: Baking
- Cuisine: American
Nutrition
- Serving Size: 8
- Calories: 420
- Sugar: 2 g
- Sodium: 800 mg
- Fat: 28 g
- Saturated Fat: 12 g
- Unsaturated Fat: 14 g
- Trans Fat: 0.5 g
- Carbohydrates: 24 g
- Fiber: 1 g
- Protein: 20 g
- Cholesterol: 75 mg
James Mitchell
Founder & Recipe Developer
Expertise
Recipe Creation and Testing, Fusion Cuisine, Food Styling and Photography, Culinary Education
Education
Kendall College, Chicago, IL
The Culinary Institute of America, Hyde Park, NY
James Mitchell is the founder and fearless flavor explorer at Cooking Crusade. With a degree in Culinary Arts from Kendall College and advanced training in global gastronomy from The Culinary Institute of America, James has spent over a decade perfecting the art of recipe creation.
His background includes fine dining, private cheffing, and food styling, but his true joy comes from turning big ideas into doable recipes for home cooks. Every dish he shares is a mix of creativity, culture, and a little kitchen magic, built to bring excitement back to everyday meals.