Dreamy Blueberry Cheesecake Bliss Balls Recipe for Sweet Snacking
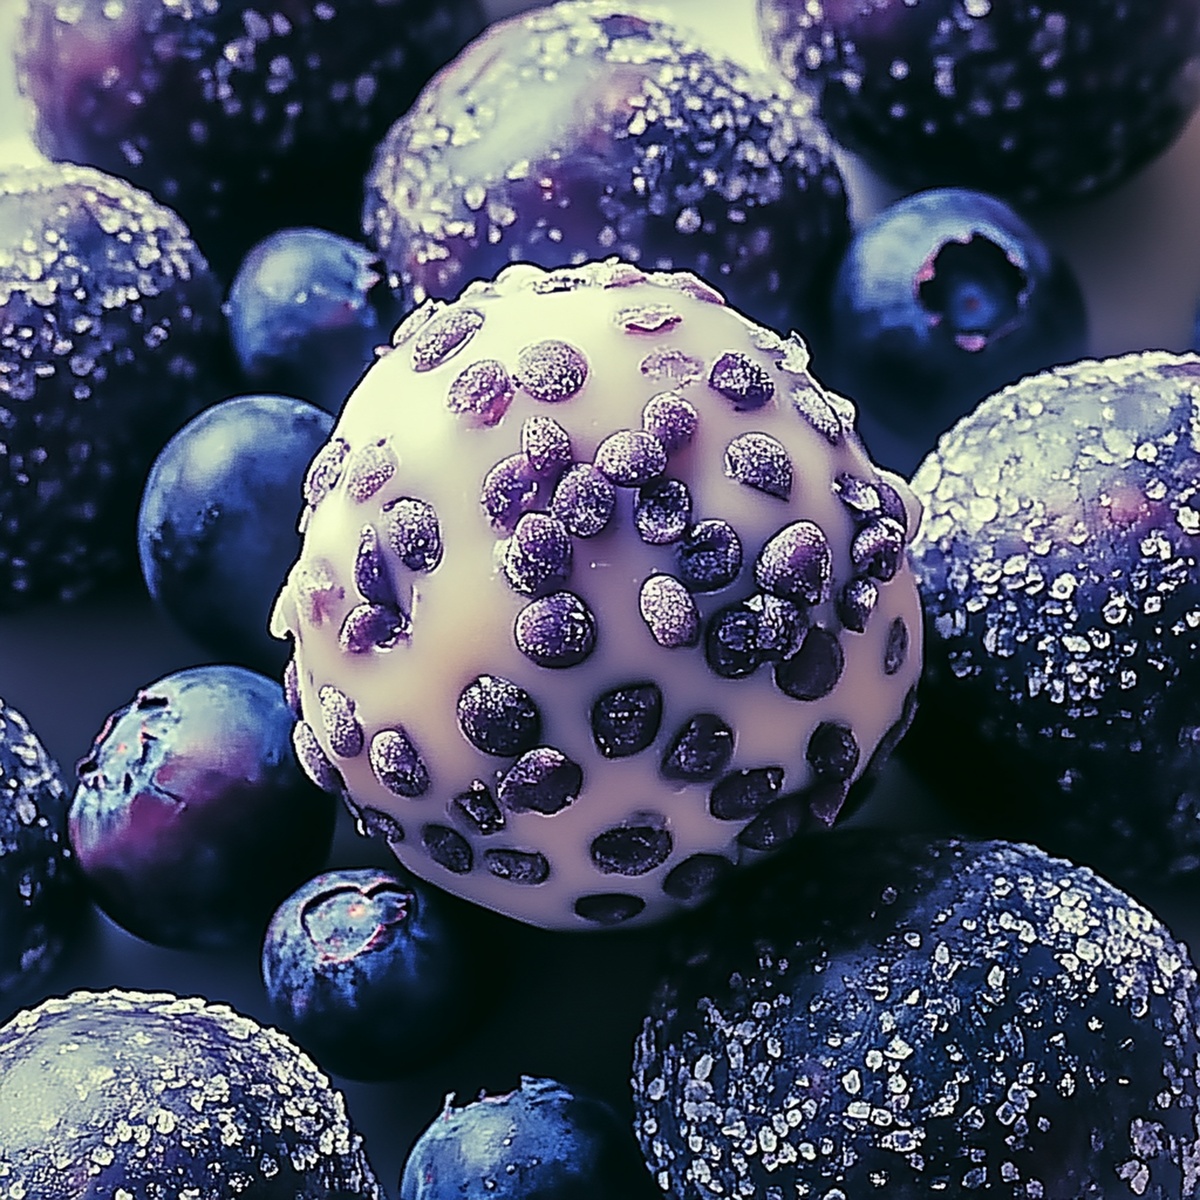
Rolling blueberry cheesecake bliss balls into bite-sized treats promises pure delight for dessert lovers.
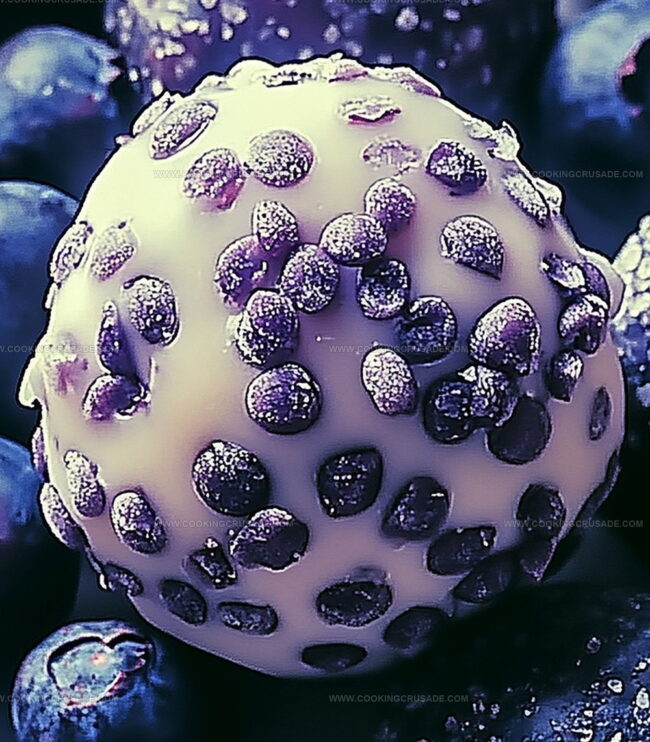
These delectable spheres capture the essence of creamy indulgence in a compact form.
Popping a small, rich morsel that melts softly on your tongue.
Sweet, tangy blueberries dance with smooth cream cheese, creating an irresistible combination.
Nuts and graham cracker crumbs add delightful texture to each perfect round.
No baking required means you can whip up these magical morsels in minutes.
Trust me, people will beg you to share this amazing recipe.
Why Blueberry Cheesecake Bliss Balls Are A Sweet Bite-Sized Treat

What Goes Into Blueberry Cheesecake Bliss Balls
Base Ingredients:Sweetening and Flavoring Ingredients:Coating Ingredient:How To Make Blueberry Cheesecake Bliss Balls Quickly
Step 1: Unleash Flavor Power
Grab your trusty food processor and toss in these delightful ingredients:Pulse and blend everything until the mixture transforms into a sticky, magical dough that promises pure deliciousness.
Step 2: Chill and Relax
Move your blueberry mixture into a cozy bowl and let it hang out in the refrigerator for 15-20 minutes. This quick chill session helps the dough firm up and become easier to handle.
Step 3: Shape Delightful Treats
Roll up your sleeves and get ready for some hands-on fun! Scoop out tablespoon-sized portions of the mixture and gently roll them into perfect little spheres of happiness.
Step 4: Create a Coconut Coating
Spread some extra shredded coconut in a shallow bowl. Lovingly roll each bliss ball through the coconut, giving them a beautiful, textured exterior that adds extra crunch and flavor.
Step 5: Final Chill and Serve
Pop your bliss balls into the refrigerator for at least 30 minutes. This final cooling helps them set perfectly. Store any remaining treats in an airtight container in the refrigerator, ready to be enjoyed whenever a sweet craving strikes.
Pro Tip: These bliss balls are perfect for meal prep, quick snacks, or impressing friends at your next gathering!
Tips For Smooth Blueberry Cheesecake Bliss Balls
How To Store Blueberry Cheesecake Bliss Balls With Care
Great Pairings For Blueberry Cheesecake Bliss Balls
Flavor Ideas For Blueberry Cheesecake Bliss Balls
FAQs For Blueberry Cheesecake Bliss Balls Fans
These blueberry cheesecake bliss balls offer a healthier alternative to traditional desserts. They’re packed with natural ingredients like dried blueberries, cream cheese, and honey, providing a nutritious sweet treat that’s lower in processed sugars.
While a food processor works best for creating a smooth, consistent texture, you can use a blender or even mix the ingredients by hand with a sturdy spoon. Just ensure all ingredients are finely chopped and well combined.
When stored in an airtight container in the refrigerator, these blueberry cheesecake bliss balls will remain fresh for up to 5-7 days. The cool temperature helps maintain their texture and prevents spoilage.
These bliss balls can be easily adapted. For gluten-free versions, use gluten-free graham crackers. For dairy-free options, substitute cream cheese with a plant-based alternative like cashew cream cheese.
Print
Blueberry Cheesecake Bliss Balls Recipe
- Total Time: 1 hour
- Yield: 12 1x
Description
Blissful blueberry cheesecake bliss balls combine creamy indulgence with wholesome ingredients for a delightful no-bake treat. Packed with rich flavor and smooth texture, these little spheres of happiness promise to satisfy sweet cravings while delivering a luxurious dessert experience you’ll adore.
Ingredients
Main Ingredients:
- 1 cup dried blueberries
- ½ cup cream cheese, softened
- 1 cup graham cracker crumbs (or almond flour for gluten-free)
Binding and Flavor Ingredients:
- ½ cup shredded coconut (plus extra for rolling)
- 2 tablespoons honey or maple syrup
- 1 teaspoon vanilla extract
- 1 tablespoon lemon juice (optional, for a tangy kick)
Instructions
- Prepare the base mixture by pulsing dried blueberries, graham cracker crumbs, cream cheese, shredded coconut, honey, vanilla extract, and lemon juice in a food processor until a cohesive, slightly tacky consistency forms.
- Transfer the processed mixture to a chilled mixing bowl, ensuring all ingredients are well integrated and the texture is uniform.
- Place the mixture in the refrigerator for approximately 15-20 minutes, allowing the ingredients to solidify and become easier to handle.
- Remove the chilled mixture from the refrigerator and gently shape small, uniform portions into compact spherical forms using clean, slightly dampened hands.
- Create a coating station with additional shredded coconut in a shallow dish, carefully rolling each formed ball to ensure complete and even coverage.
- Arrange the coconut-encrusted bliss balls on a parchment-lined tray, maintaining slight separation between each piece.
- Return the prepared bliss balls to the refrigerator for a minimum of 30 minutes, enabling them to set completely and develop a firmer texture.
- Once fully chilled, serve immediately or store in a sealed container within the refrigerator to maintain optimal consistency and flavor.
Notes
- Customize the sweetness by adjusting honey levels, perfect for those monitoring sugar intake.
- Swap graham crackers with gluten-free alternatives like almond flour or crushed nuts for a celiac-friendly version.
- Enhance protein content by adding a scoop of vanilla protein powder during blending for a post-workout energy boost.
- Use dairy-free cream cheese to create a vegan-friendly treat that maintains the creamy texture and delightful flavor profile.
- Prep Time: 10 minutes
- Cook Time: 50 minutes
- Category: Snacks, Desserts
- Method: Blending
- Cuisine: American
Nutrition
- Serving Size: 12
- Calories: 150
- Sugar: 10 g
- Sodium: 50 mg
- Fat: 7 g
- Saturated Fat: 4 g
- Unsaturated Fat: 3 g
- Trans Fat: 0 g
- Carbohydrates: 18 g
- Fiber: 1 g
- Protein: 2 g
- Cholesterol: 15 mg
James Mitchell
Founder & Recipe Developer
Expertise
Recipe Creation and Testing, Fusion Cuisine, Food Styling and Photography, Culinary Education
Education
Kendall College, Chicago, IL
The Culinary Institute of America, Hyde Park, NY
James Mitchell is the founder and fearless flavor explorer at Cooking Crusade. With a degree in Culinary Arts from Kendall College and advanced training in global gastronomy from The Culinary Institute of America, James has spent over a decade perfecting the art of recipe creation.
His background includes fine dining, private cheffing, and food styling, but his true joy comes from turning big ideas into doable recipes for home cooks. Every dish he shares is a mix of creativity, culture, and a little kitchen magic, built to bring excitement back to everyday meals.