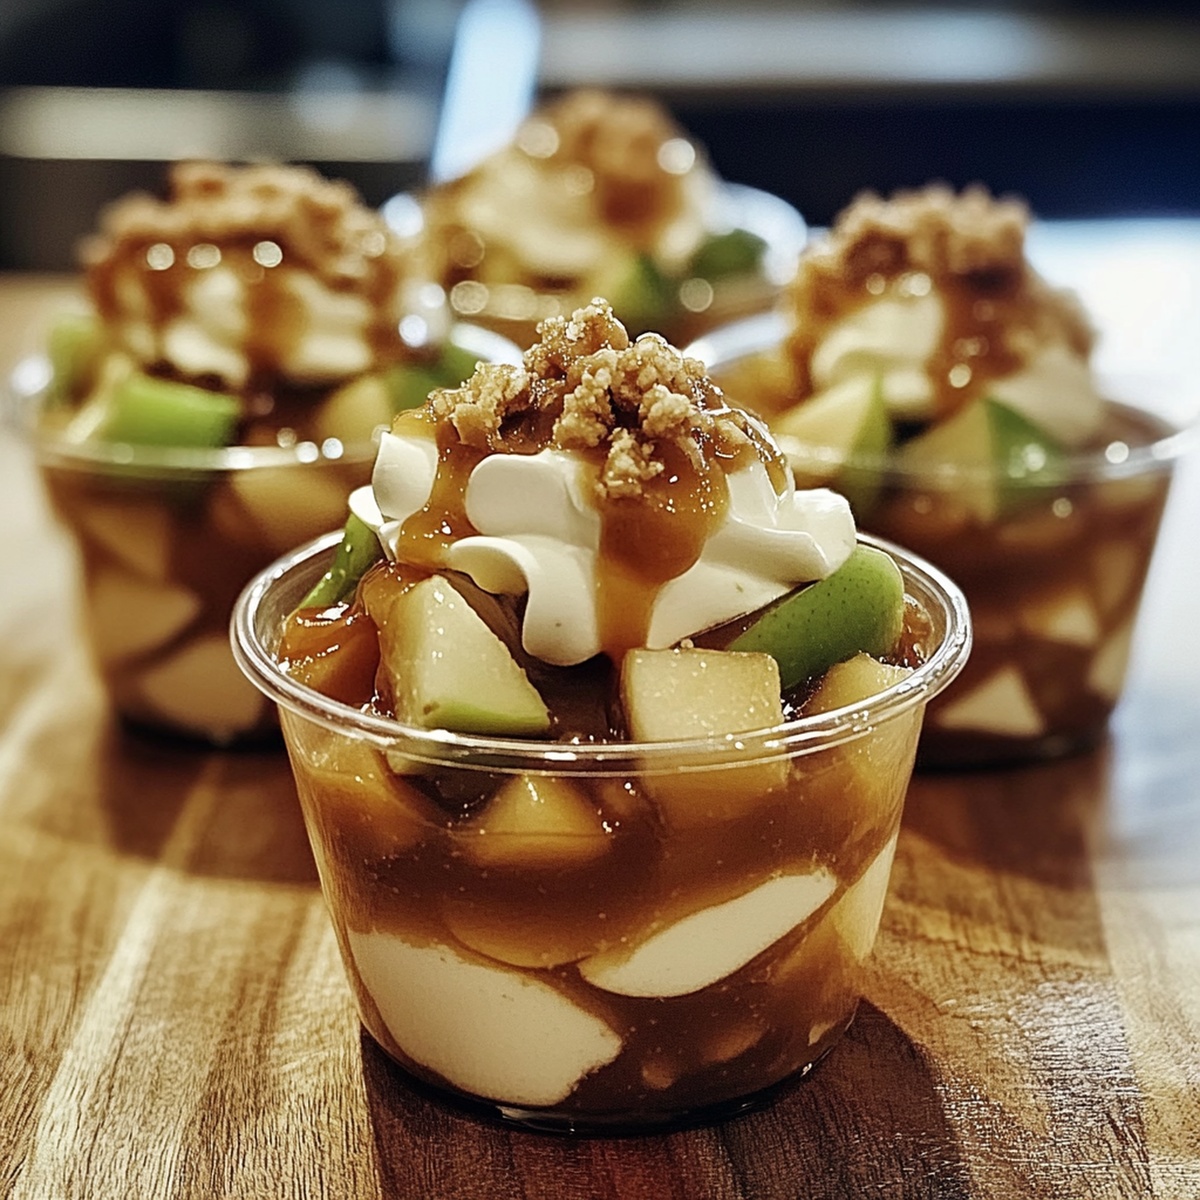
Sweet Caramel Apple Dessert Cups Recipe for Fall Gatherings
Sweet memories often begin with unexpected delights, and this caramel apple dessert cups recipe sparks pure joy from the first bite.
Crisp autumn afternoons whisper promises of comfort and warmth through each delectable morsel.
Layers of rich flavors dance across your palate with surprising elegance.
Apples picked at peak ripeness create a foundation of pure magic in this delightful treat.
Soft caramel drizzles complement the tender fruit, creating a harmonious blend that feels both nostalgic and exciting.
Creamy textures and bold flavors intermingle in ways that surprise and delight.
You’ll want to savor every single spoonful of this incredible dessert.
Grab a spoon and let the culinary adventure begin!
Why Caramel Apple Dessert Cups Are A Fall Favorite
Ingredients Needed For Caramel Apple Dessert Cups
Crust Base:Apple Filling:Cream Cheese Layer:Optional Toppings:Steps To Make Caramel Apple Dessert Cups
Step 1: Create Crispy Cookie Base
Crush graham crackers into fine crumbs. Melt butter and mix with brown sugar until texture becomes sandy. Pour mixture into small serving glasses or mason jars. Press down gently to form a sturdy foundation for your dessert.
Step 2: Transform Apples into Caramel Magic
Grab a skillet and warm the butter until it sizzles. Toss in chopped apples with:Stir and dance the ingredients around the pan. Cook until apples soften and caramelize beautifully. Splash vanilla extract for an aromatic finish. Set aside to cool slightly.
Step 3: Whip Up Creamy Cloud Layer
In a mixing bowl, blend:Whip until silky smooth. Gently fold in whipped topping, creating a light and airy texture.
Step 4: Build Delectable Dessert Towers
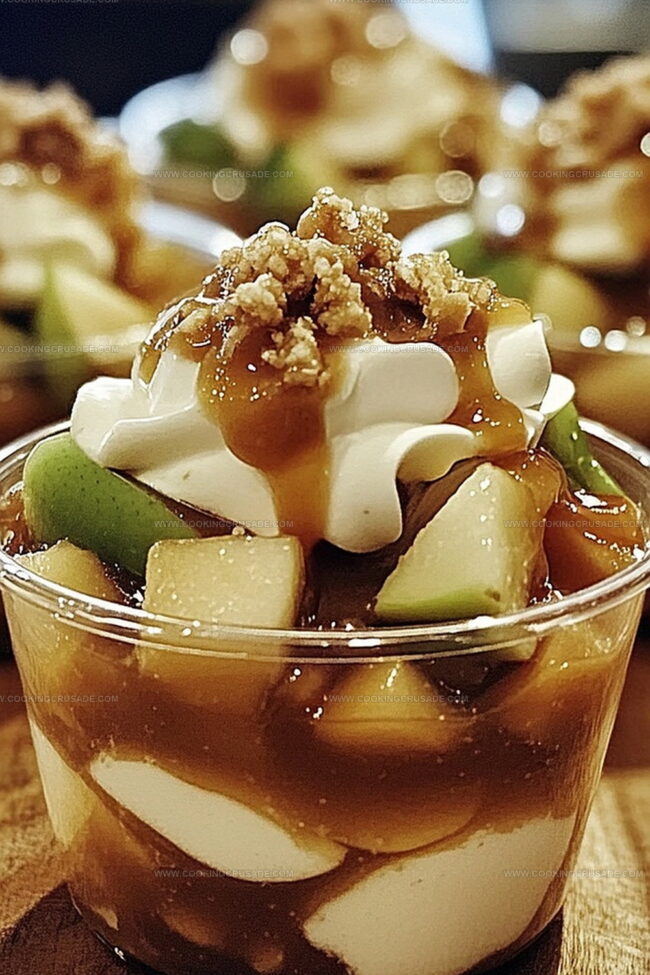
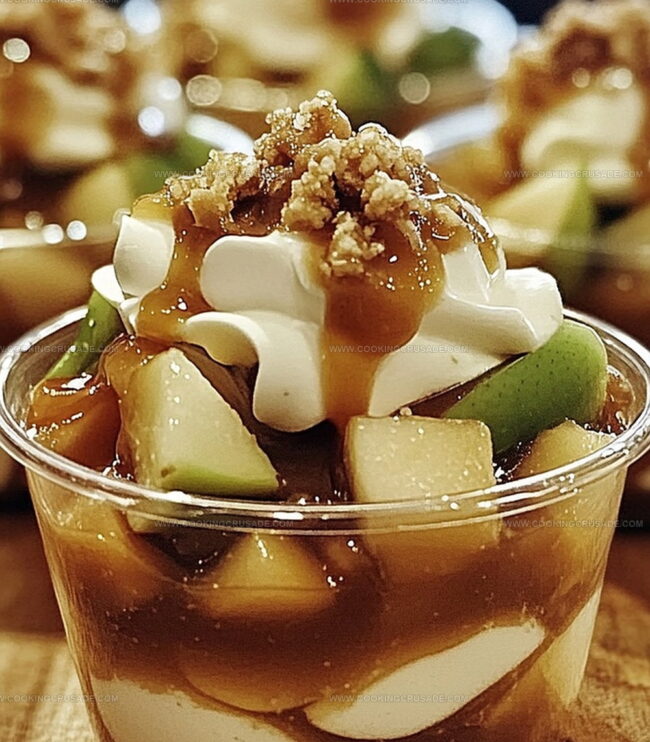
Layer your glasses with:Drizzle caramel sauce generously. Sprinkle chopped pecans or walnuts for crunch. Optional: Crown with a fluffy whipped cream peak.
Step 5: Chill and Delight
Refrigerate dessert cups for 15-30 minutes. Serve and watch faces light up with pure joy!
Tips To Get Caramel Apple Dessert Cups Just Right
How To Store Caramel Apple Dessert Cups
Pairing Ideas For Caramel Apple Dessert Cups
Delicious Variations Of Caramel Apple Dessert Cups
Caramel Apple Dessert Cups FAQ Section
Graham cracker crumbs create a delicious, buttery foundation that adds crunch and sweetness to the dessert. They’re easy to work with and provide a classic dessert texture that complements the creamy layers.
Absolutely! Varieties like Granny Smith, Honeycrisp, or Fuji work great. Tart apples provide a nice contrast to the sweet caramel, while sweeter apples create a more mellow flavor profile.
Yes! This dessert is perfect for kids. It’s not too complicated, has familiar flavors, and can be a fun dessert to make together. Children will love the sweet layers and the playful presentation in individual cups.
Try layering the ingredients carefully in clear glasses or mason jars. This lets you see the beautiful layers of graham cracker crust, cream cheese, and caramelized apples. A drizzle of caramel and sprinkle of nuts on top adds a professional touch.
Print
Taco Casserole Recipe
- Total Time: 45 minutes
- Yield: 6 1x
Description
Rich layers of Mexican-inspired flavors dance in this hearty Taco Casserole, blending spicy ground beef, melted cheese, and crisp tortilla chips. Comfort meets zest in a single skillet, promising a delicious dinner that satisfies you completely.
Ingredients
Proteins and Main Ingredients:
- 1 pound (454 grams) ground beef (or ground turkey)
- 8 small corn tortillas (or 4 large flour tortillas, cut in halves)
- 2 cups shredded Mexican cheese blend (cheddar, Monterey Jack, or pepper jack)
Vegetables and Seasonings:
- 1 small onion, diced
- 2 cloves garlic, minced
- 1 packet (or 2 tablespoons) taco seasoning
- 1 can (15 ounces / 425 grams) black beans, drained and rinsed
- 1 can (10 ounces / 283 grams) diced tomatoes with green chilies (Rotel)
- 1 cup frozen or canned corn (drained)
- ½ cup water
Toppings and Optional Ingredients:
- ½ cup sour cream (optional, for layering)
- Diced tomatoes
- Chopped cilantro
- Sliced jalapenos
- Sliced avocado
- Sour cream
- Salsa
Instructions
- Arrange tortillas as a foundational layer, completely covering the base of the baking dish to create a sturdy base for the casserole.
- Distribute seasoned beef mixture generously and evenly across the tortilla base, ensuring complete and uniform coverage.
- Generously shower the beef layer with shredded cheese, allowing it to melt and create a rich, creamy texture.
- Create a secondary layer by carefully positioning additional tortillas over the cheese, mimicking the initial base structure.
- Repeat the beef and cheese layering process, building height and intensity of flavors with each successive stratum.
- For enhanced creaminess and tang, intersperse dollops of sour cream between layers, creating pockets of smooth, cool contrast to the warm, spiced beef.
- If desired, garnish the final top layer with an extra sprinkle of cheese to achieve a golden, bubbling surface when baked.
- Transfer the constructed casserole to a preheated oven, allowing the ingredients to meld and the cheese to transform into a molten, appetizing topping.
Notes
- Swap corn tortillas for flour tortillas to adjust texture and flavor profile.
- Use lean ground turkey or plant-based meat alternatives for a healthier protein option.
- Prep tortillas by briefly toasting them in a skillet to enhance their crispiness and prevent sogginess during baking.
- Layer ingredients carefully to ensure even distribution of flavors and prevent dry spots in the casserole.
- Prep Time: 15 minutes
- Cook Time: 30 minutes
- Category: Lunch, Dinner
- Method: Baking
- Cuisine: Mexican
Nutrition
- Serving Size: 6
- Calories: 500
- Sugar: 3 g
- Sodium: 800 mg
- Fat: 25 g
- Saturated Fat: 12 g
- Unsaturated Fat: 10 g
- Trans Fat: 1 g
- Carbohydrates: 45 g
- Fiber: 8 g
- Protein: 30 g
- Cholesterol: 80 mg
James Mitchell
Founder & Recipe Developer
Expertise
Recipe Creation and Testing, Fusion Cuisine, Food Styling and Photography, Culinary Education
Education
Kendall College, Chicago, IL
The Culinary Institute of America, Hyde Park, NY
James Mitchell is the founder and fearless flavor explorer at Cooking Crusade. With a degree in Culinary Arts from Kendall College and advanced training in global gastronomy from The Culinary Institute of America, James has spent over a decade perfecting the art of recipe creation.
His background includes fine dining, private cheffing, and food styling, but his true joy comes from turning big ideas into doable recipes for home cooks. Every dish he shares is a mix of creativity, culture, and a little kitchen magic, built to bring excitement back to everyday meals.