Zesty Grilled Cheese Burrito Recipe: A Fun Twist on Classics
Melted cheese and crispy tortillas dance together in this mouthwatering cheesy grilled cheese burrito that combines the best of two comfort food worlds.
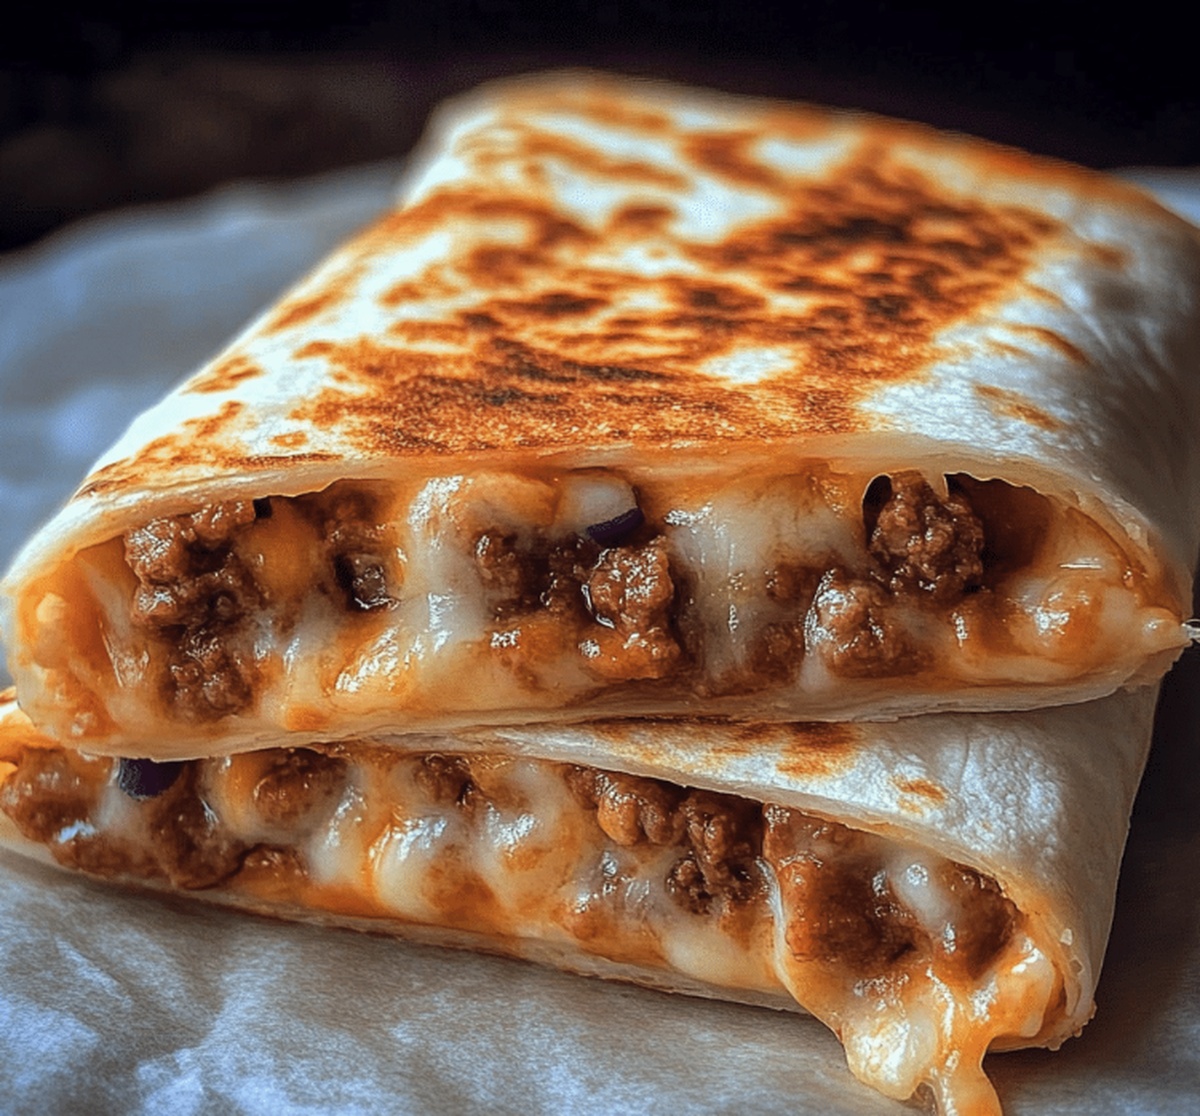
Warm, gooey layers of cheese embrace savory fillings wrapped in a perfectly grilled exterior.
Bold flavors and textures collide to create a meal that satisfies every craving.
The golden-brown tortilla crackles with each bite, revealing a molten center packed with deliciousness.
Cheese lovers and burrito enthusiasts will absolutely adore this simple yet indulgent recipe.
Rich, melty, and utterly irresistible, this dish promises to become a new favorite.
Prepare to elevate your lunch or dinner with this crowd-pleasing culinary creation that brings excitement to the table.
Quick Recipe Overview
Grilled Cheese Burrito Ingredient Essentials
For Meat and Seasoning:For Cooking Base:For Flavor Enhancement:Kitchen Tools For Grilled Cheese Burrito Goodness
How To Fold A Grilled Cheese Burrito Right
Heat a skillet over medium flame and pour a touch of olive oil. Drop in ground beef and break it apart while cooking until it turns a rich golden brown.
Drain away any extra fat, then sprinkle taco seasoning over the meat. Add water and let the mixture bubble gently, transforming into a thick, flavorful filling that’ll make your taste buds dance.
Grab a large tortilla and lay it flat on a clean surface. Spread a generous layer of cheese across the center, creating a melty foundation for your burrito adventure.
Spoon the sizzling seasoned beef right onto the cheesy tortilla. Fold in the sides like a cozy blanket, then roll from bottom to top, creating a tight, delicious package.
Place your rolled burrito in a hot skillet with a whisper of oil. Cook each side until it turns a gorgeous golden brown and the cheese inside transforms into liquid gold.
Cut your grilled cheese burrito diagonally, revealing the molten interior. Serve immediately while it’s hot and crispy, ready to be devoured with pure joy.
Tips For Toasty Grilled Cheese Burrito Flavor
Serve Grilled Cheese Burrito For Lunch Or Dinner
Store Grilled Cheese Burrito To Keep It Cheesy
Print
Cheesy Grilled Cheese Burrito Recipe
- Total Time: 25 minutes
- Yield: 5 1x
Description
Taco Bell’s grilled cheese burrito combines classic Mexican-American flavors in a hearty handheld meal. Melted cheese, seasoned beef, and crispy tortilla create a satisfying fusion of comfort and excitement for hungry diners.
Ingredients
- 1 lb (1 pound) ground beef
- 1 cup shredded cheddar cheese
- 4 large flour tortillas
- ½ cup nacho cheese sauce
- ½ cup shredded cheddar cheese
- ½ cup shredded Monterey Jack cheese
- ½ cup sour cream
- 1 cup cooked rice (optional)
- 1 tbsp (1 tablespoon) olive oil
- 1 packet (or 2 tbsps) taco seasoning
- ½ cup water
- ½ cup tortilla strips (or crushed tortilla chips)
- 1 tbsp (1 tablespoon) mayonnaise
- 1 tsp (1 teaspoon) lime juice
- 1 tsp (1 teaspoon) chipotle powder
- ½ tsp (½ teaspoon) garlic powder
- ½ tsp (½ teaspoon) smoked paprika
- 1 pinch of salt
- 1 tbsp (1 tablespoon) butter
Instructions
- Sizzle Beef: Heat skillet over medium flame, drizzle olive oil, and brown ground beef until golden, breaking into crumbly pieces with wooden spoon.
- Season Mixture: Drain excess grease, add taco seasoning and water, simmer until sauce thickens and coats meat with intense flavor profile.
- Assemble Foundation: Lay tortilla flat, center seasoned beef across middle, distribute evenly to ensure balanced taste in every bite.
- Cheese Integration: Sprinkle shredded cheese over warm beef, creating a molten base that binds burrito’s inner components.
- Fold and Seal: Fold bottom tortilla edge upward, roll sides inward, crafting a compact bundle that secures all delectable ingredients.
- Crisp Transformation: Return burrito to skillet, seam-side down, grilling each side until exterior turns golden-brown and crispy, melting cheese completely.
- Serve: Transfer to plate, allow brief resting moment, then slice and present this flavor-packed culinary creation.
Notes
- Precision Meat Browning: Ensure ground beef is fully cracked and browned without burning, creating a rich caramelized texture that enhances overall flavor profile.
- Cheese Melting Technique: Use medium-low heat when grilling to guarantee complete cheese melting without scorching the tortilla exterior, producing a perfect golden-brown crisp.
- Seasoning Balance: Adjust taco seasoning based on personal spice preference, considering salt content and heat level for a customized taste experience.
- Rolling Mastery: Fold tortilla tightly and evenly to prevent ingredient spillage, creating a compact burrito that maintains structural integrity during cooking and eating.
- Prep Time: 10 minutes
- Cook Time: 15 minutes
- Category: Lunch, Snacks
- Method: Sautéing
- Cuisine: Mexican
Nutrition
- Serving Size: 5
- Calories: 700
- Sugar: 4 g
- Sodium: 950 mg
- Fat: 38 g
- Saturated Fat: 18 g
- Unsaturated Fat: 20 g
- Trans Fat: 1 g
- Carbohydrates: 60 g
- Fiber: 3 g
- Protein: 30 g
- Cholesterol: 90 mg
Olivia Bennett
Co-Founder & Content Creator
Expertise
Nutritional Analysis, Dietary Accommodations, Food Writing and Blogging,
Education
University of Texas at Austin
Institute of Culinary Education, New York, NY
Olivia Bennett is Cooking Crusade’s go-to expert for nutritious, feel-good food. Based in Austin, she blends her degree in Nutrition from the University of Texas with plant-based culinary training from the Institute of Culinary Education.
Olivia’s recipes are all about balance: vibrant, wholesome, and easy-to-love dishes that work for all kinds of eaters. Her mission is simple: to make healthy eating approachable and genuinely tasty, with tips that support your lifestyle, not complicate it.