The Magic Chocolate Lava Cakes Recipe: Gooey Sweetness Awaits!
Molten chocolate lava cakes have always been my secret weapon for impressing dinner guests.
These decadent desserts look complex but come together surprisingly quickly.
Rich, gooey centers peek through delicate cake exteriors like hidden treasure.
The contrast between warm, flowing chocolate and light cake texture creates pure magic.
My first attempt seemed intimidating, but practice made these seemingly fancy treats wonderfully straightforward.
Professional pastry chefs might guard their techniques, yet this recipe demystifies the process completely.
You can master this elegant dessert with just a few simple ingredients and some careful technique.
Let’s transform an ordinary evening into something spectacularly delicious.
Why Chocolate Lava Cakes Feel Extra Fancy
Ingredients That Make Lava Cakes Rich
Chocolate Base Ingredients:Binding Ingredients:Dry Ingredients:Optional Garnish Ingredients:Additional Preparation Ingredients:Baking Instructions for That Gooey Middle
Step 1: Warm Up the Oven
Fire up your oven to a toasty 425F (220C). Grab some ramekins and give them a loving butter massage, then sprinkle cocoa powder all over. Gently shake out any extra cocoa dust.
Step 2: Create Chocolate Magic
Grab your chocolate and butter and set up a melting station. Choose your weapon:Stir until silky smooth and let it cool down just a bit.
Step 3: Whip Up the Delicious Base
In a mixing bowl, get ready to transform your eggs:Whisk with passion until the mixture turns pale and looks luxuriously thick. This should take about 1-2 minutes of arm workout. Gently fold in your molten chocolate mixture. Sift flour into the batter and fold with a delicate touch.
Step 4: Fill Your Ramekin Vessels
Distribute the batter evenly among ramekins, filling each about three-quarters full. Pro tip: Place ramekins on a baking sheet for smooth handling.
Step 5: Bake to Perfection
Slide your ramekins into the oven and bake for 12-14 minutes. You’re looking for set edges with a seductive, jiggly center.
Step 6: Unveil Your Masterpiece
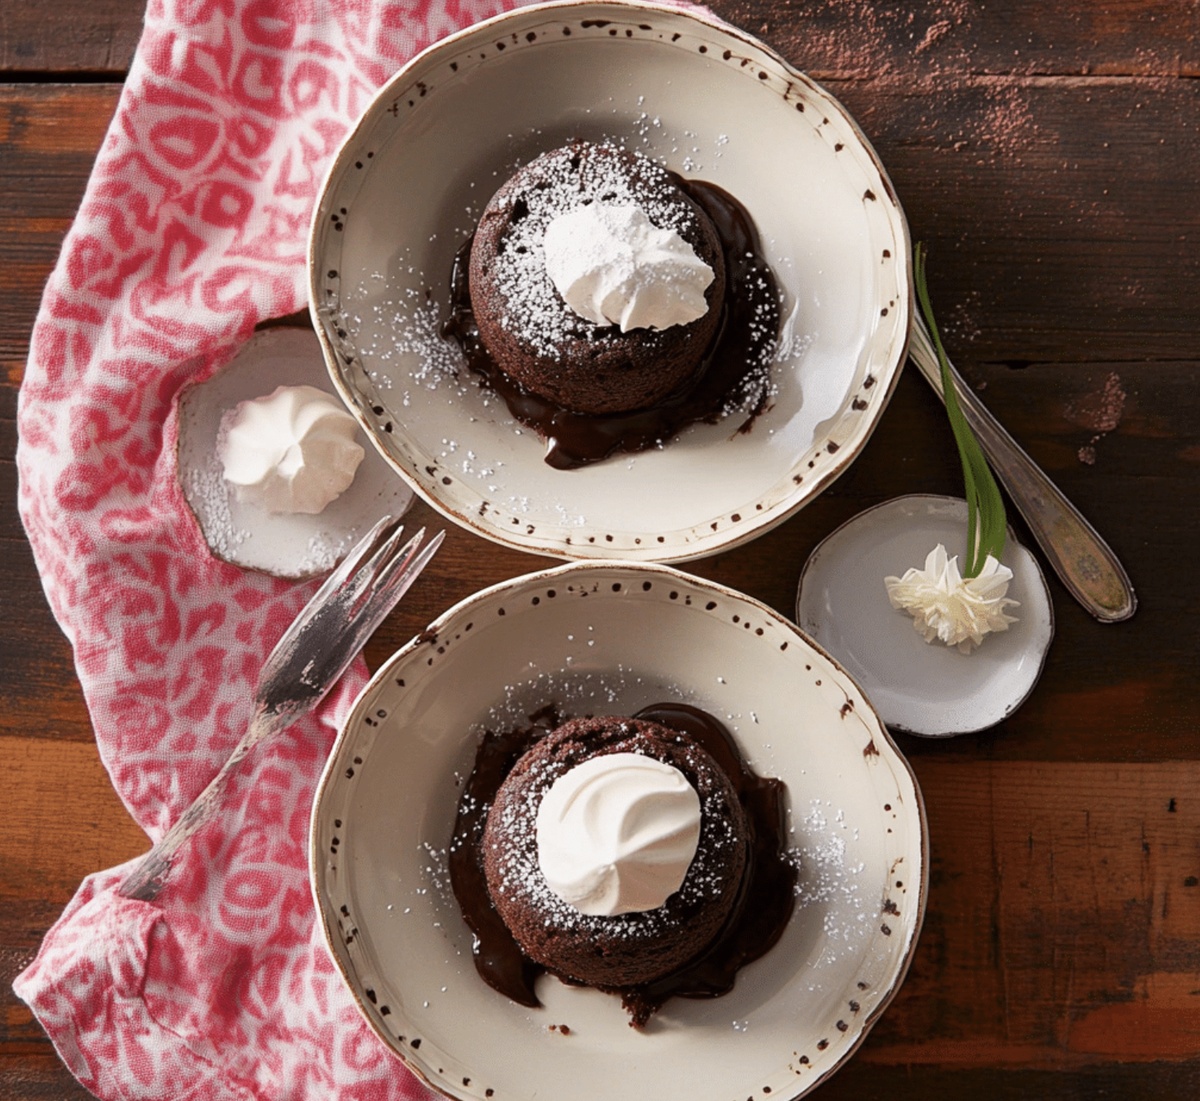
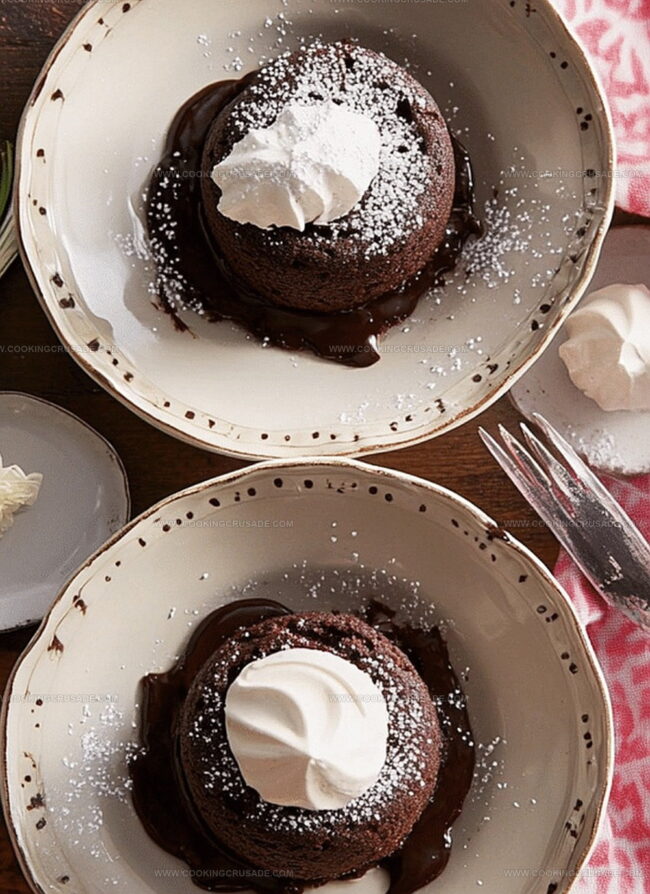
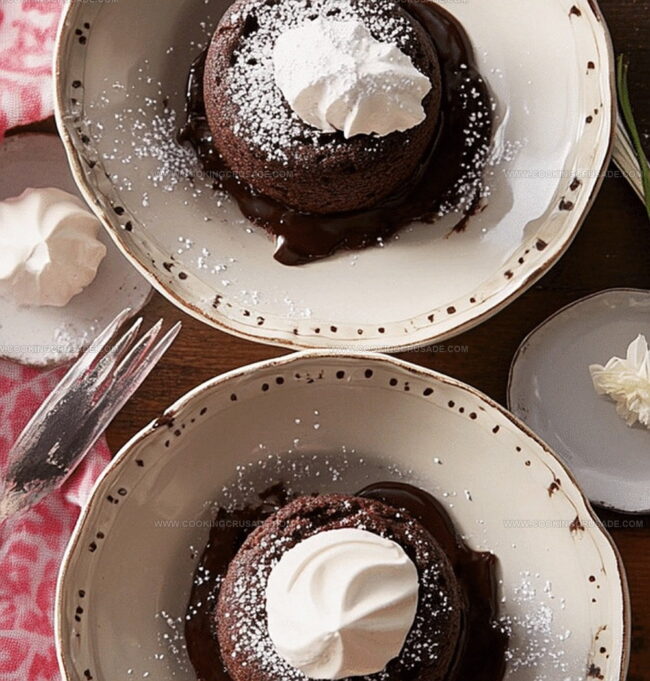
Let the cakes rest for a quick minute. Run a knife gently around the edges to help them release. Flip each ramekin onto a plate with a confident move. The moment of truth has arrived!
Serving Suggestions:
Dust with powdered sugar like a sweet snowfall. Jazz up your creation with:Enjoy your molten chocolate heaven!
Tips to Avoid Overbaking Your Cakes
How to Store and Reheat Lava Cakes Right
Perfect Companions for Lava Cake Dessert
Lava Cake Flavor Twists Worth Trying
Answering FAQs About Chocolate Lava Cakes
The secret is baking the cakes at a high temperature for a short time. This creates a crisp exterior while keeping the center soft and liquid, allowing the rich chocolate to flow out when you cut into the cake.
You can prepare the batter and fill the ramekins in advance, then refrigerate for a few hours. Just bring them to room temperature before baking. However, they’re best served immediately after baking for the perfect molten center.
Gentle folding helps maintain the air bubbles created when whisking eggs and sugar, which gives the lava cakes their light and delicate texture. Overmixing can deflate the batter and result in dense, tough cakes.
High-quality dark chocolate with 60-70% cocoa content works best. It provides rich flavor and the right consistency for creating that classic lava flow when you cut into the cake.
Print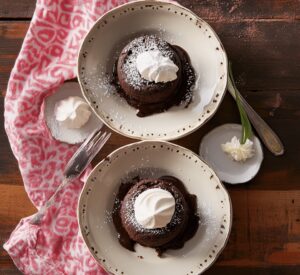
Chocolate Lava Cakes Recipe
- Total Time: 22 minutes
- Yield: 2 1x
Description
Molten chocolate lava cakes melt hearts with rich, gooey centers that spill silky chocolate goodness onto elegant plates. Guests will swoon over this French-inspired dessert that combines intense cocoa flavors with dramatic presentation and irresistible indulgence.
Ingredients
Main Ingredients:
- 6 ounces (170g) semi-sweet or dark chocolate, chopped
- 2 large eggs
- 2 large egg yolks
- ¼ cup (50g) granulated sugar
- ½ cup (115g) unsalted butter
- 2 tablespoons (15g) all-purpose flour
Coating Ingredient:
- Cocoa powder, for dusting ramekins
Additional Equipment:
- Extra unsalted butter for greasing ramekins
Instructions
- Prepare the baking environment by heating the oven to a scorching 425F (220C). Meticulously coat four ramekins with butter, then generously sprinkle cocoa powder, ensuring an even, non-stick surface. Discard any loose cocoa powder.
- Create a velvety chocolate base by melting chopped chocolate and butter using a double boiler or microwave technique. Stir gently during heating to achieve a silky-smooth consistency. Allow the mixture to cool slightly and rest.
- In a separate mixing vessel, vigorously whisk eggs, egg yolks, and sugar until the mixture transforms into a pale, luxurious cream with a thick, ribbon-like texture. This process typically takes 1-2 minutes of continuous whisking.
- Delicately incorporate the cooled chocolate mixture into the egg blend, using a folding motion to maintain the airy texture. Sift flour over the batter, gently folding until ingredients are just combined, avoiding overmixing.
- Distribute the batter evenly among the prepared ramekins, filling each approximately three-quarters full. Arrange the ramekins on a baking sheet for stable transportation and even heat distribution.
- Position the baking sheet in the preheated oven and bake for 12-14 minutes. The ideal moment arrives when edges appear set, yet centers remain delightfully soft and slightly trembling.
- After removing from the oven, allow the cakes to rest momentarily. Carefully trace the edges with a knife to loosen. Invert each ramekin onto individual serving plates, lifting gently to reveal the molten chocolate centers.
- Enhance the presentation by dusting with powdered sugar. Complement the dessert with fresh berries, a dollop of whipped cream, or a scoop of creamy vanilla ice cream. Serve immediately to fully appreciate the luxurious, flowing chocolate interior.
Notes
- Use high-quality dark chocolate with at least 60% cocoa solids for rich, intense flavor that elevates the entire dessert.
- Ensure ingredients like eggs and butter are at room temperature to create a smoother, more consistent batter that blends effortlessly.
- Avoid overmixing the batter when adding flour to prevent tough, dense lava cakes that lose their signature gooey center.
- Grease ramekins thoroughly and dust with cocoa powder to help cakes release cleanly without sticking or breaking.
- Check doneness by looking for set edges with a slightly wobbly center – this guarantees that perfect molten chocolate interior.
- Serve immediately after baking to experience the magical moment when warm chocolate flows from the cake’s center.
- For gluten-free variation, substitute all-purpose flour with almond flour or gluten-free flour blend.
- Reduce sugar by 25% for a less sweet version that highlights the chocolate’s deep, complex notes.
- Prep Time: 10 minutes
- Cook Time: 12 minutes
- Category: Desserts
- Method: Baking
- Cuisine: French
Nutrition
- Serving Size: 2
- Calories: 551
- Sugar: 25g
- Sodium: 38mg
- Fat: 36g
- Saturated Fat: 22g
- Unsaturated Fat: 10g
- Trans Fat: 0g
- Carbohydrates: 47g
- Fiber: 1g
- Protein: 8g
- Cholesterol: 186mg
James Mitchell
Founder & Recipe Developer
Expertise
Recipe Creation and Testing, Fusion Cuisine, Food Styling and Photography, Culinary Education
Education
Kendall College, Chicago, IL
The Culinary Institute of America, Hyde Park, NY
James Mitchell is the founder and fearless flavor explorer at Cooking Crusade. With a degree in Culinary Arts from Kendall College and advanced training in global gastronomy from The Culinary Institute of America, James has spent over a decade perfecting the art of recipe creation.
His background includes fine dining, private cheffing, and food styling, but his true joy comes from turning big ideas into doable recipes for home cooks. Every dish he shares is a mix of creativity, culture, and a little kitchen magic, built to bring excitement back to everyday meals.