The Dreamy Chocolate Protein Bliss Balls Recipe For Energy Lovers
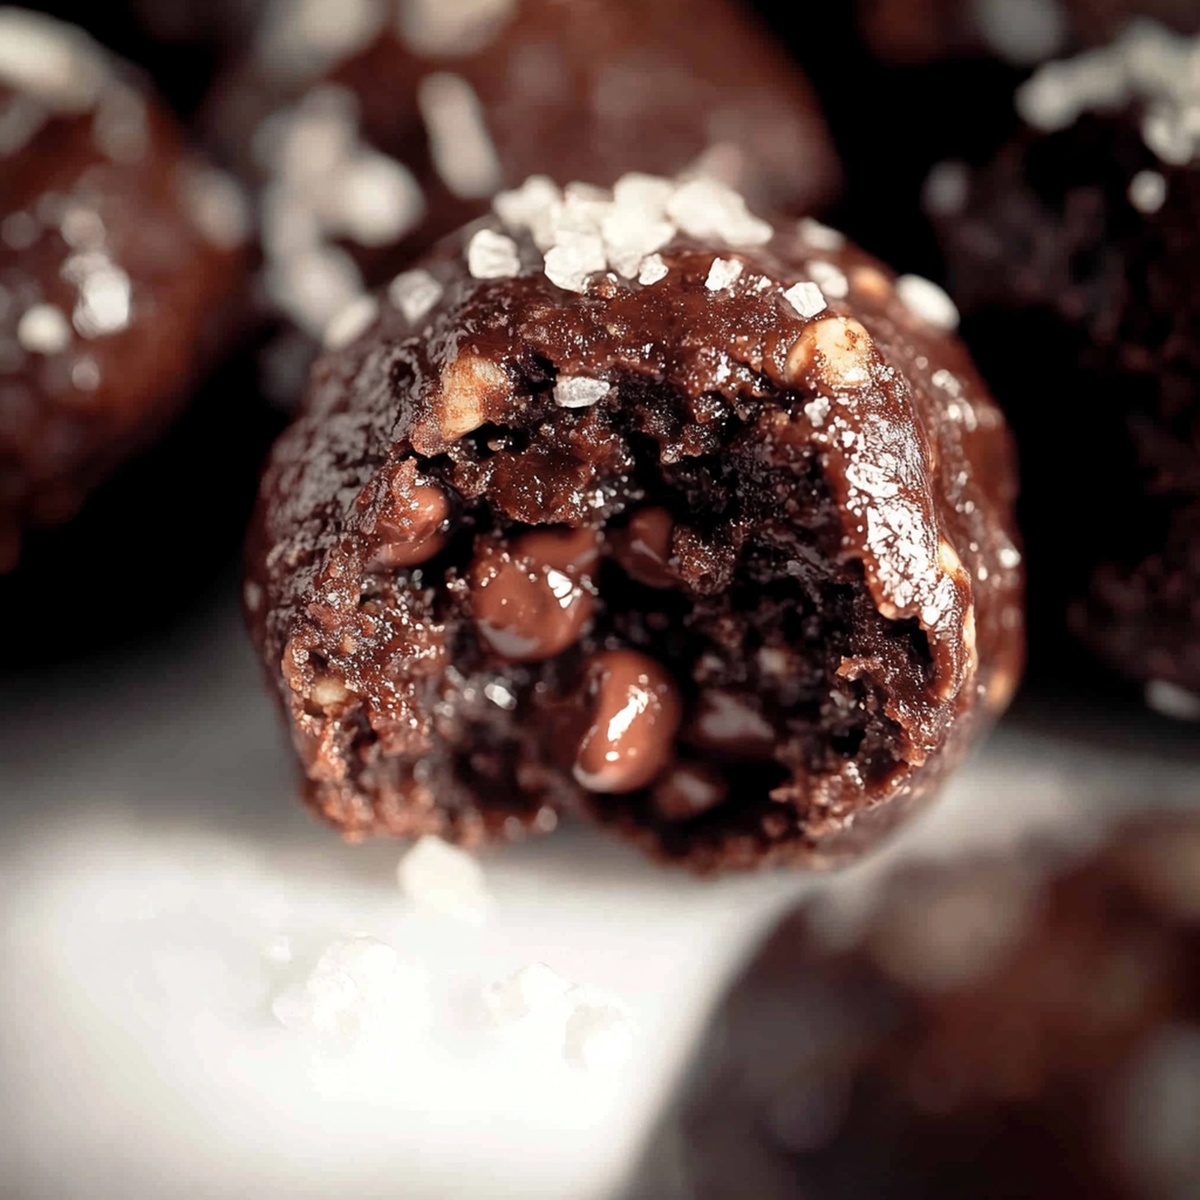
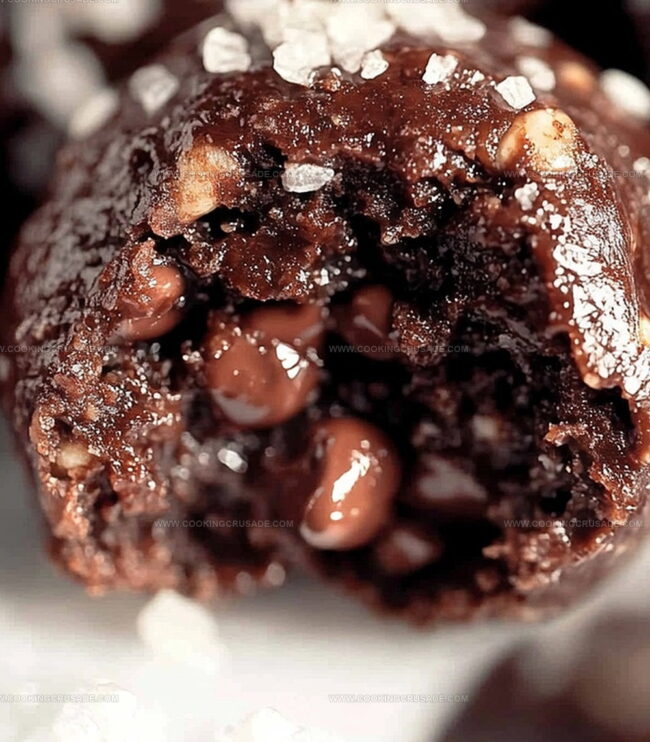
Biting into a decadent chocolate protein bliss ball that melts smoothly on your tongue.
These little energy powerhouses pack a serious nutritional punch without sacrificing flavor.
Wholesome ingredients come together in a surprisingly simple dance of textures and tastes.
Rich cocoa and smooth nut butter create a luxurious base that feels indulgent yet healthy.
protein powder adds muscle-supporting nutrients while natural sweeteners keep things balanced and delicious.
Quick to assemble and perfect for post-workout snacking or an afternoon pick-me-up, these bliss balls will become your new favorite treat.
Grab an apron and let’s transform simple ingredients into pure deliciousness!
Why Chocolate Protein Bliss Balls Are Your Go-To Snack Fix

Ingredients That Power Chocolate Protein Bliss Balls
Base Dry Ingredients:Binding Wet Ingredients:Optional Flavor Enhancers:Making Chocolate Protein Bliss Balls Step By Step
Step 1: Create Dry Mixture
Grab a spacious mixing bowl and toss in rolled oats, protein powder, cocoa powder, chia seeds, and a light sprinkle of salt. Mix these ingredients thoroughly until they’re evenly combined.
Step 2: Bind With Creamy Goodness
Pour in:Stir everything together until the mixture transforms into a cohesive, slightly sticky dough. If the mixture feels crumbly, splash in some water or milk to help everything stick together perfectly.
Step 3: Add Chocolate Excitement
Feeling adventurous? Fold in mini chocolate chips for extra bursts of decadent flavor. These little morsels will elevate your energy bites from good to absolutely amazing.
Step 4: Sculpt Your Delights
Use your hands to roll tablespoon-sized portions into compact, smooth spheres. Keep rolling until you’ve used up all the delicious dough. Your hands will become your artistic tools in creating these perfect little bites.
Step 5: Chill and Set
Transfer your freshly rolled bites onto a clean plate or tray. Pop them into the refrigerator for at least 30 minutes. This cooling time helps them firm up and intensifies their incredible texture.
Step 6: Dress Up Your Bites
Want to take these energy bites to the next level? Roll them in:This step adds an irresistible outer layer of crunch and flavor.
Step 7: Store and Savor
Tuck your energy bites into an airtight container. They’ll happily hang out in the refrigerator for a week or hibernate in the freezer for up to three months. Grab one whenever you need a quick, nutritious boost!
Pro Tip: These bites are perfect for pre-workout fuel, mid-afternoon energy rescue, or a guilt-free sweet treat.
Top Tips For Rich Chocolate Protein Bliss Balls
Storage And Freshness Tips For Chocolate Protein Bliss Balls
Best Pairings With Chocolate Protein Bliss Balls
Creative Ideas For Chocolate Protein Bliss Ball Flavors
FAQs On Chocolate Protein Bliss Balls Explained
Absolutely! These bliss balls are packed with nutritious ingredients like oats, protein powder, and chia seeds, providing a healthy energy boost without processed sugars.
Yes! Choose a dairy-free protein powder and almond butter, and use plant-based honey or maple syrup to create a completely dairy-free treat.
The dough should be sticky enough to hold together when pressed. If it’s too dry, add a little water or milk; if too wet, sprinkle in more oats or protein powder until it’s perfectly moldable.
You can substitute with ground nuts, more oats, or even powdered peanut butter to maintain the dry ingredient ratio and get a similar nutritional profile.
Print
Chocolate Protein Bliss Balls Recipe
- Total Time: 40 minutes
- Yield: 12 1x
Description
Dark chocolate protein bliss balls deliver pure energy in bite-sized spheres of deliciousness. Packed with wholesome ingredients and rich cocoa, these protein-powered treats will satisfy sweet cravings while nourishing your body.
Ingredients
Protein and Base Ingredients:
- 1 cup (240 ml) rolled oats
- ¼ cup (28 g) chocolate protein powder
- 2 tablespoons (10 g) unsweetened cocoa powder
- 2 tablespoons (30 ml) chia seeds
Binding and Flavor Ingredients:
- ¼ cup (60 ml) almond butter
- ¼ cup (60 ml) honey
- 1 teaspoon vanilla extract
- Pinch of salt
Optional Add-ins:
- ¼ cup (45 g) mini chocolate chips
Optional Toppings/Coatings:
- Unsweetened shredded coconut
- Cocoa powder
- Crushed nuts
Instructions
- Create a versatile mixing base by combining rolled oats, protein powder, cocoa powder, chia seeds, and a delicate salt sprinkle in a spacious mixing vessel.
- Introduce creamy almond butter, golden honey, and aromatic vanilla extract to the dry ingredients, blending until a cohesive, slightly tacky mixture forms. Adjust consistency with minimal water or milk if the texture seems too crumbly.
- Enhance the chocolate profile by gently folding mini chocolate chips throughout the developing dough, ensuring even distribution for delightful flavor bursts.
- Utilize clean hands to carefully portion and shape the mixture into uniform spherical treats, applying gentle, consistent pressure to compact the ingredients and maintain structural integrity.
- Transfer the freshly crafted protein spheres onto a chilled plate, allowing them to set and firm in the refrigerator for approximately half an hour, which helps solidify their structure and intensify flavor melding.
- Elevate the sensory experience by rolling the chilled bliss balls in complementary coatings such as toasted coconut flakes, rich cocoa powder, or finely crushed nuts, creating an additional layer of textural complexity.
- Preserve the protein-packed delicacies in a sealed container within the refrigerator for optimal freshness, maintaining quality for up to seven days. Alternatively, freeze for extended enjoyment up to three lunar cycles.
Notes
- Customize protein powder choices to match dietary needs, like plant-based or whey options for different nutrition profiles.
- Adjust sweetness by using alternative liquid sweeteners such as maple syrup or agave nectar if honey isn’t preferred.
- Control consistency by adding liquid incrementally – start with small amounts to prevent overly wet mixture that won’t hold shape.
- Experiment with mix-in ingredients like dried fruit, different nuts, or seeds to create unique flavor combinations and boost nutritional value.
- Prep Time: 10 minutes
- Cook Time: 30 minutes
- Category: Snacks, Desserts
- Method: Mixing
- Cuisine: American
Nutrition
- Serving Size: 12
- Calories: 180
- Sugar: 10 g
- Sodium: 50 mg
- Fat: 8 g
- Saturated Fat: 1 g
- Unsaturated Fat: 7 g
- Trans Fat: 0 g
- Carbohydrates: 24 g
- Fiber: 3 g
- Protein: 6 g
- Cholesterol: 0 mg
James Mitchell
Founder & Recipe Developer
Expertise
Recipe Creation and Testing, Fusion Cuisine, Food Styling and Photography, Culinary Education
Education
Kendall College, Chicago, IL
The Culinary Institute of America, Hyde Park, NY
James Mitchell is the founder and fearless flavor explorer at Cooking Crusade. With a degree in Culinary Arts from Kendall College and advanced training in global gastronomy from The Culinary Institute of America, James has spent over a decade perfecting the art of recipe creation.
His background includes fine dining, private cheffing, and food styling, but his true joy comes from turning big ideas into doable recipes for home cooks. Every dish he shares is a mix of creativity, culture, and a little kitchen magic, built to bring excitement back to everyday meals.