Festive Christmas Oreos Recipe: Jolly Sweet Holiday Treats
Sweet holiday memories flood back when I whip up these delightful Christmas Oreos that spark instant joy.
Biting into a festive cookie loaded with creamy peppermint and rich chocolate goodness.
Childhood traditions merge with modern baking creativity in this simple yet magical treat.
Home kitchens will buzz with excitement as you craft these delectable sweets.
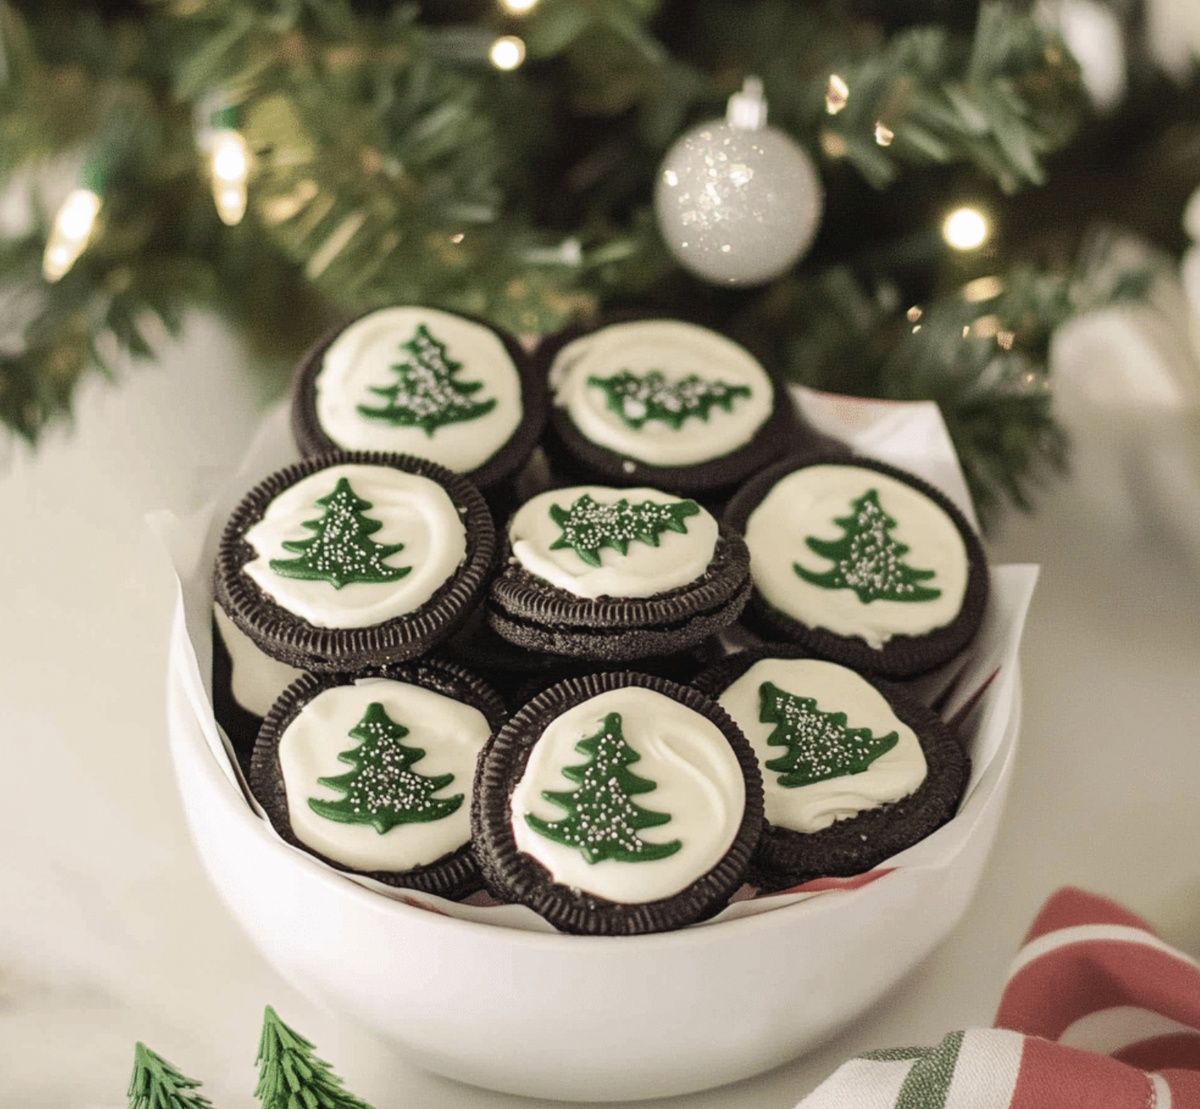
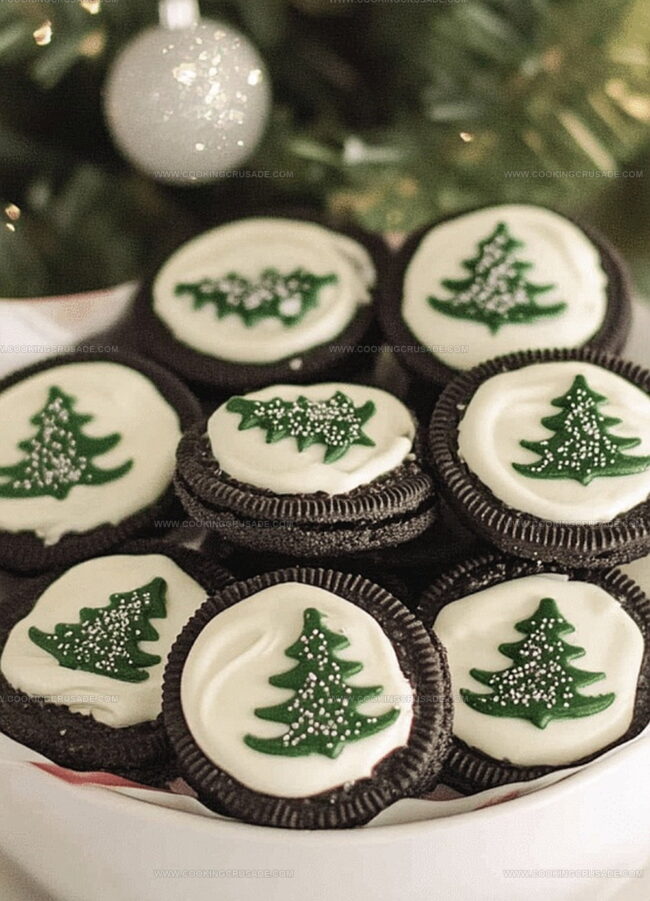
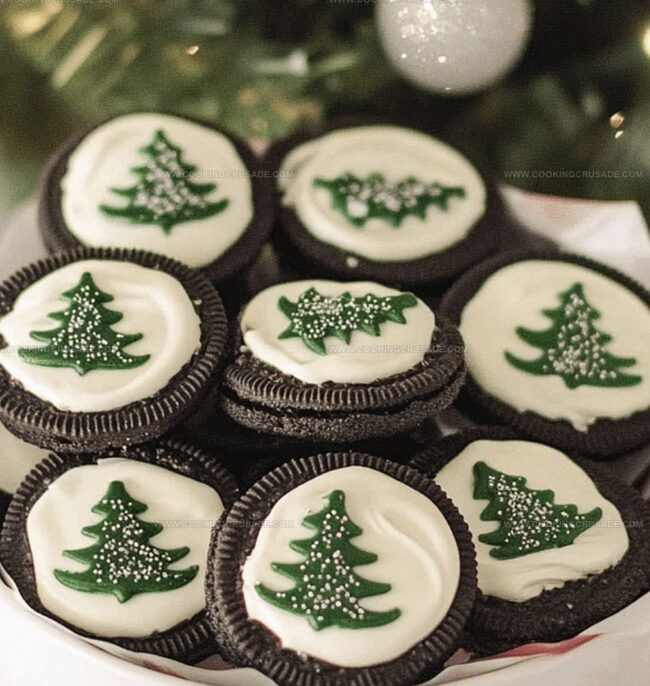
Decorative sprinkles and melted chocolate add a playful touch to each homemade cookie.
Friends and relatives will marvel at your culinary skills and festive spirit.
This recipe promises to become your new seasonal favorite that everyone will request year after year.
Why Christmas Oreos Are Fun And Easy
What You’ll Need For Christmas Oreos
Chocolate Coatings:Notes: Choose high-quality chocolate chips that melt smoothly.
Oreo Cookies:Notes: Standard Oreo cookies work best for consistent size and flavor.
Decorative Toppings:Notes: Select bright, seasonal sprinkles for maximum visual appeal.
How To Make Christmas Oreos Quickly
Step 1: Prepare Melting Stations
Set up two microwave-safe bowls. Carefully melt white chocolate and dark chocolate separately. Stir gently between 30-second microwave intervals until silky smooth. For festive colors, blend food coloring into white chocolate.
Step 2: Dip And Coat Oreos
Choose your favorite dipping tool – a fork works perfectly. Gently submerge each Oreo cookie into melted chocolate. Allow excess chocolate to drip back into bowl by softly tapping against bowl’s edge.
Step 3: Create Decorative Magic
Place chocolate-coated Oreos on parchment-lined baking sheet. While chocolate remains wet, sprinkle with:Step 4: Harden Chocolate Coating
Let Oreos rest at room temperature for chocolate to naturally set. For quicker results, slide baking sheet into refrigerator. Chocolate will solidify within 20-30 minutes.
Step 5: Package With Love
Transfer completed Christmas Oreos to decorative serving platter. Package in clear cellophane bags tied with ribbons or festive holiday containers for gifting to friends and family.
Tips To Help With Christmas Oreos
Store Christmas Oreos The Easy Way
Tasty Pairings With Christmas Oreos
Try These Flavors Of Christmas Oreos
Common Questions On Christmas Oreos
These festive Oreos are a delightful holiday treat that transforms classic cookies into a colorful, chocolate-covered dessert perfect for Christmas celebrations, gift-giving, and spreading holiday cheer.
You’ll only need a microwave-safe bowl, a fork or dipping tool, and a baking sheet with parchment paper. It’s a simple process that doesn’t require any complicated kitchen tools.
Absolutely! You can mix and match white, milk, or dark chocolate to create your own unique Christmas Oreo design. Feel free to experiment with different chocolate flavors to suit your taste.
These Christmas Oreos are perfect for holiday parties, cookie exchanges, or as homemade gifts. They’re easy to make, look impressive, and add a festive touch to any Christmas gathering.
Print
Christmas Oreos Recipe
- Total Time: 1 hour 15 minutes
- Yield: 12 1x
Description
Festive Christmas Oreos bring holiday cheer with rich chocolate cookies and peppermint cream filling. Delightful treats sparkle with crushed candy canes, creating a magical dessert perfect for winter celebrations.
Ingredients
Main Chocolate Ingredients:
- 1 (14.3 ounces / 405 grams) package Oreo cookies
- 2 cups white chocolate chips or candy melts
- 2 cups milk or dark chocolate chips or candy melts
Decorative Ingredients:
- Assorted holiday sprinkles
- Crushed candy canes
- Red food coloring
- Green food coloring
Instructions
- Prepare a clean workspace by lining a baking sheet with parchment paper, ensuring a smooth surface for chocolate-dipped treats.
- Carefully separate white and dark chocolate into microwave-safe containers, using short heating intervals and stirring frequently to achieve a silky, glossy consistency without burning.
- Gently drop each Oreo cookie into the melted white chocolate, using a fork to carefully lift and drain excess coating, creating an even, smooth chocolate shell.
- While chocolate remains glossy, quickly sprinkle holiday-themed decorations like festive sprinkles, crushed peppermint pieces, or delicate sugar crystals across the surface.
- For added visual interest, drizzle contrasting chocolate in elegant zigzag patterns or thin streams across the coated cookies.
- Allow decorated Oreos to rest at room temperature, permitting chocolate to naturally solidify and set, which typically takes 20-30 minutes.
- Alternatively, expedite the setting process by placing the baking sheet in the refrigerator for approximately 15 minutes until chocolate becomes completely firm.
- Once hardened, carefully transfer the decorated Oreos to a decorative serving platter or package in clear cellophane bags tied with festive ribbons for gifting.
Notes
- Choose high-quality chocolate for a richer, more luxurious flavor that elevates the basic Oreo treat.
- Prevent chocolate from seizing by ensuring no water drops into the melting bowls and stir gently during the melting process.
- Experiment with different chocolate colors and sprinkle combinations to match various holiday themes or personal preferences.
- For a gluten-free version, select gluten-free sandwich cookies instead of traditional Oreos to accommodate dietary restrictions.
- Prep Time: 15 minutes
- Cook Time: 1 hour
- Category: Desserts, Snacks
- Method: None
- Cuisine: American
Nutrition
- Serving Size: 12
- Calories: 210
- Sugar: 18 g
- Sodium: 90 mg
- Fat: 9 g
- Saturated Fat: 5 g
- Unsaturated Fat: 4 g
- Trans Fat: 0 g
- Carbohydrates: 30 g
- Fiber: 1 g
- Protein: 2 g
- Cholesterol: 0 mg
James Mitchell
Founder & Recipe Developer
Expertise
Recipe Creation and Testing, Fusion Cuisine, Food Styling and Photography, Culinary Education
Education
Kendall College, Chicago, IL
The Culinary Institute of America, Hyde Park, NY
James Mitchell is the founder and fearless flavor explorer at Cooking Crusade. With a degree in Culinary Arts from Kendall College and advanced training in global gastronomy from The Culinary Institute of America, James has spent over a decade perfecting the art of recipe creation.
His background includes fine dining, private cheffing, and food styling, but his true joy comes from turning big ideas into doable recipes for home cooks. Every dish he shares is a mix of creativity, culture, and a little kitchen magic, built to bring excitement back to everyday meals.