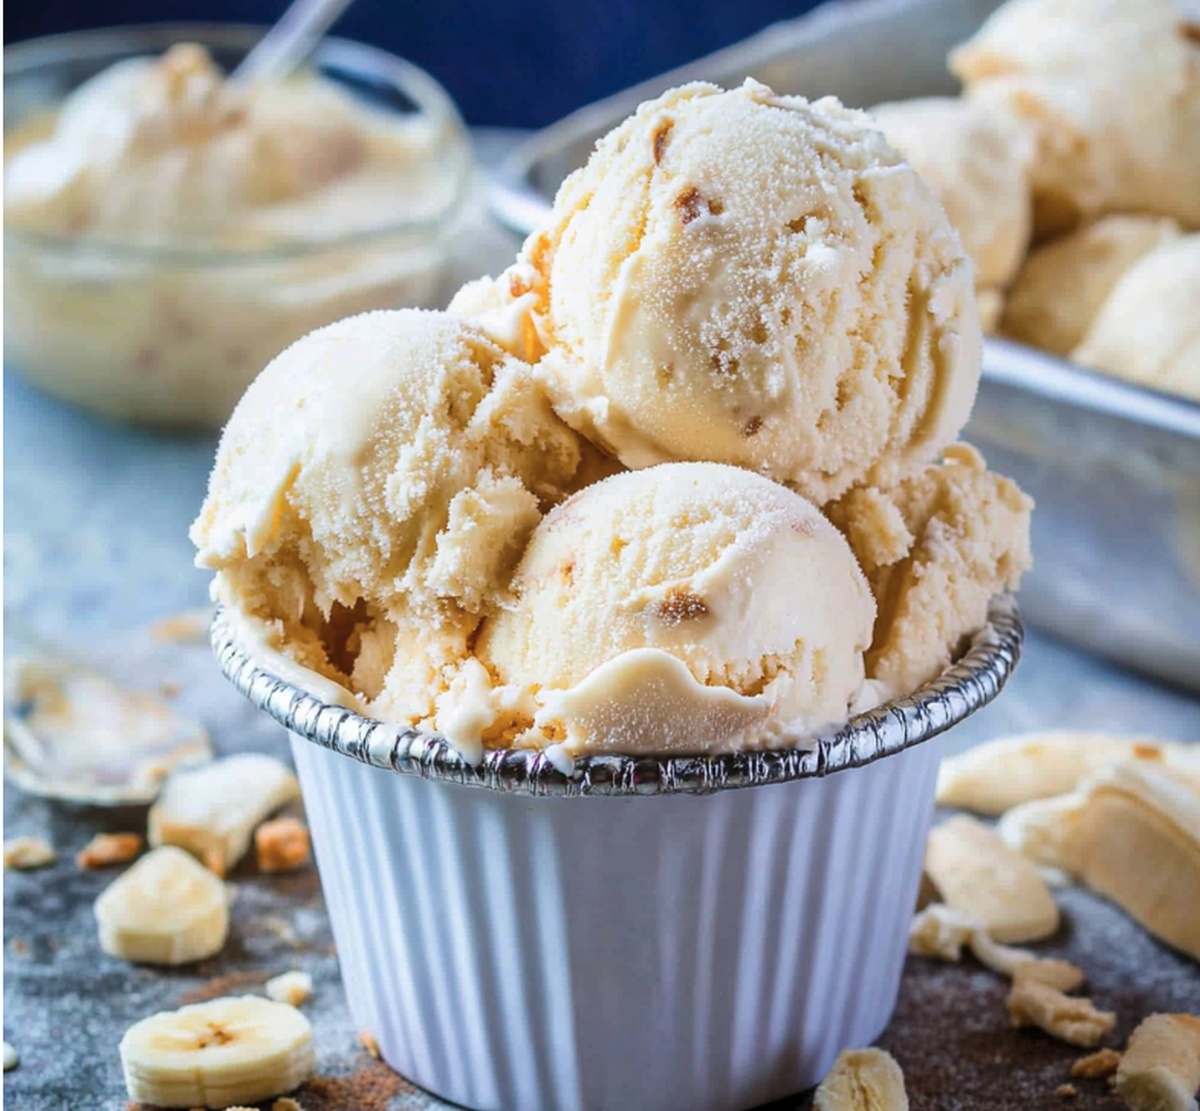
Blend-and-Freeze Banana Ice Cream Recipe: No Churning Magic!
Cool summer days demand a delightful banana ice cream that blends smooth, creamy textures with natural sweetness.
This no-churn banana ice cream recipe delivers pure indulgence without complicated steps or fancy equipment.
Ripe bananas become the star ingredient, creating a luscious dessert that melts effortlessly on your tongue.
Simple ingredients come together in minutes, promising a treat that feels both decadent and wholesome.
The method requires just a blender and freezer, making it accessible for home cooks of all skill levels.
Whip up this refreshing dessert and watch faces light up with the first delicious spoonful.
Quick Recipe Overview
What’s In No Churn Banana Ice Cream
For Banana Base:For Creamy Structure:For Optional Mix-Ins:Tools You’ll Need For No Churn Banana Ice Cream
How To Make No Churn Banana Ice Cream
Grab ripe bananas and smash them into a silky smooth puree using a blender or food processor. Splash in some sweet condensed milk and vanilla for extra magic.
Grab cold heavy cream and beat it until it transforms into fluffy clouds. Gently fold the banana mixture into the cream, creating a dreamy swirl of deliciousness.
Want to jazz up your dessert? Toss in chocolate chips, chopped nuts, or crumbled cookies. Feel free to drizzle caramel or chocolate sauce for an extra flavor punch.
Pour your creamy concoction into a freezer-safe container. Smooth the top and pop it in the freezer for 4-6 hours until it’s perfectly firm and ready to devour.
Let the ice cream soften for a few minutes. Scoop into bowls and dress it up with banana slices, a drizzle of chocolate, whipped cream, or a sprinkle of crunchy nuts.
Helpful Tips For No Churn Banana Ice Cream
Serving No Churn Banana Ice Cream Just Right
How To Keep No Churn Banana Ice Cream Frozen
Print
Creamy Banana Ice Cream Recipe
- Total Time: 6 hours 15 minutes
- Yield: 7 1x
Description
Creamy no churn banana ice cream blends ripe bananas with sweetened condensed milk for a luscious dessert. Homemade frozen treat delights with minimal effort and maximum flavor, perfect for cool summer refreshment.
Ingredients
- 3 ripe bananas, peeled and sliced
- 1 can (14 oz / 400 g) sweetened condensed milk
- 2 cups (480 ml) heavy whipping cream, cold
- 1 tsp vanilla extract
- ¼ tsp salt (optional)
- ½ cup chocolate chips or chocolate chunks
- ½ cup crushed cookies (e.g., vanilla wafers or graham crackers)
- ¼ cup chopped nuts (e.g., walnuts, pecans)
- ¼ cup caramel or chocolate sauce, for swirling
Instructions
- Puree Preparation: Pulverize ripe bananas in a blender until achieving a silky-smooth consistency, transforming the fruit into a luscious base.
- Flavor Infusion: Whisk condensed milk, vanilla extract, and salt into the banana puree, creating a harmonious, creamy blend that enhances the dessert’s depth.
- Cream Transformation: Chill a mixing bowl and whip heavy cream until forming robust, glossy peaks that provide a luxurious structural foundation for the ice cream.
- Mixture Integration: Gently fold banana mixture into whipped cream, maintaining the delicate airiness while ensuring complete flavor distribution.
- Decadent Additions: Incorporate texture and excitement by folding in chocolate chips, chopped nuts, or crumbled cookies, creating unexpected bursts of flavor throughout the mixture.
- Flavor Enhancement: Artfully swirl caramel or chocolate sauce into the base, generating mesmerizing marbled patterns that elevate the visual and taste experience.
- Freezing Process: Transfer the mixture to a freezer-safe container, smoothing the surface and sealing with plastic wrap, then freeze for 4-6 hours until the ice cream sets into a rich, creamy consistency.
- Serving Perfection: Allow the ice cream to soften at room temperature for 5 minutes before scooping, then garnish with optional toppings like fresh banana slices, chocolate syrup, whipped cream, or toasted nuts to create a stunning final presentation.
Notes
- Prevent Banana Browning: Use very ripe, slightly overripe bananas to maximize sweetness and prevent quick browning during preparation.
- Achieve Creamy Consistency: Blend bananas thoroughly to create a smooth puree, eliminating any lumps that might affect the ice cream’s texture.
- Whipping Cream Technique: Ensure heavy cream is cold and use a chilled bowl to create stable, voluminous peaks that will maintain the ice cream’s light structure.
- Customize Dietary Options: Substitute condensed milk with coconut cream for a vegan version, or use sugar-free alternatives for a low-sugar dessert option.
- Prep Time: 15 minutes
- Cook Time: 6 hours
- Category: Desserts, Snacks
- Method: Blending
- Cuisine: American
Nutrition
- Serving Size: 7
- Calories: 385
- Sugar: 36 g
- Sodium: 87 mg
- Fat: 28 g
- Saturated Fat: 17 g
- Unsaturated Fat: 9 g
- Trans Fat: 0 g
- Carbohydrates: 34 g
- Fiber: 2 g
- Protein: 4 g
- Cholesterol: 80 mg
Olivia Bennett
Co-Founder & Content Creator
Expertise
Nutritional Analysis, Dietary Accommodations, Food Writing and Blogging,
Education
University of Texas at Austin
Institute of Culinary Education, New York, NY
Olivia Bennett is Cooking Crusade’s go-to expert for nutritious, feel-good food. Based in Austin, she blends her degree in Nutrition from the University of Texas with plant-based culinary training from the Institute of Culinary Education.
Olivia’s recipes are all about balance: vibrant, wholesome, and easy-to-love dishes that work for all kinds of eaters. Her mission is simple: to make healthy eating approachable and genuinely tasty, with tips that support your lifestyle, not complicate it.