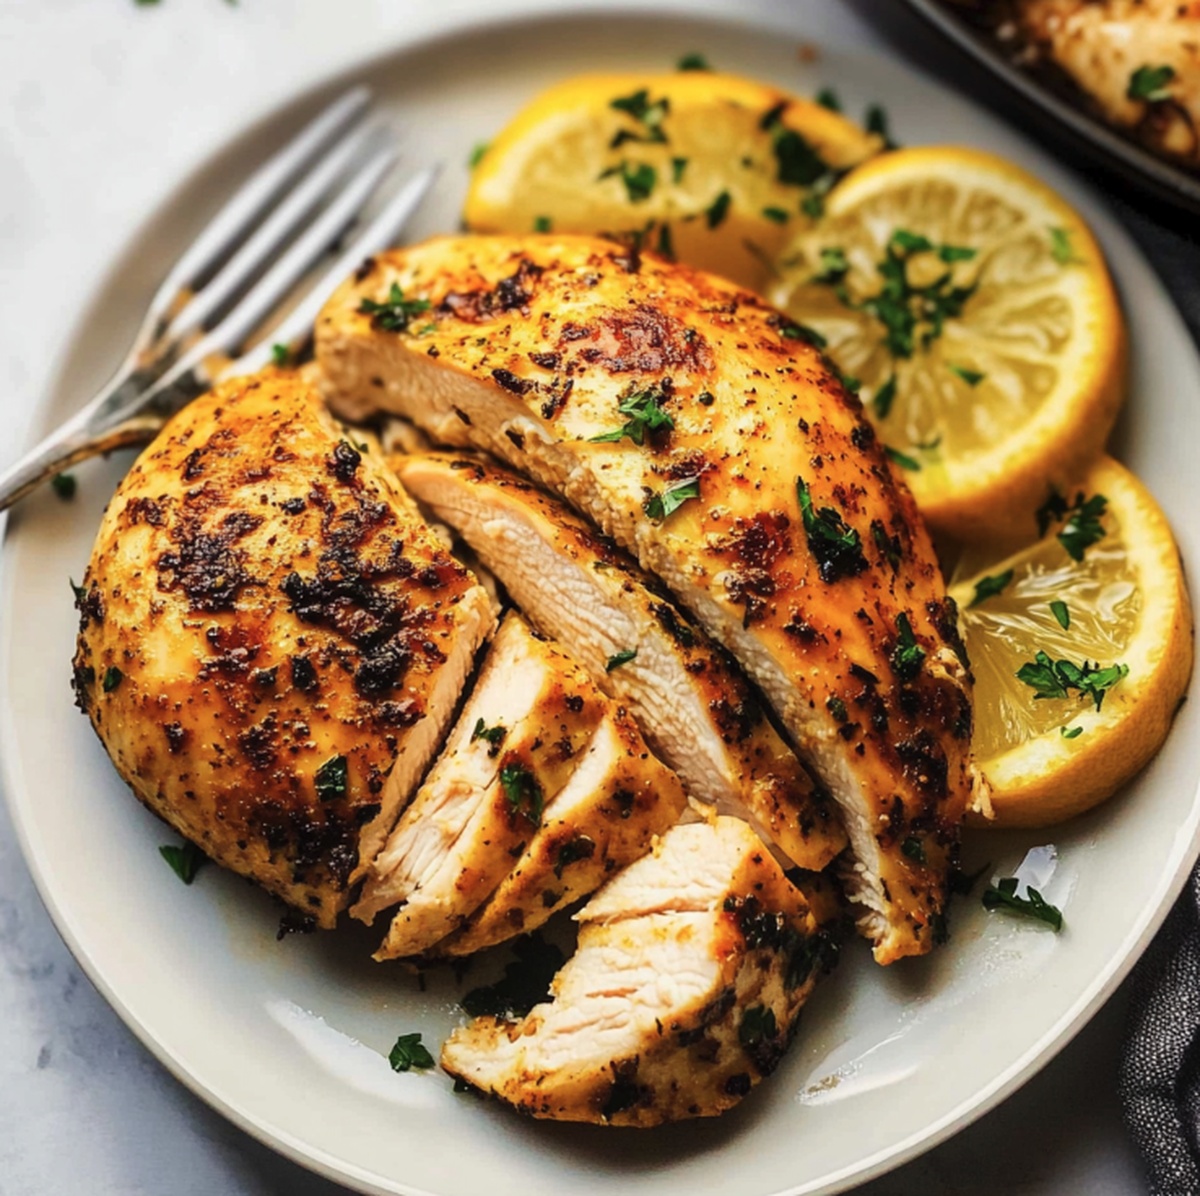
Juicy Herb-Crusted Air Fryer Chicken Breast Recipe
Juicy chicken breasts meet their crispy air fryer chicken breast recipe match in this mouthwatering culinary creation.
Golden-brown edges crackle with promise and tenderness.
Lean protein takes center stage with minimal effort and maximum flavor.
Seasoned perfectly, these chicken breasts deliver a delightful crunch that beats traditional cooking methods.
Salt, pepper, and your favorite spices dance across each tender slice.
The air fryer works its magic, sealing in moisture while creating an irresistible exterior.
You’ll want to add this simple yet spectacular dish to your weekly meal rotation.
Dinner just got a delicious upgrade that will have everyone asking for seconds.
Quick Recipe Overview
What You’ll Need For Air Fryer Chicken Breast
For Protein Base:For Seasoning Blend:For Optional Finishing Touches:Helpful Tools For Air Fryer Chicken Breast
Easy Steps For Air Fryer Chicken Breast
Pat the chicken breast dry with paper towels to remove excess moisture. This helps create a crispy, golden exterior when cooking.
Coat the chicken with your favorite herbs and spices, ensuring every inch gets some flavor love. Don’t be shy – a good seasoning makes all the difference.
Place the seasoned chicken breast in the air fryer basket, making sure it’s not overlapping. Space allows hot air to circulate and cook evenly.
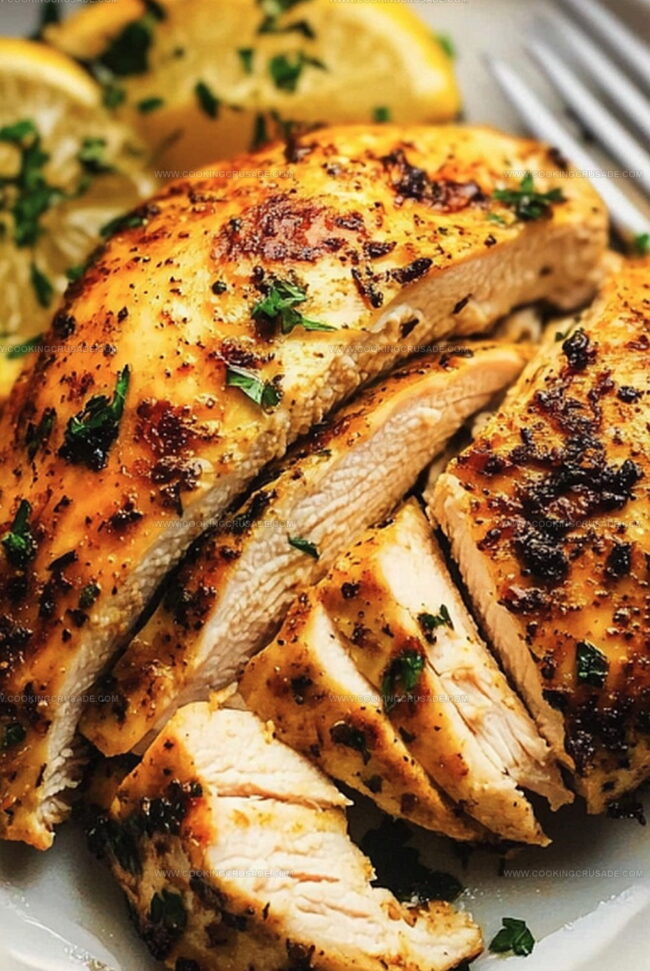
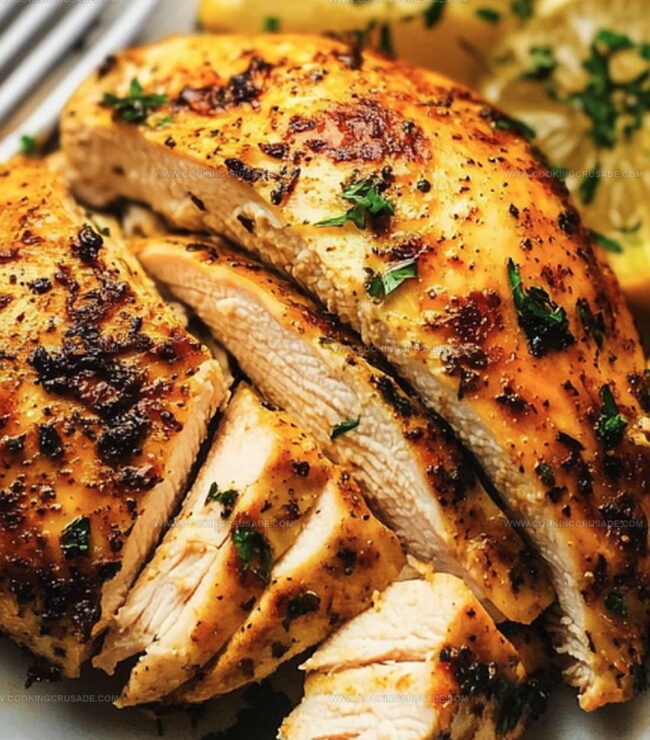
Air fry at 200C (400F) for 10-12 minutes, flipping halfway through. The chicken is ready when its internal temperature hits 74C (165F) and the outside looks beautifully golden and crisp.
Let the chicken rest for 3-5 minutes after cooking. This helps the juices redistribute, keeping the meat tender and succulent. Slice and enjoy your juicy, crispy chicken!
Cooking Tips For Air Fryer Chicken Breast
Best Ways To Serve Air Fryer Chicken Breast
Keep Air Fryer Chicken Breast Stored Well
Print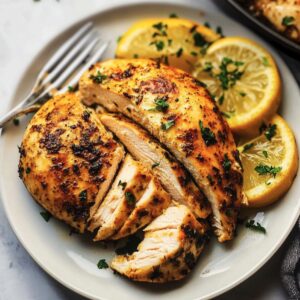
Crispy Air Fryer Chicken Breast Recipe
- Total Time: 25 minutes
- Yield: 3 1x
Description
Succulent air fryer chicken breast emerges as a quick, foolproof dinner solution for busy households. Juicy meat with crispy exterior results from simple seasonings and precise cooking techniques, promising a delightful meal you can easily master at home.
Ingredients
- 2 chicken breasts (boneless, skinless)
- 1 tbsp (15 ml) olive oil
- 1 tsp (5 g) garlic powder
- 1 tsp (5 g) paprika
- ½ tsp (2.5 g) smoked paprika (optional, for extra smoky flavor)
- ½ tsp (2.5 g) onion powder
- ½ tsp (2.5 g) dried oregano or thyme
- ½ tsp (2.5 g) salt
- ¼ tsp (1.25 g) black pepper
Instructions
- Preparation: Pat chicken breasts completely dry to maximize seasoning absorption and achieve a crisp exterior, creating an ideal canvas for flavor.
- Seasoning Blend: Combine salt, pepper, garlic powder, and paprika in a mixing bowl, then thoroughly massage the spice mixture into each chicken breast, ensuring complete coverage.
- Preheating and Coating: Warm the air fryer to the specified temperature while lightly coating chicken with olive oil to promote golden-brown caramelization and prevent basket adhesion.
- Air Frying Process: Arrange seasoned chicken breasts in a single layer within the air fryer basket, maintaining spacing to allow optimal heat circulation and uniform cooking.
- Cooking and Temperature Monitoring: Cook chicken, rotating midway through the cycle to ensure consistent browning and even internal heating, carefully tracking temperature until reaching the safe consumption point of 74°C (165°F).
- Resting and Serving: Remove chicken from air fryer and allow a brief resting period of 3-5 minutes, enabling juice redistribution and maintaining peak moisture, then slice against the grain and plate immediately to preserve temperature and textural integrity.
Notes
- Moisture Management: Pat chicken breasts completely dry to guarantee crispy, golden-brown exterior and prevent steaming instead of crisping in the air fryer.
- Seasoning Strategy: Create a balanced spice blend and apply generously, ensuring even coating for maximum flavor penetration and consistent taste throughout the chicken.
- Oil Application Technique: Use minimal olive oil to enhance browning, prevent sticking, and help seasonings adhere without making the chicken greasy or soggy.
- Temperature Precision: Monitor internal chicken temperature carefully with a meat thermometer, aiming exactly at 74°C (165°F) to guarantee food safety without overcooking and maintaining juicy texture.
- Prep Time: 5 minutes
- Cook Time: 16-18 minutes
- Category: Dinner, Lunch
- Method: Frying
- Cuisine: American
Nutrition
- Serving Size: 3
- Calories: 250
- Sugar: 0 g
- Sodium: 800 mg
- Fat: 12 g
- Saturated Fat: 2 g
- Unsaturated Fat: 10 g
- Trans Fat: 0 g
- Carbohydrates: 3 g
- Fiber: 0 g
- Protein: 39 g
- Cholesterol: 110 mg
Olivia Bennett
Co-Founder & Content Creator
Expertise
Nutritional Analysis, Dietary Accommodations, Food Writing and Blogging,
Education
University of Texas at Austin
Institute of Culinary Education, New York, NY
Olivia Bennett is Cooking Crusade’s go-to expert for nutritious, feel-good food. Based in Austin, she blends her degree in Nutrition from the University of Texas with plant-based culinary training from the Institute of Culinary Education.
Olivia’s recipes are all about balance: vibrant, wholesome, and easy-to-love dishes that work for all kinds of eaters. Her mission is simple: to make healthy eating approachable and genuinely tasty, with tips that support your lifestyle, not complicate it.