Crispy Golden Fried Fish Sandwich Recipe: A Tasty Lunchtime Gem
Seafood enthusiasts crave a deliciously crispy fried fish sandwich that delivers crunch and flavor in every bite.
This classic recipe turns simple ingredients into a mouthwatering meal that sings with coastal charm.
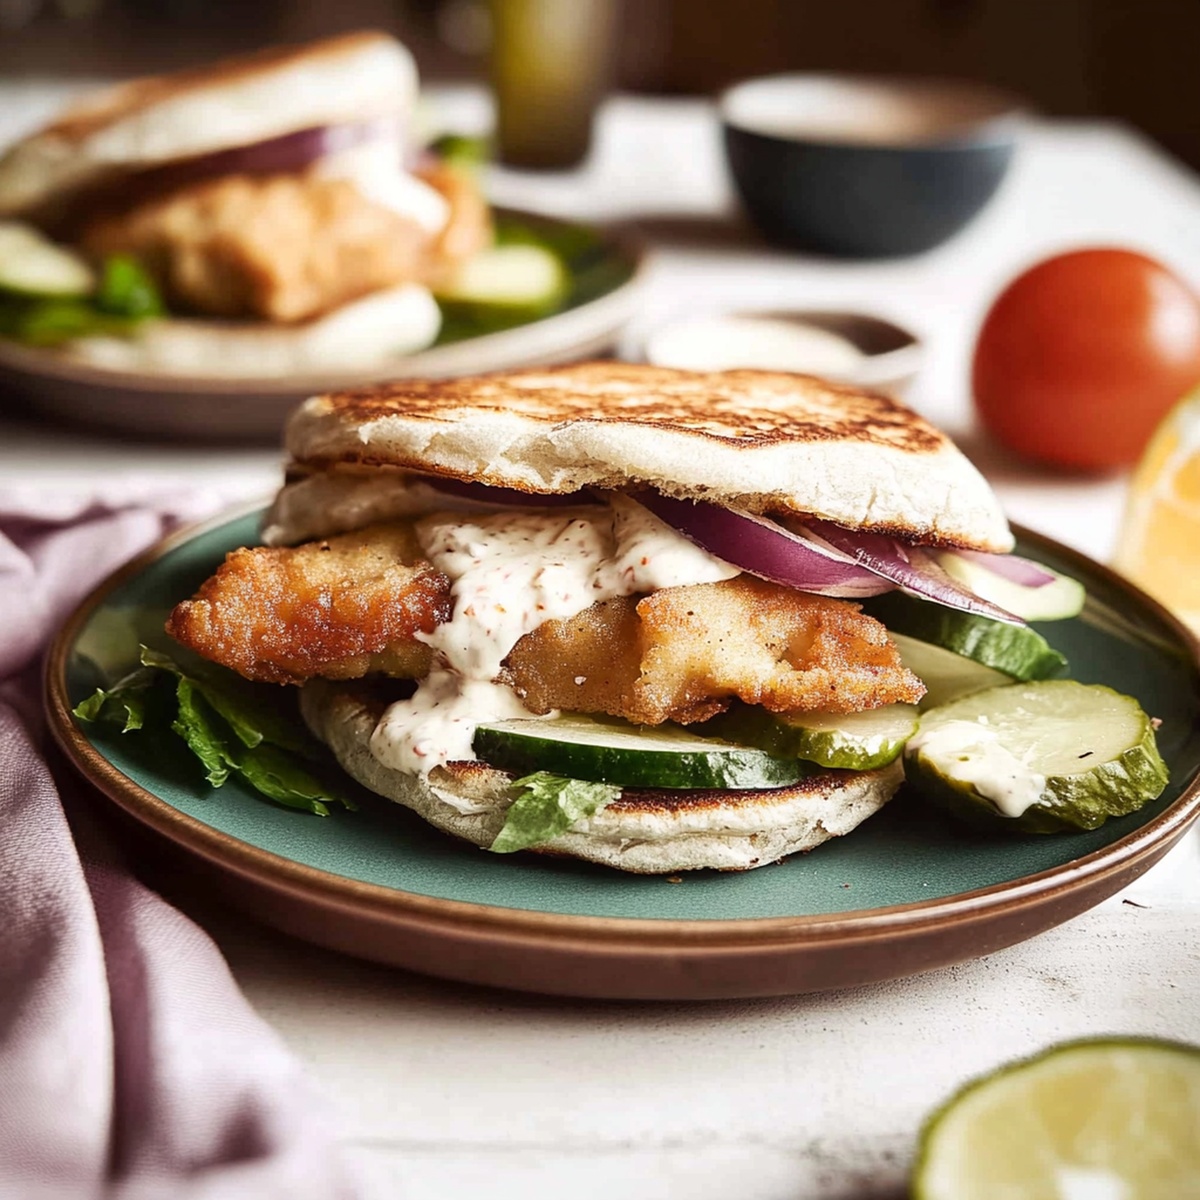
Golden, perfectly seasoned fish nestles between soft bread, creating a delectable contrast of textures.
Crisp breading locks in tender fish, making each sandwich a delightful experience.
Fresh herbs and a zesty sauce complement the fish’s rich profile.
Salt, pepper, and a blend of spices elevate this sandwich from ordinary to extraordinary.
You’ll want to make this crowd-pleasing dish that transforms an everyday meal into a restaurant-quality feast.
Quick Recipe Overview

What’s Needed For Fried Fish Sandwich
For Breading and Coating:For Binding and Moisture:For Crispy Exterior:For Frying:Gear You’ll Need For Fried Fish Sandwich
How To Put Together Fried Fish Sandwich

Create three shallow bowls with seasoned flour, buttermilk egg wash, and crispy panko breadcrumbs. Mix your flour blend with zesty spices like salt, black pepper, garlic powder, paprika, and Old Bay for a flavor punch.
Lovingly coat each fish fillet by first rolling in seasoned flour, then dunking in egg wash, and finally pressing generously into panko breadcrumbs. Ensure each piece is completely and evenly covered for maximum crunch.
Heat vegetable oil in a skillet until it reaches a dancing temperature around 350F. Carefully slide fish into the hot oil and cook for 3-4 minutes per side. Watch for a gorgeous golden-brown exterior that promises irresistible crispiness. Transfer to a paper towel to absorb extra oil and keep that perfect crunch.
Tips To Try For Fried Fish Sandwich
Serve Up Fried Fish Sandwich With Style
Storage Help For Fried Fish Sandwich
Print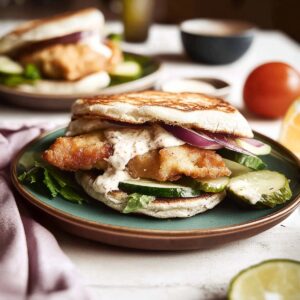
Crispy Fried Fish Sandwich Recipe
- Total Time: 20 minutes
- Yield: 5 1x
Description
Crispy homemade fried fish sandwich delivers classic comfort with golden-brown cod nestled between toasted brioche. Tangy slaw and zesty tartar sauce complete this delectable seafood meal you’ll crave again and again.
Ingredients
- 4 white fish fillets (cod, haddock, or tilapia)
- 1 cup (240 ml/8 fl oz) all-purpose flour
- 1 cup (240 ml/8 fl oz) buttermilk (or milk with 1 tsp vinegar)
- 1 cup (100 g/3.5 oz) panko breadcrumbs (or cornmeal for extra crunch)
- Vegetable oil, for frying
- 4 brioche or sandwich buns, toasted
- ½ cup (120 ml/4 fl oz) tartar sauce (or mayonnaise)
- 1 large egg
- 1 tsp (5 g) salt
- ½ tsp (2.5 g) black pepper
- 1 tsp (5 g) garlic powder
- 1 tsp (5 g) paprika
- 1 tsp (5 g) Old Bay seasoning (optional)
- 1 cup (50 g/1.8 oz) shredded lettuce
- 1 tomato, sliced
- ½ cup (50 g/1.8 oz) pickles or sliced onions (optional)
Instructions
- Seasoning Preparation: Blend dry ingredients to craft a flavorful flour mixture that will enhance the fish’s overall taste and create a robust coating.
- Liquid Binding: Combine buttermilk and egg into a smooth, adhesive mixture that will help breading adhere perfectly to the fish fillets.
- Dredging Process: Coat each fish fillet comprehensively in the seasoned flour, ensuring complete and even coverage for maximum flavor absorption.
- Breading Technique: Dip the floured fillet into the buttermilk mixture, allowing excess liquid to drip off before generously pressing panko breadcrumbs to create a crisp, textured exterior.
- Oil Preparation: Heat vegetable oil in a skillet to the ideal temperature, creating a perfect golden-brown cooking environment for the delicate fish fillets.
- Frying Method: Carefully submerge breaded fillets into the shimmering oil, cooking each side until achieving a rich, amber color and ensuring thorough cooking – approximately 3-4 minutes per side.
- Finishing Touch: Transfer fried fillets to a paper towel-lined plate to drain excess oil, preserving the crispy texture and maintaining optimal flavor and crunch.
Notes
- Manage Flour Coating: Ensure even, light dusting of seasoned flour for maximum flavor absorption without clumping.
- Control Buttermilk Mixture: Pat fish dry before dipping to help breading adhere perfectly and prevent soggy texture.
- Monitor Oil Temperature: Maintain consistent 350-375°F heat for crispy, non-greasy golden-brown exterior without burning.
- Drain Excess Oil: Use wire rack instead of paper towels to preserve crispiness and prevent sogginess during resting.
- Prep Time: 10 minutes
- Cook Time: 10 minutes
- Category: Lunch, Dinner, Snacks
- Method: Frying
- Cuisine: American
Nutrition
- Serving Size: 5
- Calories: 570
- Sugar: 4 g
- Sodium: 950 mg
- Fat: 28 g
- Saturated Fat: 5 g
- Unsaturated Fat: 20 g
- Trans Fat: 0 g
- Carbohydrates: 62 g
- Fiber: 3 g
- Protein: 23 g
- Cholesterol: 70 mg
Olivia Bennett
Co-Founder & Content Creator
Expertise
Nutritional Analysis, Dietary Accommodations, Food Writing and Blogging,
Education
University of Texas at Austin
Institute of Culinary Education, New York, NY
Olivia Bennett is Cooking Crusade’s go-to expert for nutritious, feel-good food. Based in Austin, she blends her degree in Nutrition from the University of Texas with plant-based culinary training from the Institute of Culinary Education.
Olivia’s recipes are all about balance: vibrant, wholesome, and easy-to-love dishes that work for all kinds of eaters. Her mission is simple: to make healthy eating approachable and genuinely tasty, with tips that support your lifestyle, not complicate it.