
Tangy Homemade Pull Apart Garlic Bread Recipe for Bread Lovers
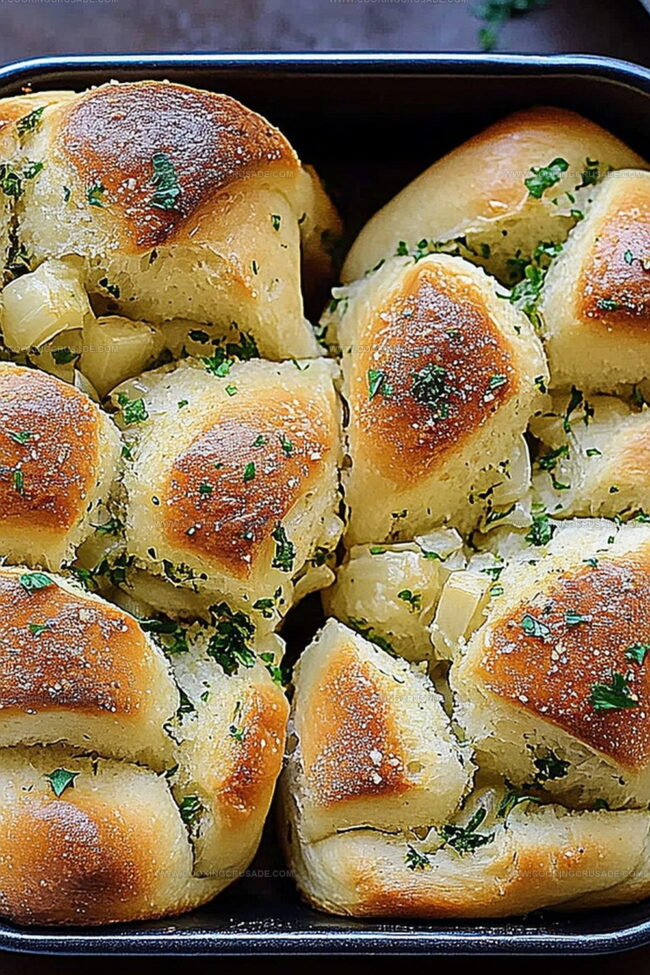
Warm, golden-brown pull apart garlic bread delivers pure comfort straight from your oven, promising a mouthwatering experience that will have everyone at the table swooning.
Melted butter mingles with fresh garlic, creating an irresistible aroma that fills your kitchen with anticipation.
Each slice tears away effortlessly, revealing a soft, pillowy interior crusted with herbs and garlic.
The crispy edges promise a delightful crunch that contrasts beautifully with the tender inner layers.
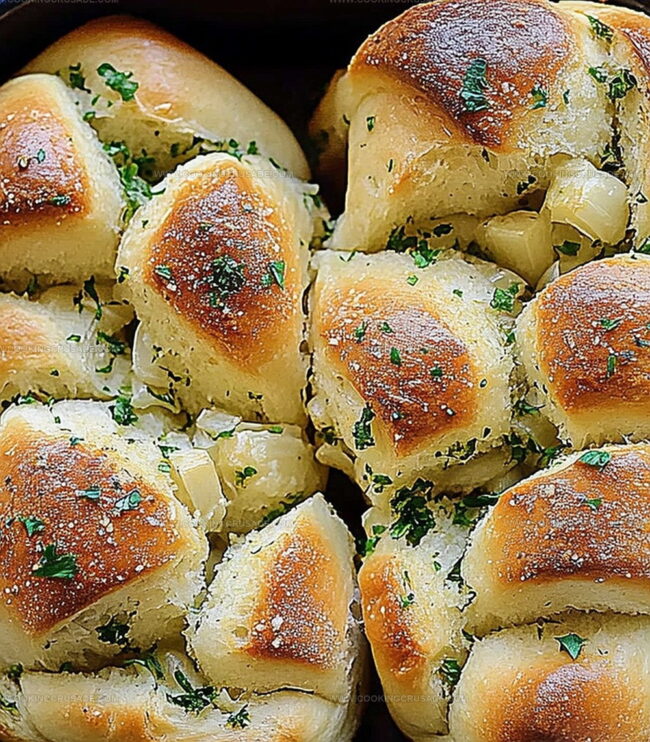
Perfectly seasoned and beautifully golden, this bread transforms an ordinary meal into something extraordinary.
Served alongside pasta, soups, or enjoyed on its own, this garlic bread will become your new favorite side dish.
Quick Recipe Overview
Pull Apart Garlic Bread Ingredient Essentials
For Bread Base:For Garlic Butter Mixture:For Cheese Elements:Gear You’ll Need For Pull Apart Garlic Bread
How To Put Together Pull Apart Garlic Bread
Grab a crusty loaf and slice it carefully into a crosshatch pattern without cutting completely through. Place the bread on a foil-lined baking sheet to catch any delicious drips.
Melt butter and blend in fresh garlic, herbs, and a sprinkle of seasonings. Fold in handfuls of gooey cheese until the mixture looks irresistibly creamy and aromatic.
Gently separate the bread’s crevices and generously pour the cheesy garlic mixture between each section. Ensure every crack gets coated with the rich, savory spread.
Cover the bread loosely with foil and slide into a preheated oven. Bake until the cheese starts melting, then uncover to let the edges turn crispy and golden brown.
Pull apart the warm, cheesy bread and watch as strings of melted cheese stretch between pieces. Serve immediately and watch everyone dive in with excitement.
Tips To Make Pull Apart Garlic Bread Better
Garlic Bread Perfection Tips:Diet-Friendly Variations:Serving Pull Apart Garlic Bread Made Simple
How To Keep Pull Apart Garlic Bread Tasty Later
Print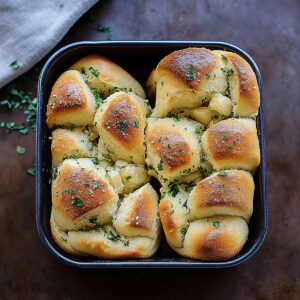
Crispy Pull Apart Garlic Bread Recipe
- Total Time: 35 minutes
- Yield: 9 1x
Description
Homemade pull apart garlic bread delivers irresistible comfort with layers of buttery, herbed goodness. Cheesy, warm, and perfect for sharing, this recipe brings Italian-inspired magic to your table.
Ingredients
- 1 large loaf crusty bread (sourdough or Italian bread)
- 2 cups (200 g/7 oz) mozzarella cheese, shredded
- ½ cup (50 g/1.8 oz) Parmesan cheese, grated
- ½ cup (115 g/4 oz) unsalted butter, melted
- 3 cloves garlic, minced
- 1 tbsp fresh parsley, chopped (or 1 tsp dried parsley)
- 1 tsp Italian seasoning (optional)
- ½ tsp salt
- ¼ tsp black pepper
Instructions
- Grid Preparation: Meticulously craft intricate cross-hatched pattern across bread loaf without completely severing segments, creating interconnected channels for maximum flavor penetration.
- Flavor Infusion: Whisk melted butter with finely minced garlic, fresh parsley, Italian seasoning, salt, and pepper, creating a robust aromatic base that will elevate the bread’s profile.
- Cheese Integration: Seamlessly fold mozzarella and Parmesan into butter mixture, ensuring complete incorporation and uniform distribution of dairy elements throughout the herbed emulsion.
- Bread Stuffing: Gently separate bread’s interconnected segments, methodically nestling cheese-butter blend into every crevice, guaranteeing comprehensive flavor saturation and even coverage.
- Foil Wrapping and Initial Baking: Loosely encase bread in aluminum foil, then position in preheated 375F (190C) oven for 15 minutes, allowing initial warmth and controlled cheese melting.
- Final Crisping: Remove foil, return bread to oven for additional 5-10 minutes, achieving golden-brown exterior with perfectly melted, bubbling cheese surface.
- Presentation: Garnish with fresh parsley sprigs, serve immediately to maintain optimal temperature and gooey texture, optionally accompanying with marinara sauce for enhanced gustatory experience.
Notes
- Slice with Precision: Use a sharp, serrated knife to create even, connected grid cuts without slicing through the entire loaf, ensuring uniform flavor distribution and easy pulling.
- Maximize Garlic Infusion: Mince garlic finely and let it sit in melted butter for 5-10 minutes before mixing to intensify the aromatic flavor and prevent raw garlic bitterness.
- Cheese Melting Technique: Grate cheeses at room temperature for smoother melting and more even coverage between bread segments, creating a more luxurious texture.
- Customize for Dietary Needs: Swap regular butter with plant-based alternatives and use dairy-free cheese for vegan versions, or opt for gluten-free bread to accommodate different dietary restrictions.
- Prep Time: 10 minutes
- Cook Time: 25 minutes
- Category: Appetizer, Snacks
- Method: Baking
- Cuisine: Italian
Nutrition
- Serving Size: 9
- Calories: 325
- Sugar: 1 g
- Sodium: 345 mg
- Fat: 20 g
- Saturated Fat: 12 g
- Unsaturated Fat: 8 g
- Trans Fat: 0 g
- Carbohydrates: 28 g
- Fiber: 1 g
- Protein: 10 g
- Cholesterol: 40 mg
Olivia Bennett
Co-Founder & Content Creator
Expertise
Nutritional Analysis, Dietary Accommodations, Food Writing and Blogging,
Education
University of Texas at Austin
Institute of Culinary Education, New York, NY
Olivia Bennett is Cooking Crusade’s go-to expert for nutritious, feel-good food. Based in Austin, she blends her degree in Nutrition from the University of Texas with plant-based culinary training from the Institute of Culinary Education.
Olivia’s recipes are all about balance: vibrant, wholesome, and easy-to-love dishes that work for all kinds of eaters. Her mission is simple: to make healthy eating approachable and genuinely tasty, with tips that support your lifestyle, not complicate it.