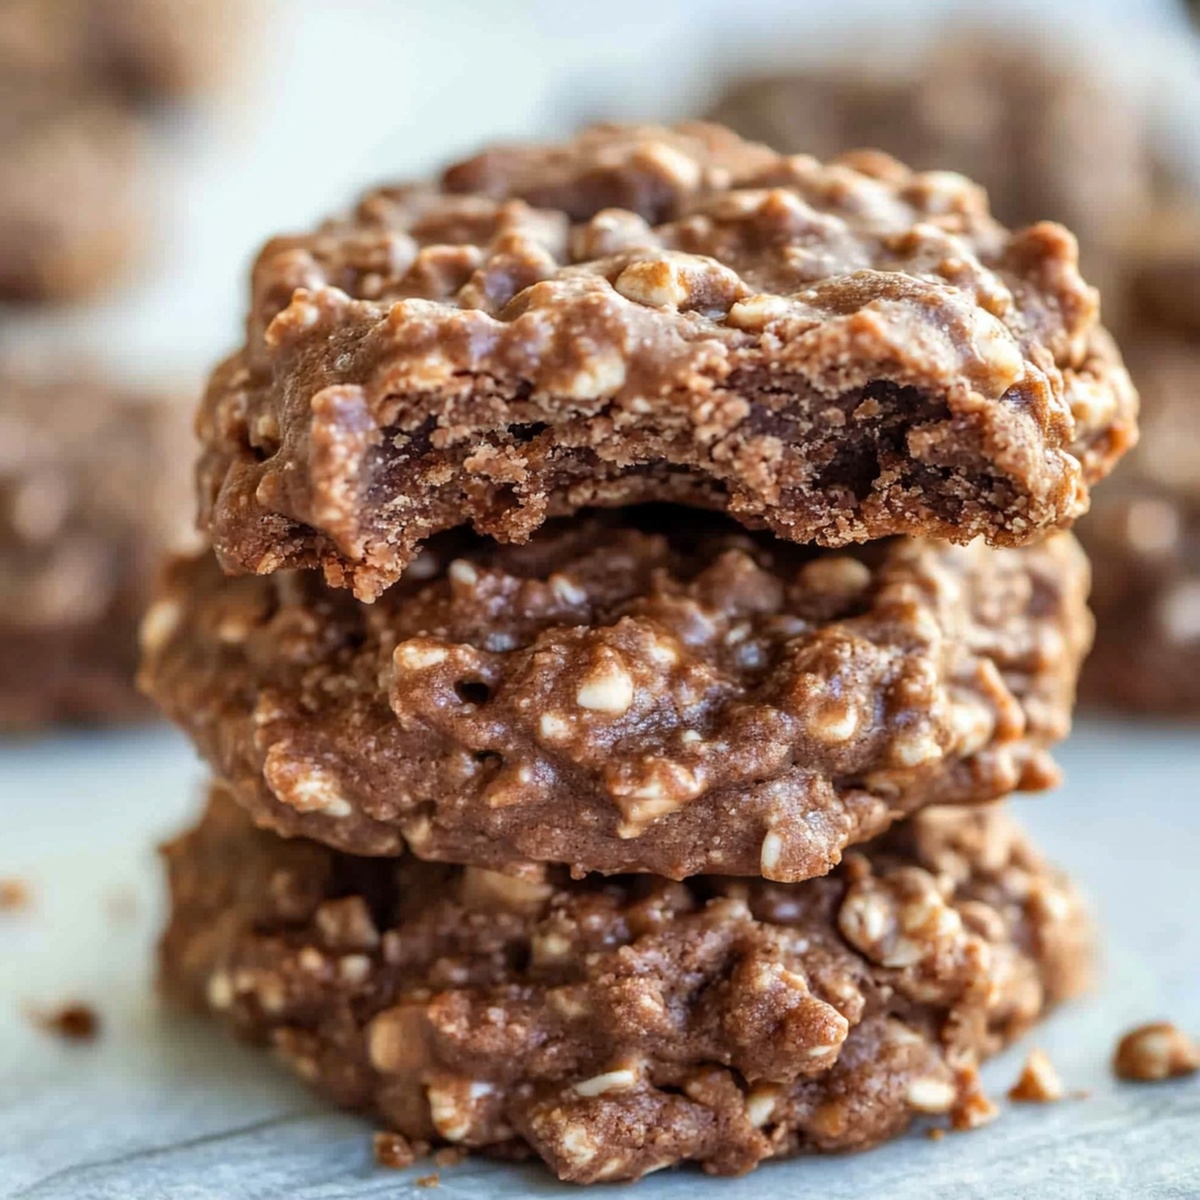
Dreamy No-Bake Cookie Magic: A Fuss-Free Sweet Treat Recipe
Sweet, chocolatey, and ridiculously easy, these no-bake cookies dance with decadent flavor that will make your taste buds sing.
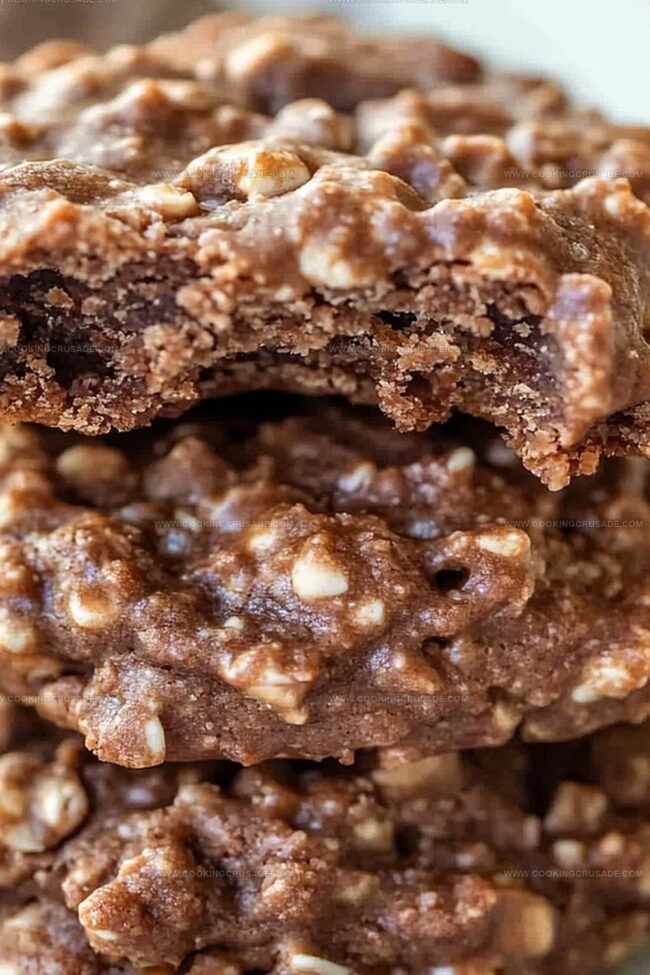
Crafted without an oven, the no-bake cookies recipe combines rich cocoa, creamy peanut butter, and smooth oats into a delightful treat.
Each bite delivers a perfect balance of sweetness and texture that melts in your mouth.
Silky chocolate blends seamlessly with nutty undertones, creating an irresistible dessert that comes together in minutes.
No complicated techniques or extensive baking skills required – just simple ingredients and a few quick steps.
Prepare to indulge in a dessert so delicious, you’ll want to share these cookies with everyone you know.
Grab a mixing bowl and let’s transform ordinary ingredients into an extraordinary sweet sensation.
Quick Recipe Overview
What Goes In Easy No-Bake Cookies
For Base Ingredients:For Binding and Flavor Ingredients:For Texture and Structure Ingredients:Tools For Easy No-Bake Cookies
Steps To Make Easy No-Bake Cookies Fast

Clear some counter space and grab a sheet of parchment paper. Smooth it out on a flat surface where your delicious treats can chill.
Grab a saucepan and start melting your butter. Toss in sugar, milk, and cocoa, stirring like a culinary wizard. Let the mixture bubble and dance for a quick minute while you keep it moving.
Pull the pan off the heat and swirl in creamy peanut butter, a splash of vanilla, and a pinch of salt. Dump in the oats and mix everything until it looks like delicious chocolate heaven.
Use a spoon to dollop the mixture onto your prepared parchment. Let these beauties sit and firm up at room temperature until they’re perfectly set.
Slide your no-bake wonders into an airtight container. They’ll stay fresh and tempting for about five days – if they last that long!
Flavor Variations For Easy No-Bake Cookies
Serving Easy No-Bake Cookies With Fun
Storage Instructions For Easy No-Bake Cookies
Print
Dreamy No-Bake Cookies Recipe
- Total Time: 15 minutes
- Yield: 25 1x
Description
Chocolate no-bake cookies deliver a quick dessert solution for busy home bakers. Sweet treats come together in minutes with simple ingredients, promising delightful results you can enjoy without heating the oven.
Ingredients
- 3 cups (720 ml) quick oats (gluten-free if needed)
- ½ cup (120 ml) creamy peanut butter
- ½ cup (113 g) unsalted butter
- 2 cups (400 g) granulated sugar
- ½ cup (120 ml) milk
- ¼ cup (25 g) unsweetened cocoa powder
- 1 tsp vanilla extract
- ¼ tsp salt
Instructions
- Prep Surface: Lay parchment paper on a flat baking sheet, creating a smooth workspace for cookie formation.
- Create Chocolate Base: In a heavy-bottomed saucepan, meld butter, sugar, milk, and cocoa powder over medium heat, stirring continuously to prevent scorching and achieve a glossy, smooth consistency.
- Boil and Develop Flavor: Maintain a rolling boil for 60 seconds, allowing ingredients to combine and develop a rich, robust flavor profile.
- Incorporate Nutty Elements: Immediately remove from heat, swiftly blend in peanut butter, transforming the liquid mixture into a creamy, decadent concoction.
- Enhance Taste Profile: Vigorously fold in vanilla extract and salt to elevate the overall taste and provide subtle depth to the sweet treat.
- Bind with Oats: Gently introduce oats, stirring until each grain is evenly coated and the mixture becomes thick and cohesive.
- Form Cookies: Using a spoon or cookie scoop, deposit uniform dollops onto the prepared parchment-lined sheet, creating rustic, free-form circles.
- Set and Store: Allow cookies to rest at room temperature until completely cooled and firm, then transfer to an airtight container to preserve their delightful texture for several days.
Notes
- Prevent Burning: Stir chocolate mixture constantly and watch heat carefully to avoid scorching, which can quickly ruin the entire batch’s flavor and texture.
- Perfect Consistency: Boil mixture exactly 60 seconds for ideal binding; too short creates crumbly cookies, while too long makes them dry and hard.
- Quick Cooling Technique: Work rapidly when transferring mixture to parchment paper, as cookies set quickly and uneven spooning creates irregular shapes.
- Customize Dietary Needs: Swap peanut butter with almond or sunflower seed butter for nut-free version, and use dairy-free milk alternatives for vegan adaptation.
- Prep Time: 5 minutes
- Cook Time: 10 minutes
- Category: Snacks, Desserts
- Method: Mixing
- Cuisine: American
Nutrition
- Serving Size: 25
- Calories: 200
- Sugar: 8 g
- Sodium: 60 mg
- Fat: 10 g
- Saturated Fat: 4 g
- Unsaturated Fat: 6 g
- Trans Fat: 0 g
- Carbohydrates: 28 g
- Fiber: 3 g
- Protein: 4 g
- Cholesterol: 15 mg
Olivia Bennett
Co-Founder & Content Creator
Expertise
Nutritional Analysis, Dietary Accommodations, Food Writing and Blogging,
Education
University of Texas at Austin
Institute of Culinary Education, New York, NY
Olivia Bennett is Cooking Crusade’s go-to expert for nutritious, feel-good food. Based in Austin, she blends her degree in Nutrition from the University of Texas with plant-based culinary training from the Institute of Culinary Education.
Olivia’s recipes are all about balance: vibrant, wholesome, and easy-to-love dishes that work for all kinds of eaters. Her mission is simple: to make healthy eating approachable and genuinely tasty, with tips that support your lifestyle, not complicate it.