Heavenly Salted Caramel Oreo Icebox Cake Recipe for Summer
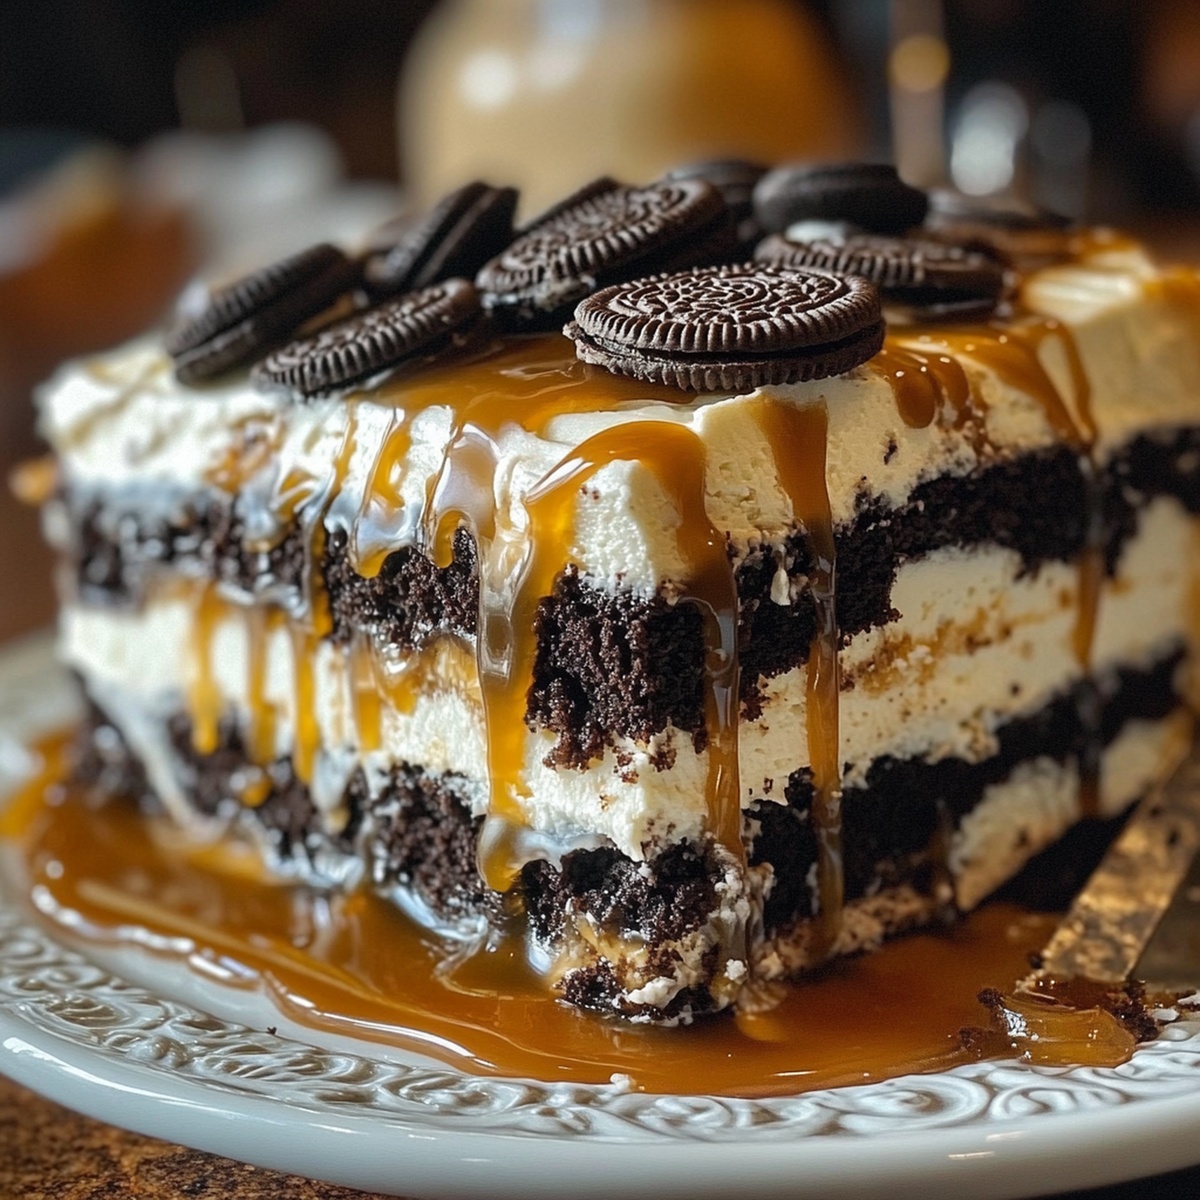
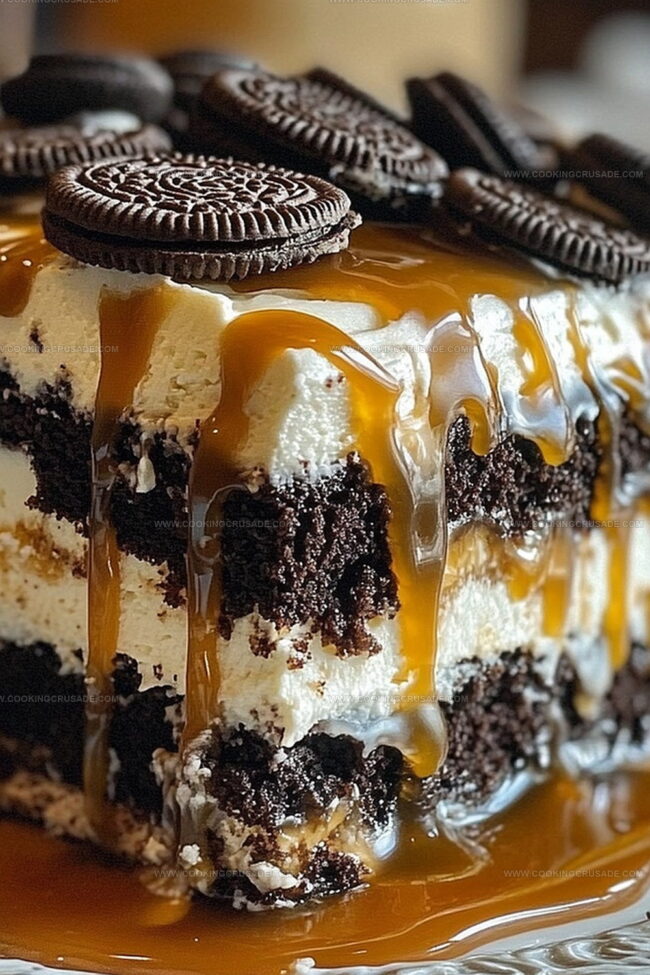
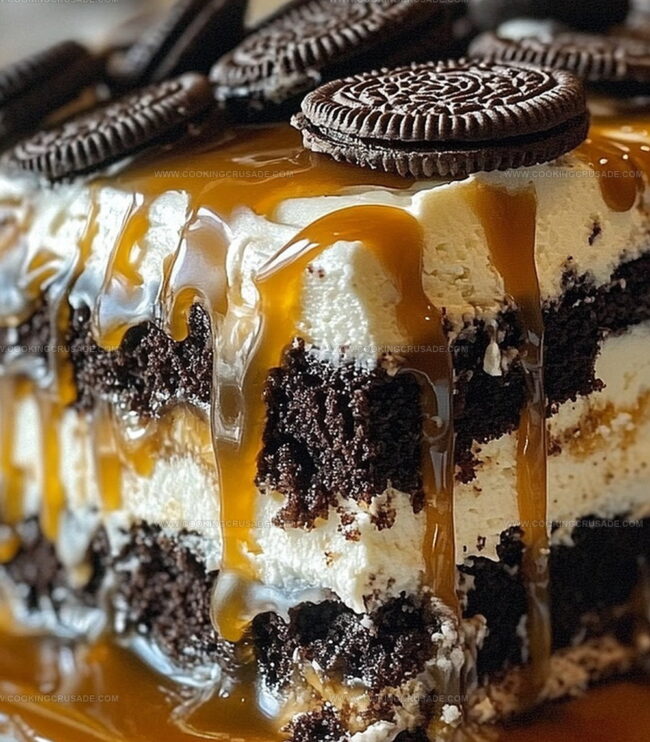
Creamy layers of decadence await you in this irresistible salted caramel oreo icebox cake recipe that turns ordinary dessert into a spectacular treat.
Indulgent and surprisingly simple, this no-bake wonder combines rich chocolate cookies with smooth caramel notes.
Each bite delivers a perfect balance of sweet and salty sensations that dance across your palate.
The minimal effort required makes this dessert a game-changer for busy home bakers seeking maximum flavor.
Cool, silky textures blend seamlessly with crunchy oreo edges, creating a dessert that looks and tastes like it came from a professional bakery.
Chilled to perfection, this icebox cake promises to become your new go-to summer dessert that will surely impress everyone at the table.
Quick Recipe Overview
All You Need For Salted Caramel Oreo Icebox Cake
For Caramel Base:For Whipped Cream Layer:For Cake Structure:Gear Up For Salted Caramel Oreo Icebox Cake
No-Bake Steps For Salted Caramel Oreo Icebox Cake
Heat sugar slowly in a pan, stirring constantly until it transforms into a gorgeous golden amber color. Drop in butter and blend until melted. Gently pour cream while whisking until silky smooth. Sprinkle sea salt and let the sauce cool down naturally.
Grab your mixer and transform cream into fluffy, cloud-like peaks by adding powdered sugar and vanilla. Beat until the mixture stands tall and proud.
Spread a gossamer layer of whipped cream in your serving dish. Create a cookie foundation with Oreos, drizzle with caramel, then lavish with more cream. Continue building delectable layers until you’ve used all your ingredients, finishing with a crowning cream topping.
Cover your creation and park it in the refrigerator for at least 4 hours. When ready to serve, cascade extra caramel, scatter crushed Oreos, and dust with a whisper of flaky sea salt. Prepare for taste bud fireworks!
Tips For A Perfect Salted Caramel Oreo Icebox Cake
Serve Salted Caramel Oreo Icebox Cake Cold
Store Salted Caramel Oreo Icebox Cake With Ease
Print
Effortless Salted Caramel Oreo Icebox Cake Recipe
- Total Time: 4 hours 15 minutes
- Yield: 13 1x
Description
Creamy salted caramel oreo icebox cake promises indulgent layers of chocolate cookies and silky caramel cream. Chilled dessert combines rich flavors for a luxurious no-bake treat that delights taste buds with each cool, sweet bite.
Ingredients
- 1 family-size pack Oreo cookies (~36 cookies)
- 2 cups (480 ml) heavy whipping cream
- ½ cup (100 g) granulated sugar
- 3 tbsps (42 g) unsalted butter
- ¼ cup (30 g) powdered sugar
- 1 tsp vanilla extract
- ½ tsp sea salt
- ¼ cup (60 ml) heavy cream
- Crushed Oreos
- Extra caramel drizzle
- A pinch of flaky sea salt
Instructions
- Caramel Preparation: Gently melt granulated sugar in a saucepan, stirring continuously until it achieves a golden amber color, then seamlessly integrate butter to create a smooth, glossy base.
- Cream Integration: Stream heavy cream into the caramel mixture, whisking vigorously to prevent separation, then fold in sea salt to develop a complex sweet-savory profile. Allow the sauce to cool completely.
- Whipped Cream Formation: Combine heavy cream, powdered sugar, and vanilla extract in a mixing bowl, whipping with an electric mixer until voluminous peaks form and maintain their structure.
- Initial Layering: Spread a delicate cream foundation in a rectangular dish, then arrange a uniform layer of Oreo cookies, ensuring minimal gaps between each piece.
- Caramel Infusion: Drizzle the cooled salted caramel sauce generously over the cookie layer, allowing it to cascade between the cookies and create intricate flavor pathways.
- Cream Coating: Apply a thick, luxurious blanket of whipped cream to completely envelop the caramel-kissed cookies, repeating the layering process until all ingredients are incorporated.
- Chilling and Setting: Seal the dish with plastic wrap and refrigerate for a minimum of 4 hours, preferably overnight, enabling the cookies to absorb moisture and develop a cake-like consistency.
- Final Presentation: Before serving, embellish the icebox cake with an additional caramel drizzle, scattered crushed Oreo cookies, and a delicate sprinkle of flaky sea salt to elevate the visual and flavor experience.
Notes
- Manage Sugar Caramelization: Watch closely during sugar melting to prevent burning; color shifts quickly from golden to burnt, requiring constant attention and gentle heat.
- Control Cream Whipping: Stop whipping when soft peaks form to avoid over-beating, which creates a grainy, butter-like texture instead of smooth, silky whipped cream.
- Optimize Cookie Absorption: Allow minimum 4-6 hours chilling time for cookies to soften perfectly, transforming from crisp to tender cake-like consistency without becoming soggy.
- Balance Caramel Saltiness: Add sea salt incrementally, tasting as you go to achieve precise sweet-savory profile without overwhelming the dessert’s delicate flavor harmony.
- Prep Time: 15 minutes
- Cook Time: 4 hours
- Category: Desserts, Snacks
- Method: Mixing
- Cuisine: American
Nutrition
- Serving Size: 13
- Calories: 290
- Sugar: 18 g
- Sodium: 150 mg
- Fat: 20 g
- Saturated Fat: 11 g
- Unsaturated Fat: 7 g
- Trans Fat: 0 g
- Carbohydrates: 29 g
- Fiber: 1 g
- Protein: 3 g
- Cholesterol: 60 mg
Olivia Bennett
Co-Founder & Content Creator
Expertise
Nutritional Analysis, Dietary Accommodations, Food Writing and Blogging,
Education
University of Texas at Austin
Institute of Culinary Education, New York, NY
Olivia Bennett is Cooking Crusade’s go-to expert for nutritious, feel-good food. Based in Austin, she blends her degree in Nutrition from the University of Texas with plant-based culinary training from the Institute of Culinary Education.
Olivia’s recipes are all about balance: vibrant, wholesome, and easy-to-love dishes that work for all kinds of eaters. Her mission is simple: to make healthy eating approachable and genuinely tasty, with tips that support your lifestyle, not complicate it.