Colorful Spring Delight: Easter Poke Cake Recipe for Fun Baking
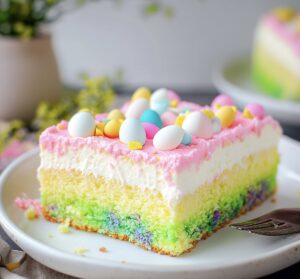
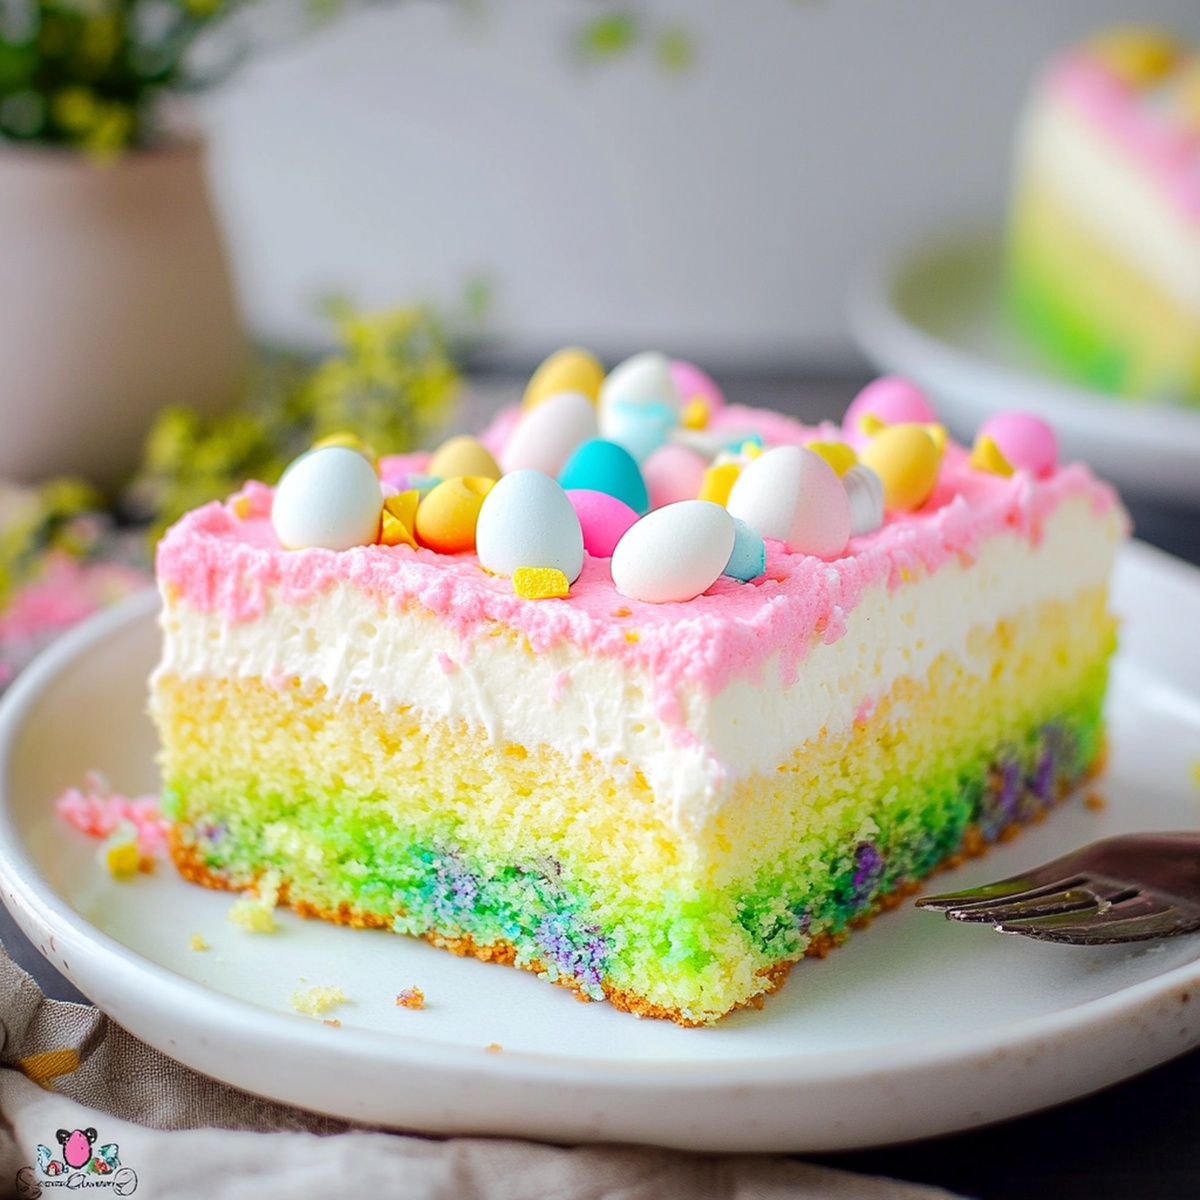
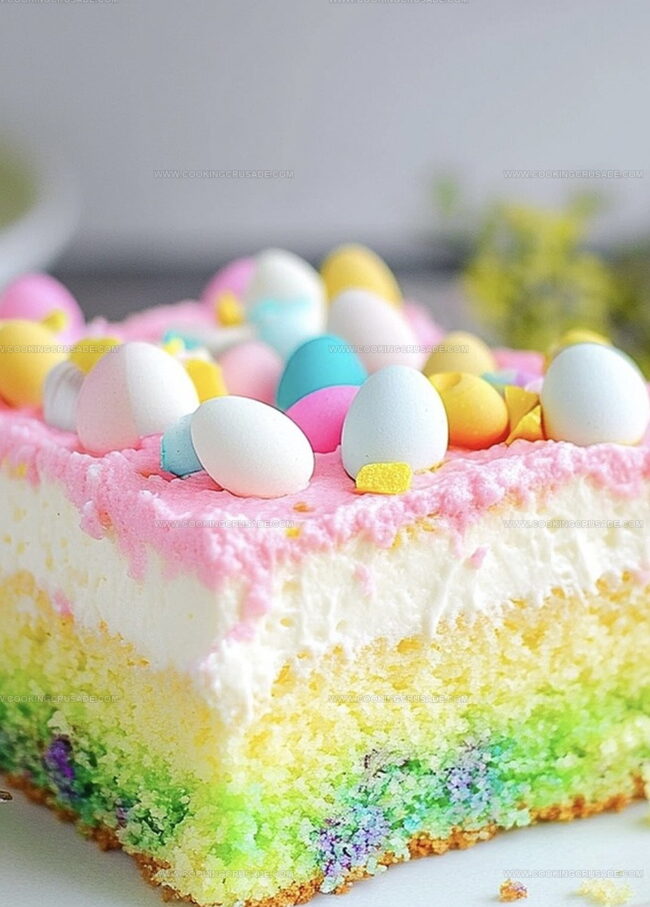
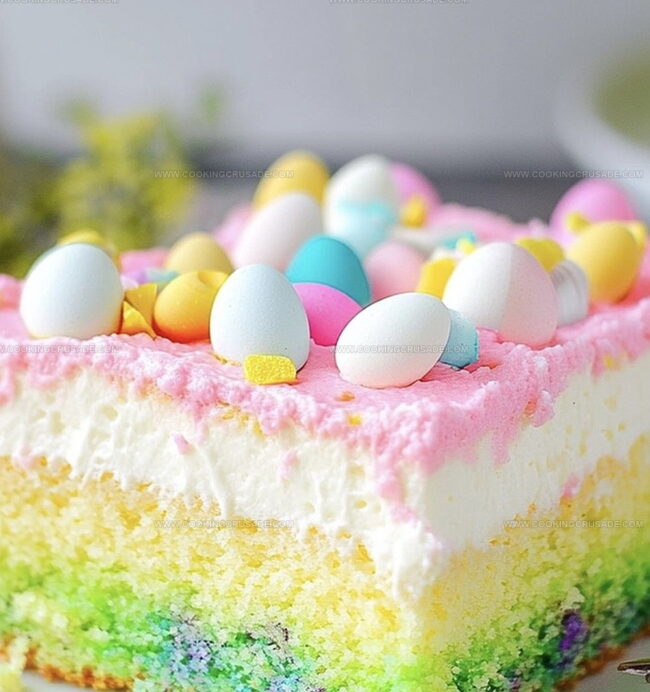
Sweet layers of creamy delight meet springtime celebration in this irresistible easter poke cake that promises to steal the show at any holiday gathering.
Bursting with pastel colors and rich flavors, this dessert brings a playful twist to traditional Easter treats.
Soft, moist cake layers get infused with luscious cream filling, creating a dessert that melts in your mouth.
The delicate design hints at the joy of the season, with each slice offering a perfect balance of sweetness and texture.
Pastel-colored frosting adds a whimsical touch that transforms an ordinary cake into a festive masterpiece.
Every forkful delivers a delightful combination of flavors that will have everyone asking for seconds.
This cake isn’t just a dessert – it’s a celebration of spring’s vibrant spirit and the joy of sharing delicious moments with loved ones.
Quick Recipe Overview
Easter Poke Cake Ingredient Guide
For Cake Base:For Filling and Color:For Topping and Decoration:Tools You’ll Need For Easter Poke Cake
Steps To Make Easter Poke Cake Colorful
Warm up your oven and prepare a rectangular baking dish. Mix cake ingredients following package directions, adding a splash of vanilla for extra flavor. Bake until golden and a toothpick comes out clean. Let the cake cool slightly while getting ready for the fun part.
Grab a wooden spoon handle and playfully poke holes across the entire cake surface. Whip up pudding by mixing with milk until it thickens slightly. Divide pudding into small bowls and add vibrant gel colors, creating a rainbow effect. Carefully pour colored puddings into the cake holes, letting each color peek through.
Cover the entire cake with a fluffy white topping, spreading it evenly. Sprinkle pastel candies and decorative Easter-themed sprinkles across the surface. Chill the cake in the refrigerator for at least an hour to let all the flavors meld together. The longer it chills, the more delicious it becomes.
Tips For Perfect Easter Poke Cake Layers
Serving Easter Poke Cake For Any Gathering
How To Store Easter Poke Cake Properly
Print
Festive Easter Poke Cake Recipe
- Total Time: 1 hour 45 minutes
- Yield: 13 1x
Description
Scrumptious Easter poke cake delights dessert enthusiasts with layers of pastel-colored goodness. Creamy filling and festive frosting create a delectable centerpiece perfect for spring celebrations you’ll savor with each delightful bite.
Ingredients
- 1 box white cake mix
- 1 (3.4 oz/96 g) box instant vanilla or white chocolate pudding mix
- 2 cups cold milk
- 1 (8 oz/226 g) tub Cool Whip (or 2 cups homemade whipped cream)
- Eggs (as specified on cake mix box)
- Vegetable oil (as specified on cake mix box)
- Water (as specified on cake mix box)
- 1 tsp vanilla extract
- Gel food coloring (pink, yellow, blue, or pastel colors of choice)
- 12 Easter sprinkles or pastel-colored candy eggs
Instructions
- Oven Preparation: Preheat oven to specified temperature and lightly grease baking dish to prevent adhesion.
- Batter Creation: Blend cake ingredients until uniformly smooth, incorporating vanilla extract, then transfer mixture into prepared pan with fluid, consistent motion.
- Baking Process: Cook cake until achieving golden complexion and inserting testing implement results in clean removal, signaling optimal doneness within designated time frame.
- Surface Modification: After initial cooling, craft shallow indentations across cake surface using wooden spoon handle, creating natural reservoirs for subsequent filling.
- Pudding Development: Whisk milk and pudding powder until achieving silky, slightly thickened consistency with seamless texture.
- Color Transformation: Partition pudding into multiple vessels, integrating pastel gel food colorings through gentle stirring to produce harmonious, blended hues.
- Filling Integration: Distribute multicolored pudding into prepared cake indentations, strategically layering tones to generate captivating marbled aesthetic.
- Topping Application: Spread whipped cream across entire cake surface, ensuring comprehensive and uniform coverage that resembles delicate cloud formation.
- Decorative Finalization: Adorn cake with playful Easter-themed sprinkles and delicate pastel candy eggs, creating visually enchanting presentation.
- Chilling Protocol: Refrigerate decorated creation, allowing flavor melding and topping stabilization, with optimal results emerging after extended cooling period.
Notes
- Gentle Cake Handling: Use a light touch when creating indentations to avoid tearing the delicate cake surface, ensuring clean, smooth pudding channels.
- Color Mixing Strategy: Add food gel colors sparingly and incrementally, enabling precise pastel shade control without overwhelming the pudding’s delicate texture.
- Chilling Technique: Refrigerate the cake uncovered initially to prevent condensation, which can dilute the whipped topping’s fluffy consistency and compromise the decorative sprinkle placement.
- Dietary Adaptation: Substitute traditional ingredients with gluten-free cake mix, dairy-free milk alternatives, and vegan whipped topping for accommodating various dietary restrictions while maintaining the dessert’s festive Easter aesthetic.
- Prep Time: 15 minutes
- Cook Time: 30 minutes
- Category: Desserts
- Method: Baking
- Cuisine: American
Nutrition
- Serving Size: 13
- Calories: 200
- Sugar: 18 g
- Sodium: 250 mg
- Fat: 7 g
- Saturated Fat: 3 g
- Unsaturated Fat: 4 g
- Trans Fat: 0 g
- Carbohydrates: 30 g
- Fiber: 0 g
- Protein: 2 g
- Cholesterol: 20 mg


Olivia Bennett
Co-Founder & Content Creator
Expertise
Nutritional Analysis, Dietary Accommodations, Food Writing and Blogging,
Education
University of Texas at Austin
Institute of Culinary Education, New York, NY
Olivia Bennett is Cooking Crusade’s go-to expert for nutritious, feel-good food. Based in Austin, she blends her degree in Nutrition from the University of Texas with plant-based culinary training from the Institute of Culinary Education.
Olivia’s recipes are all about balance: vibrant, wholesome, and easy-to-love dishes that work for all kinds of eaters. Her mission is simple: to make healthy eating approachable and genuinely tasty, with tips that support your lifestyle, not complicate it.