
Fluffy Cloud Pleasures: Magical Cool Whip Cookies Recipe
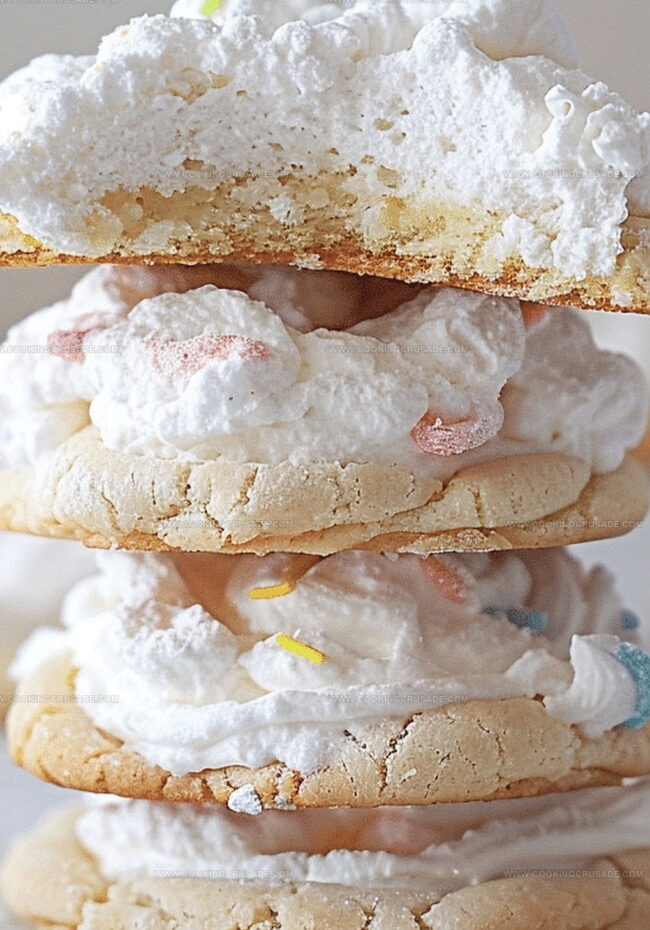
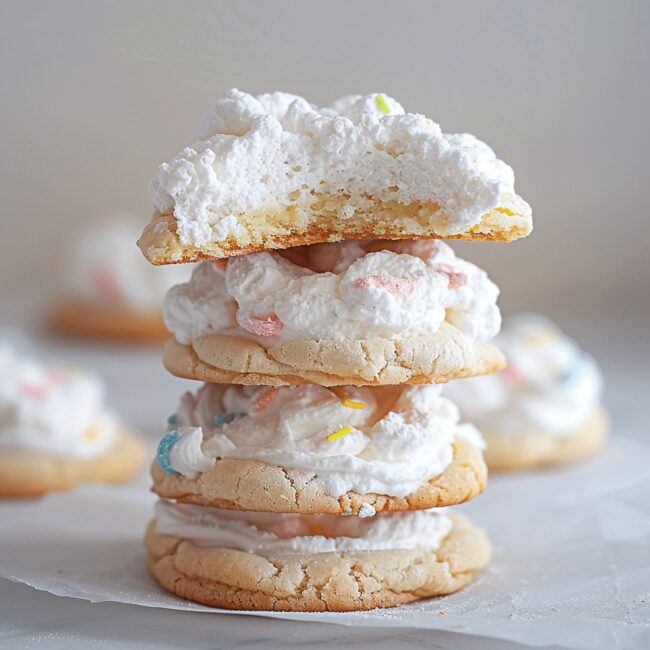
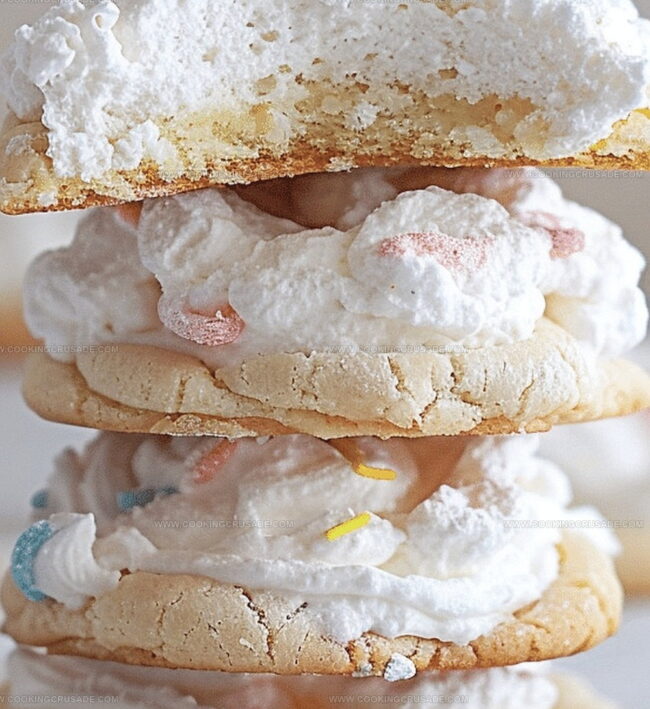
Sweet and cloud-like whipped cream cookies dance with simplicity in this cool whip cookies recipe that promises pure delight.
Soft, pillowy textures meet irresistible sweetness in every single bite.
These effortless treats require minimal ingredients and maximum happiness.
Creamy cool whip blends seamlessly with basic pantry staples to create magic.
Bakers of all skill levels can master these delicate, melt-in-your-mouth delights.
Prepare to be amazed by how quickly these cookies come together.
Indulge in a dessert that turns ordinary moments into sweet celebrations.
Quick Recipe Overview
What You’ll Need For Cool Whip Cookies
For Base Ingredients:For Coating and Finishing:For Optional Flavor Enhancement:Tools For Making Cool Whip Cookies
How To Bake Cool Whip Cookies Easily
Set your oven to sizzling hot at 350F and line a baking tray with parchment paper for easy cleanup.
Blend cake mix, whipped topping, and an egg in a big bowl until everything comes together into a delightfully sticky dough.
Grab some powdered sugar in a shallow dish. Scoop out dollops of dough, roll them generously in the sugary coating, and shape into round little clouds. Arrange these sweet puffs on your prepared baking sheet, giving them some breathing room.
Slide the tray into the oven and let the cookies transform. Bake until they turn slightly golden around the edges and look wonderfully set, about 10-12 minutes.
Let the cookies rest on the baking sheet for a brief moment, then transfer them to a cooling rack. Once they’ve chilled out, they’re ready to be devoured and enjoyed with gusto!
Tasty Tips For Cool Whip Cookies
Fun Ways To Serve Cool Whip Cookies
Cool Whip Cookies Storage Made Simple
Print
Fluffy Cool Whip Cookies Recipe
- Total Time: 22 minutes
- Yield: 13 1x
Description
Cool whip cookies blend creamy texture with delightful simplicity. Simple ingredients create a quick dessert that delights family and friends with minimal kitchen effort.
Ingredients
- 1 box (15.25 oz / 432 g) cake mix (any flavor, such as vanilla, lemon, or chocolate)
- 1 tub (8 oz / 227 g) Cool Whip, thawed
- 1 large egg
- ½ cup (60 g) powdered sugar
Instructions
- Workspace Preparation: Position oven rack in center, preheat to 350F (175C). Line baking sheet with parchment paper for effortless cookie release.
- Dough Crafting: Combine cake mix, whipped topping, and egg in a large mixing bowl. Blend thoroughly until a soft, cohesive dough emerges with uniform texture.
- Sugar Coating: Establish a powdered sugar station in a shallow dish. Portion dough using a cookie scoop or spoon, then meticulously roll each piece through the fine sugar coating.
- Cookie Shaping: Gently roll sugar-coated dough between palms to create perfectly round spheres. Arrange cookies on prepared baking sheet, spacing them two inches apart to allow subtle spreading.
- Baking Process: Slide sheet into preheated oven, baking for 10-12 minutes. Monitor for delicate golden edges and set appearance, indicating optimal cookie transformation.
- Cooling and Finishing: Allow cookies to rest briefly on baking sheet to stabilize structure. Transfer to wire cooling rack, permitting cookies to reach room temperature and develop their final tender, melt-in-your-mouth texture before serving.
Notes
- Measure Ingredients Precisely: Use exact measurements for cake mix, Cool Whip, and egg to ensure consistent cookie texture and prevent dry or overly wet dough.
- Control Sugar Coating: Roll cookies lightly in powdered sugar, avoiding thick layers that can burn or create uneven browning during baking.
- Watch Baking Time Carefully: Cookies can quickly go from perfectly golden to overdone; check at 10 minutes and remove when edges turn light golden brown.
- Customize Flavor Variations: Experiment with different cake mix flavors like chocolate, vanilla, or strawberry to create unique cookie profiles without changing core technique.
- Prep Time: 10 minutes
- Cook Time: 12 minutes
- Category: Desserts, Snacks
- Method: Baking
- Cuisine: American
Nutrition
- Serving Size: 13
- Calories: 90
- Sugar: 7 g
- Sodium: 70 mg
- Fat: 3 g
- Saturated Fat: 2 g
- Unsaturated Fat: 1 g
- Trans Fat: 0 g
- Carbohydrates: 13 g
- Fiber: 0 g
- Protein: 1 g
- Cholesterol: 10 mg
Olivia Bennett
Co-Founder & Content Creator
Expertise
Nutritional Analysis, Dietary Accommodations, Food Writing and Blogging,
Education
University of Texas at Austin
Institute of Culinary Education, New York, NY
Olivia Bennett is Cooking Crusade’s go-to expert for nutritious, feel-good food. Based in Austin, she blends her degree in Nutrition from the University of Texas with plant-based culinary training from the Institute of Culinary Education.
Olivia’s recipes are all about balance: vibrant, wholesome, and easy-to-love dishes that work for all kinds of eaters. Her mission is simple: to make healthy eating approachable and genuinely tasty, with tips that support your lifestyle, not complicate it.