Irresistible Chocolate Cherry Brownies Recipe for Sweet Tooths
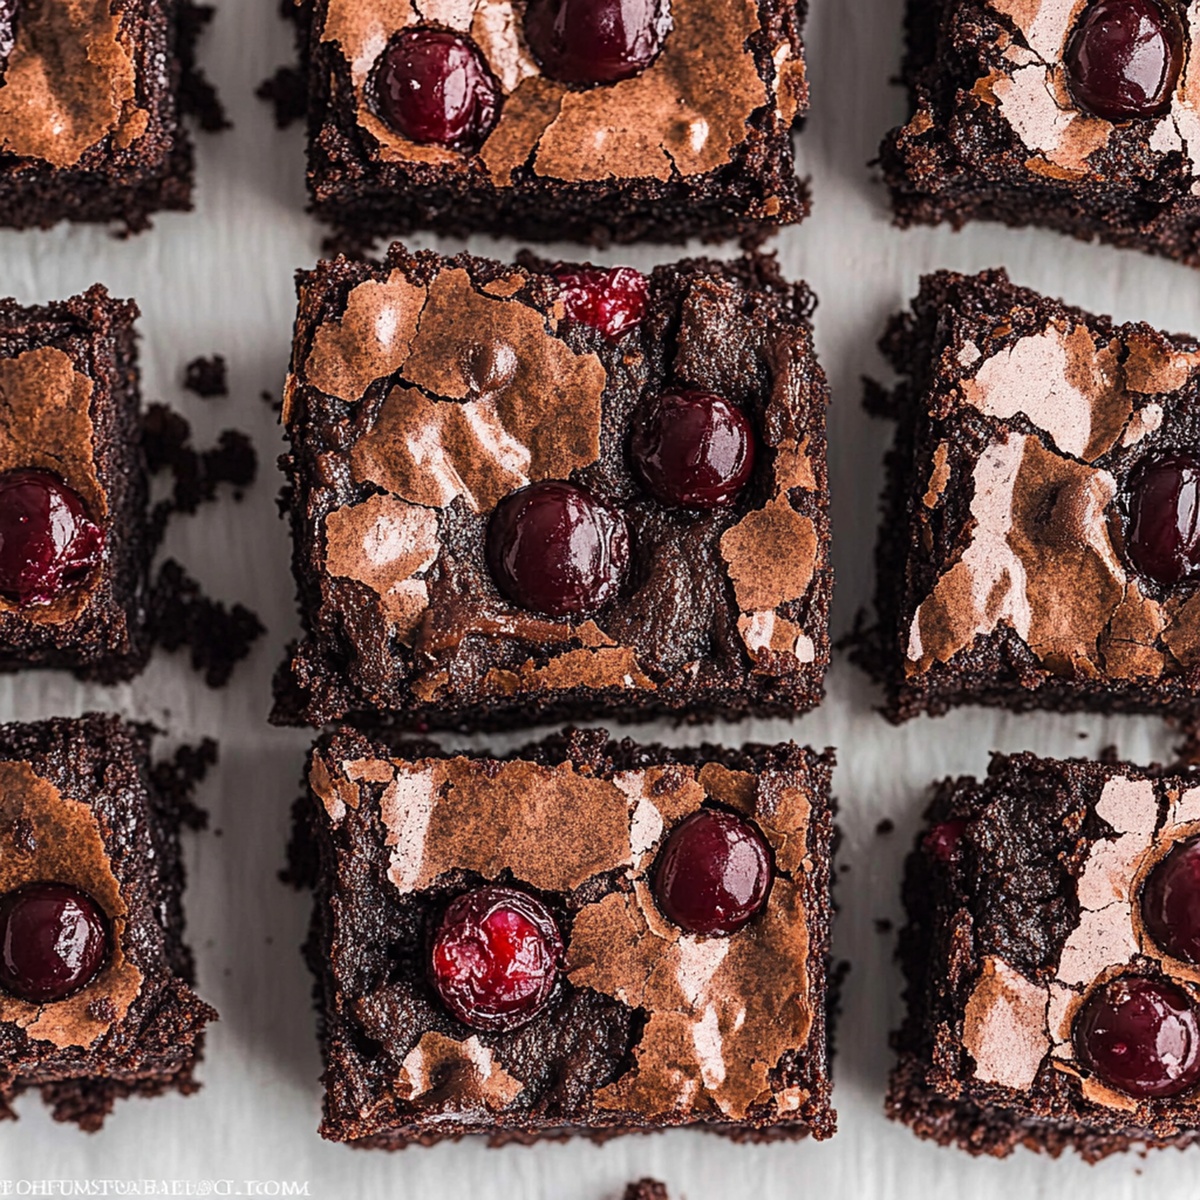
Decadent chocolate meets sweet cherries in these irresistible fudgy chocolate cherry brownies that promise pure indulgence.
Rich cocoa and dark chocolate blend seamlessly with bursts of tart cherry goodness.
Every bite delivers an incredible depth of flavor that surprises and delights.
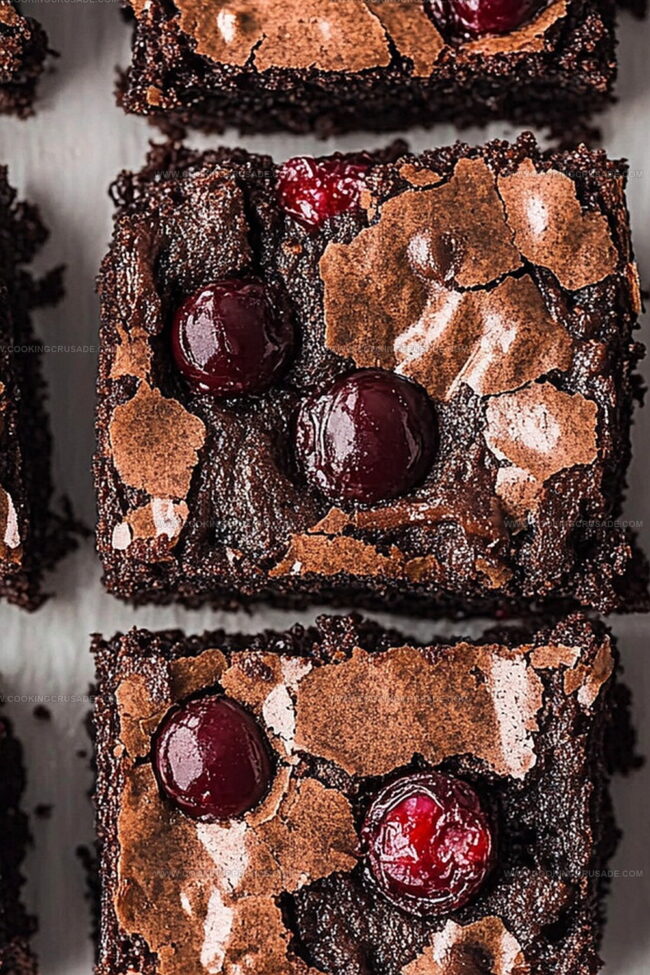
Soft, moist, and intensely chocolatey, these brownies elevate the classic dessert to new heights.
The combination of deep chocolate and bright cherry creates a symphony of taste that dances across your palate.
Dark cherries provide a tangy contrast to the deep, velvety chocolate base.
You’ll want to savor each luxurious square slowly, letting the flavors melt and mingle.
Prepare to fall in love with this extraordinary dessert that turns an ordinary afternoon into a memorable culinary moment.
Quick Recipe Overview
All Ingredients For Chocolate Cherry Brownies Recipe
For Wet Ingredients:For Dry Ingredients:For Mix-Ins and Toppings:Kitchen Tools For Chocolate Cherry Brownies Recipe
Steps To Bake Chocolate Cherry Brownies Recipe

Crank your oven to a toasty 350F and get a 9×13 pan ready by giving it a quick spray or lining with parchment paper.
Grab a big bowl and whisk together melted butter with sugars until they’re best friends. Crack in some eggs and splash of vanilla, blending until silky smooth. Gently fold in your dry ingredients, being careful not to overwork the batter. Toss in those decadent chocolate chips and juicy cherries, mixing just enough to distribute evenly.
Pour your luscious batter into the prepped pan, spreading it out evenly. If you’re feeling extra, sprinkle some bonus chocolate chips on top. Slide the pan into the hot oven and bake for about 30-35 minutes. You’ll know they’re done when a toothpick comes out with just a few moist crumbs clinging on.
Let these beauties rest in the pan for 15 minutes, then transfer to a cooling rack. Slice into squares and enjoy warm or at room temperature. For a fancy finish, dust with a light snow of powdered sugar if you’re feeling fancy.
Flavor Mix Ideas For Chocolate Cherry Brownies Recipe
Serving Suggestions For Chocolate Cherry Brownies Recipe
How To Store Chocolate Cherry Brownies Recipe
Print
Crispy Bang Bang Halibut Recipe
- Total Time: 35 minutes
- Yield: 5 1x
Description
Bang bang halibut emerges as a crowd-pleasing seafood dish with crispy texture and zesty sauce. Succulent halibut fillets get perfectly coated in a creamy, spicy dressing that delights diners seeking bold Pacific Northwest flavors.
Ingredients
- 1 pound (454 g) halibut fillets (cut into 1-inch wide by ½-inch thick strips)
- 2 large eggs
- 1 ½ cups panko breadcrumbs
- ¼ cup fresh parsley (finely chopped)
- ¼ cup coconut oil (or preferred cooking oil)
- ½ cup mayonnaise
- ¼ cup honey
- 2 tbsps sweet chili sauce
- 1 tbsp Sriracha sauce
Instructions
- Sauce Preparation: Whisk mayonnaise, honey, sweet chili sauce, and Sriracha in a mixing bowl until silky smooth. Refrigerate to intensify flavor profiles.
- Coating Setup: Create a two-stage breading station with whisked eggs and parsley-infused panko breadcrumbs, ensuring comprehensive coverage for each halibut strip.
- Breading Process: Thoroughly coat halibut strips in egg mixture, then meticulously press into herbed panko, guaranteeing a uniform, crisp exterior that will provide textural excitement.
- Cooking Technique: Heat coconut oil in a skillet over medium temperature, creating an optimal golden surface for transforming halibut into a crunchy, flavor-packed dish.
- Frying and Finishing: Carefully place breaded fish into the heated skillet, cooking each side until achieving a rich golden-brown color and ensuring the halibut reaches perfect doneness – approximately 4-5 minutes per side.
- Serving Presentation: Drain cooked halibut on paper towels to maintain crispness, then artfully plate with bang bang sauce drizzled generously or served in a companion dipping vessel for personalized enjoyment.
Notes
- Maintain Oil Temperature: Keep skillet heat at medium to prevent burning while ensuring even, golden-brown crust without overcooking delicate halibut.
- Pat Fish Dry: Remove excess moisture from halibut strips before breading to achieve maximum crispiness and prevent soggy coating.
- Choose Fresh Halibut: Select fresh, high-quality halibut for the most tender and flavorful results, preferably from a trusted seafood market.
- Adjust Sauce Spiciness: Modify Sriracha and sweet chili sauce quantities to personalize heat level, balancing flavors for individual taste preferences.
- Prep Time: 15 minutes
- Cook Time: 20 minutes
- Category: Dinner, Appetizer
- Method: Frying
- Cuisine: Asian
Nutrition
- Serving Size: 5
- Calories: 493
- Sugar: 9 g
- Sodium: 541 mg
- Fat: 31 g
- Saturated Fat: 11 g
- Unsaturated Fat: 18 g
- Trans Fat: 0 g
- Carbohydrates: 39 g
- Fiber: 2 g
- Protein: 19 g
- Cholesterol: 186 mg
Olivia Bennett
Co-Founder & Content Creator
Expertise
Nutritional Analysis, Dietary Accommodations, Food Writing and Blogging,
Education
University of Texas at Austin
Institute of Culinary Education, New York, NY
Olivia Bennett is Cooking Crusade’s go-to expert for nutritious, feel-good food. Based in Austin, she blends her degree in Nutrition from the University of Texas with plant-based culinary training from the Institute of Culinary Education.
Olivia’s recipes are all about balance: vibrant, wholesome, and easy-to-love dishes that work for all kinds of eaters. Her mission is simple: to make healthy eating approachable and genuinely tasty, with tips that support your lifestyle, not complicate it.