Gooey Butterfinger Caramel Candy Bars Recipe with Crunchy Chocolate Layers
Sweet tooth adventurers, these homemade butterfinger caramel candy bars will stop you in your tracks.
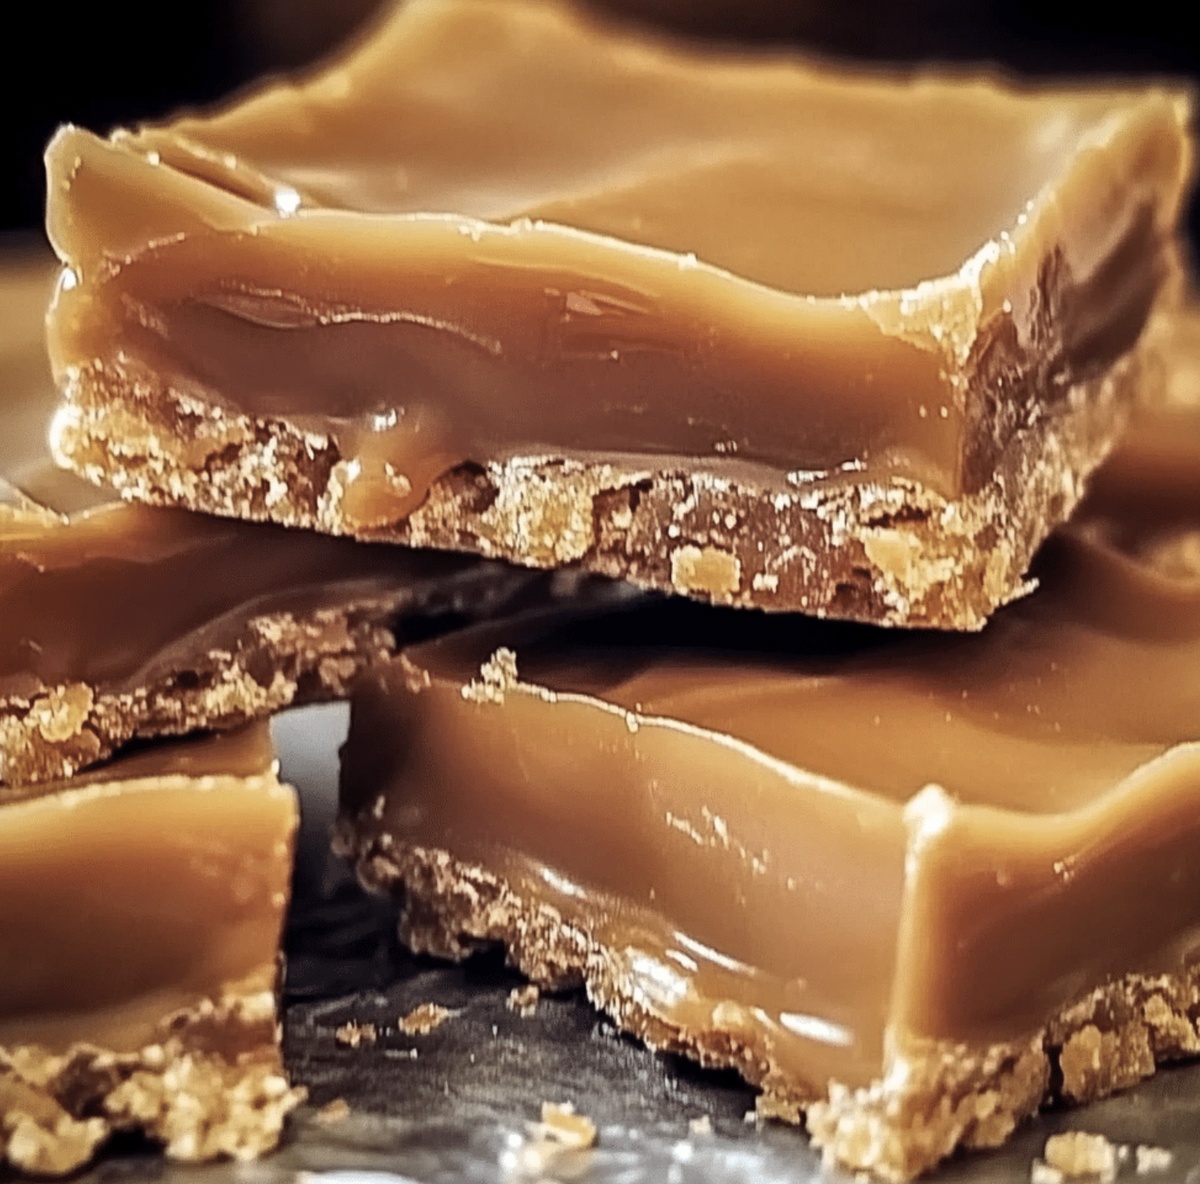
Layers of decadent caramel and crumbled butterfinger create a dessert that’s impossible to resist.
Crisp, crunchy, and outrageously indulgent, this recipe balances sweet and salty notes perfectly.
Each bite delivers a nostalgic crunch that transports you back to childhood candy memories.
The combination of smooth caramel and classic butterfinger creates a treat that’s both familiar and extraordinary.
No bakery can match the rich, complex flavors of these handcrafted bars.
Prepare to become the dessert hero among your friends with this irresistible confection.
Quick Recipe Overview
What Goes Into Butterfinger Caramel Candy Bars
For Crust Base:For Caramel Layer:For Chocolate Topping:Kitchen Tools For Butterfinger Caramel Candy Bars
Steps To Make Butterfinger Caramel Candy Bars
Grab your baking dish and line it with parchment paper. Mix graham cracker crumbs with melted butter and a touch of sweetness. Press the mixture firmly into the pan, creating a delicious foundation. Pop it in the oven until golden and let it cool completely.
Warm caramel bits with cream until they transform into a silky smooth river. Pour this liquid gold over your cooled crust. Sprinkle crushed Butterfinger pieces across the caramel landscape. Chill in the refrigerator to set the delectable layer.
Melt chocolate with a hint of coconut oil until glossy and smooth. Gently pour the chocolate over the caramel, creating a luxurious blanket. Decorate the top with remaining Butterfinger crumbles for extra crunch and visual appeal.
Refrigerate your creation for 1-2 hours until perfectly set. Use parchment paper handles to lift the entire treat from the pan. Slice into tempting squares and indulge in your homemade candy bar masterpiece.
Ideas To Change Up Butterfinger Caramel Candy Bars
Serve Butterfinger Caramel Candy Bars Sweet And Crunchy
Storage Help For Butterfinger Caramel Candy Bars
Print
Gooey Butterfinger Caramel Candy Bars Recipe
- Total Time: 1 hour 30 minutes
- Yield: 13 1x
Description
Homemade Butterfinger caramel candy bars deliver a nostalgic crunch of peanut butter and sweet caramel. Crisp layers of graham crackers and chocolate create a delightful treat you’ll crave again and again.
Ingredients
- 1 ½ cups (255 grams) semi-sweet or milk chocolate chips
- 1 ½ cups (255 grams) crushed butterfinger candy bars (about 6 mini bars or 3 regular-sized bars)
- 2 tbsps (30 milliliters) heavy cream
- 1 cup (170 grams) caramel bits or soft caramels, unwrapped
- 2 cups (473 milliliters) graham cracker crumbs
- ½ cup (113 grams) unsalted butter, melted
- ¼ cup (50 grams) granulated sugar
- 1 tbsp (15 milliliters) coconut oil or vegetable oil (for a shiny topping)
Instructions
- Crust Preparation: Pulverize graham crackers and blend with melted butter and sugar until uniformly combined. Press the mixture firmly into a parchment-lined baking dish, creating a compact, golden foundation for the dessert.
- Caramel Layer: Melt caramel bits with heavy cream in short microwave bursts, stirring until achieving a smooth, glossy consistency. Generously drizzle the molten caramel across the crust, then liberally scatter crushed Butterfinger pieces for a delightful textural contrast.
- Chocolate Finishing: Gently melt chocolate chips with coconut oil, whisking until achieving a luxurious, flowing consistency. Pour the chocolate evenly over the caramel and Butterfinger layer, ensuring complete coverage and allowing it to settle naturally.
- Final Embellishment: Sprinkle remaining Butterfinger fragments across the chocolate surface, creating an artistic pattern of color and crunch. Refrigerate the assembled dessert, permitting the layers to solidify and integrate their complex flavors.
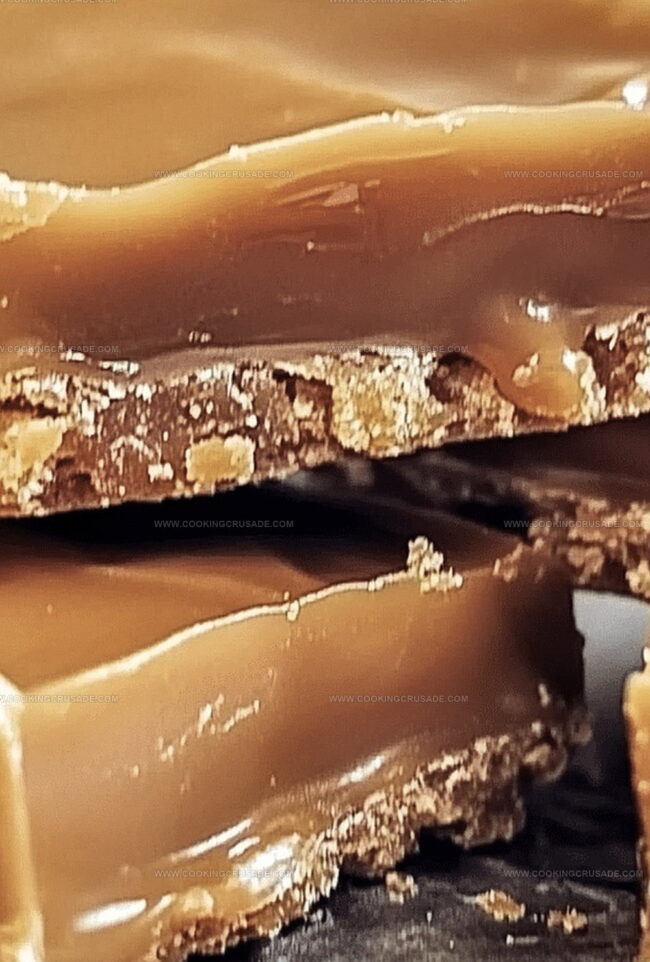
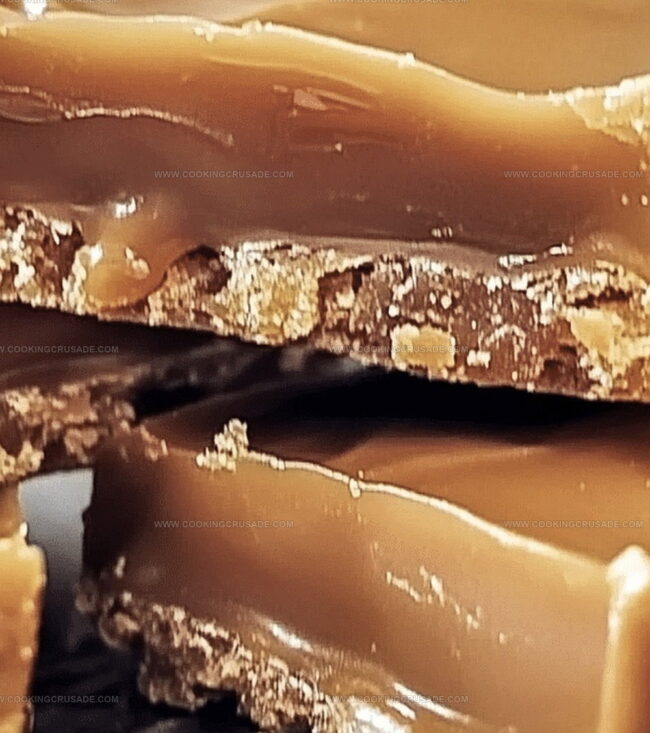
- Serving Technique: Once completely chilled, lift the dessert from the pan using parchment paper handles. Slice into precise portions, revealing the intricate, multi-layered composition of graham, caramel, chocolate, and crunchy Butterfinger elements.
Notes
- Prepare Crumb Base Evenly: Use a flat-bottomed measuring cup or glass to press graham cracker mixture firmly and uniformly, preventing crumbly or uneven layers.
- Manage Caramel Consistency: Microwave caramel in 15-second intervals, stirring between each session to prevent burning and achieve smooth, pourable texture without scorching.
- Control Chocolate Melting: Use double boiler method or low microwave heat to melt chocolate chips, preventing seizing and ensuring glossy, perfect coating that spreads smoothly.
- Optimize Chilling Process: Allow dessert to set completely in refrigerator for at least 2 hours, ensuring layers bond and bars slice cleanly without crumbling or falling apart.
- Prep Time: 20 minutes
- Cook Time: 10 minutes
- Category: Desserts, Snacks
- Method: Baking
- Cuisine: American
Nutrition
- Serving Size: 13
- Calories: 322
- Sugar: 23 g
- Sodium: 60 mg
- Fat: 18 g
- Saturated Fat: 10 g
- Unsaturated Fat: 8 g
- Trans Fat: 0 g
- Carbohydrates: 36 g
- Fiber: 1 g
- Protein: 3 g
- Cholesterol: 30 mg
Olivia Bennett
Co-Founder & Content Creator
Expertise
Nutritional Analysis, Dietary Accommodations, Food Writing and Blogging,
Education
University of Texas at Austin
Institute of Culinary Education, New York, NY
Olivia Bennett is Cooking Crusade’s go-to expert for nutritious, feel-good food. Based in Austin, she blends her degree in Nutrition from the University of Texas with plant-based culinary training from the Institute of Culinary Education.
Olivia’s recipes are all about balance: vibrant, wholesome, and easy-to-love dishes that work for all kinds of eaters. Her mission is simple: to make healthy eating approachable and genuinely tasty, with tips that support your lifestyle, not complicate it.