
Easy Hasselback Cheesy Bread Recipe: Golden Pull-Apart Magic
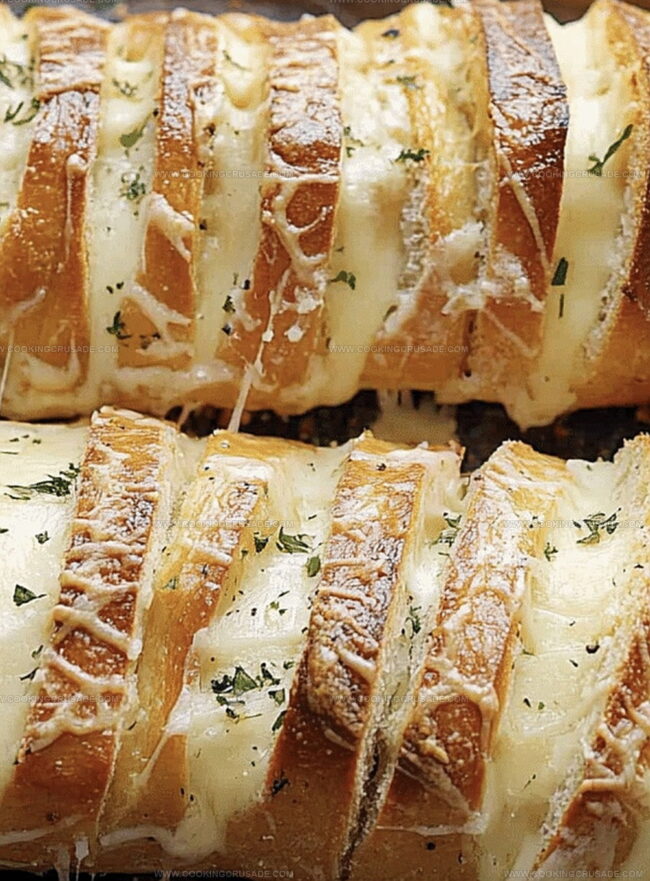
Slicing through this delectable hasselback cheesy bread with precision and flair.
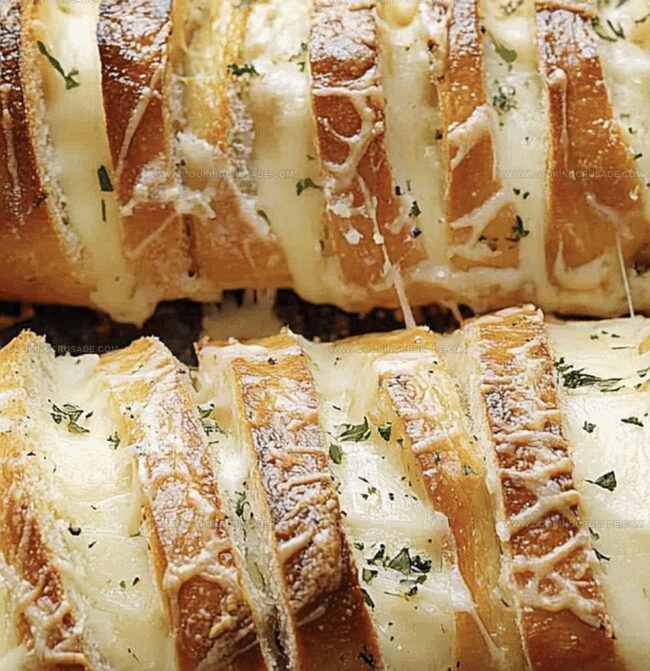
Crispy edges peek out like golden fans, promising a mouthwatering experience.
Layers of melted cheese nestle between perfectly cut sections, creating an irresistible texture.
Garlic and herbs dance across the surface, adding depth to every bite.
Each slice becomes a canvas of culinary creativity, inviting you to savor every moment.
Weekend gatherings or quick snacks will never be the same with this showstopping bread.
Grab a slice and let the deliciousness inspire your next kitchen adventure.
Why Hasselback Cheesy Bread Is The Ultimate Pull-Apart Snack
What Goes Into Hasselback Cheesy Bread
Bread Base:Cheese Ingredients:Flavoring Ingredients:How To Assemble And Bake Hasselback Cheesy Bread
Step 1: Create Bread Slits
Grab a sharp serrated knife and a sturdy cutting board. Position your bread loaf carefully and slice deep, even cuts across the entire surface. Make cuts about one inch apart, but don’t slice all the way through – you want the bottom to stay connected. Rotate the loaf and create perpendicular cuts to form a beautiful crosshatch pattern that will help cheese and flavor seep into every delicious crevice.
Step 2: Craft Flavor-Packed Butter Blend
In a mixing bowl, combine:Whisk these ingredients together until they create a mouthwatering aromatic mixture that will make your kitchen smell incredible.
Step 3: Load With Cheesy Goodness
Gently separate the bread’s slits and generously stuff with:Ensure each cut gets an even distribution of cheesy deliciousness. Use a spoon to drizzle the herbed butter mixture between each slice, coating the bread and cheese completely.
Step 4: Bake To Perfection
Wrap the loaded bread loosely in aluminum foil. Place on a prepared baking sheet and slide into a preheated oven at 375 Fahrenheit. Bake covered for 15 minutes, then remove foil and continue baking 10-15 minutes more. Watch for golden edges and melted, bubbly cheese.
Step 5: Serve And Devour
Transfer the hot, cheesy bread to a serving platter. Let it cool slightly so the cheese sets. Invite friends to pull apart the gooey, herb-infused slices and enjoy the ultimate sharing appetizer that’s sure to impress everyone at the table.
Pro Tips For The Best Hasselback Cheesy Bread
How To Keep Hasselback Cheesy Bread Fresh And Cheesy
What To Serve With Hasselback Cheesy Bread
Cheesy Twists For Hasselback Cheesy Bread
Hasselback Cheesy Bread Questions Answered
The Hasselback technique creates more surface area for cheese and garlic butter, allowing each slice to be crispy and flavorful. The cuts help ingredients penetrate deeper into the bread, making every bite deliciously seasoned.
Absolutely! Mozzarella and cheddar work great, but you can experiment with gruyère, parmesan, or monterey jack. Just ensure the cheese melts well and complements the garlic butter’s flavor.
Covering the bread with aluminum foil during the first part of baking prevents over-browning. The foil protects the bread’s surface while allowing the cheese to melt and the interior to heat evenly. Remove the foil for the final 10-15 minutes to achieve a golden, crispy exterior.
Yes, this Hasselback Cheesy Bread is vegetarian-friendly. It contains no meat ingredients and can be easily adapted with different cheeses and seasonings to suit various dietary preferences.
Print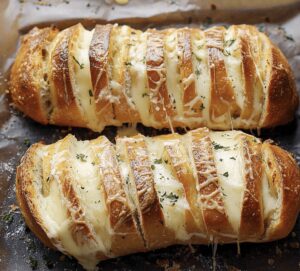
Hasselback Cheesy Bread Recipe
- Total Time: 35 minutes
- Yield: 4 1x
Description
Cheesy hasselback bread brings Mediterranean magic to your table, creating a mouthwatering appetizer that blends crispy edges with gooey cheese. Garlic-infused butter and fresh herbs elevate this simple yet irresistible dish, promising you’ll become an instant culinary hero at any gathering.
Ingredients
Main Ingredients:
- 1 large crusty loaf (like sourdough or Italian bread)
- 1 cup (100 g) shredded mozzarella cheese
- ½ cup (50 g) shredded cheddar cheese
Seasoning and Flavor Enhancers:
- 3 tablespoons unsalted butter, melted
- 2 tablespoons olive oil
- 3 cloves garlic, minced
- 1 teaspoon dried Italian seasoning
- 2 tablespoons chopped fresh parsley (optional)
- 1 pinch red pepper flakes (optional, for a spicy kick)
Instructions
- Warm the oven to 375F (190C) and cover a baking sheet with protective lining for effortless cleanup.
- Position the bread loaf on a sturdy cutting surface and carefully slice deep, uniform incisions approximately one inch apart, ensuring the base remains intact. Create an intricate crosshatch pattern by rotating the loaf and making perpendicular cuts.
- Craft a flavorful infusion by whisking together warm butter, aromatic olive oil, minced garlic, fragrant Italian seasoning, fresh parsley, and optional red pepper flakes in a compact mixing vessel.
- Gently separate bread sections and nestle generous portions of mozzarella and cheddar cheese into each crevice, distributing evenly. Delicately drizzle the herbed butter mixture throughout the slits, ensuring comprehensive coverage of cheese and bread interior.
- Encase the prepared loaf loosely in aluminum foil to preserve moisture during initial baking. Transfer to prepared sheet and roast for 15 minutes. Remove foil protection and continue baking until cheese transforms into molten pools and bread edges acquire a golden, crispy exterior.
- Allow bread to rest momentarily after removing from oven, permitting cheese to stabilize. Transfer to an elegant serving platter, inviting guests to indulge in this interactive, pull-apart delicacy bursting with garlicky, cheesy magnificence.
Notes
- Customize the bread by using different cheese varieties like Gruyère, provolone, or pepper jack for unique flavor profiles.
- Ensure clean, precise cuts by using a sharp serrated knife and placing wooden spoon handles on either side of the bread to prevent cutting through the bottom.
- Transform this recipe into a gluten-free option by selecting a gluten-free bread loaf and checking ingredient labels for potential gluten-containing seasonings.
- Elevate the dish’s nutritional value by incorporating chopped spinach, sundried tomatoes, or crispy bacon bits between cheese layers for added texture and taste.
- Prep Time: 10 minutes
- Cook Time: 25 minutes
- Category: Snacks, Appetizer
- Method: Baking
- Cuisine: Swedish
Nutrition
- Serving Size: 4
- Calories: 400
- Sugar: 2 g
- Sodium: 600 mg
- Fat: 24 g
- Saturated Fat: 12 g
- Unsaturated Fat: 10 g
- Trans Fat: 0 g
- Carbohydrates: 36 g
- Fiber: 2 g
- Protein: 15 g
- Cholesterol: 40 mg
James Mitchell
Founder & Recipe Developer
Expertise
Recipe Creation and Testing, Fusion Cuisine, Food Styling and Photography, Culinary Education
Education
Kendall College, Chicago, IL
The Culinary Institute of America, Hyde Park, NY
James Mitchell is the founder and fearless flavor explorer at Cooking Crusade. With a degree in Culinary Arts from Kendall College and advanced training in global gastronomy from The Culinary Institute of America, James has spent over a decade perfecting the art of recipe creation.
His background includes fine dining, private cheffing, and food styling, but his true joy comes from turning big ideas into doable recipes for home cooks. Every dish he shares is a mix of creativity, culture, and a little kitchen magic, built to bring excitement back to everyday meals.