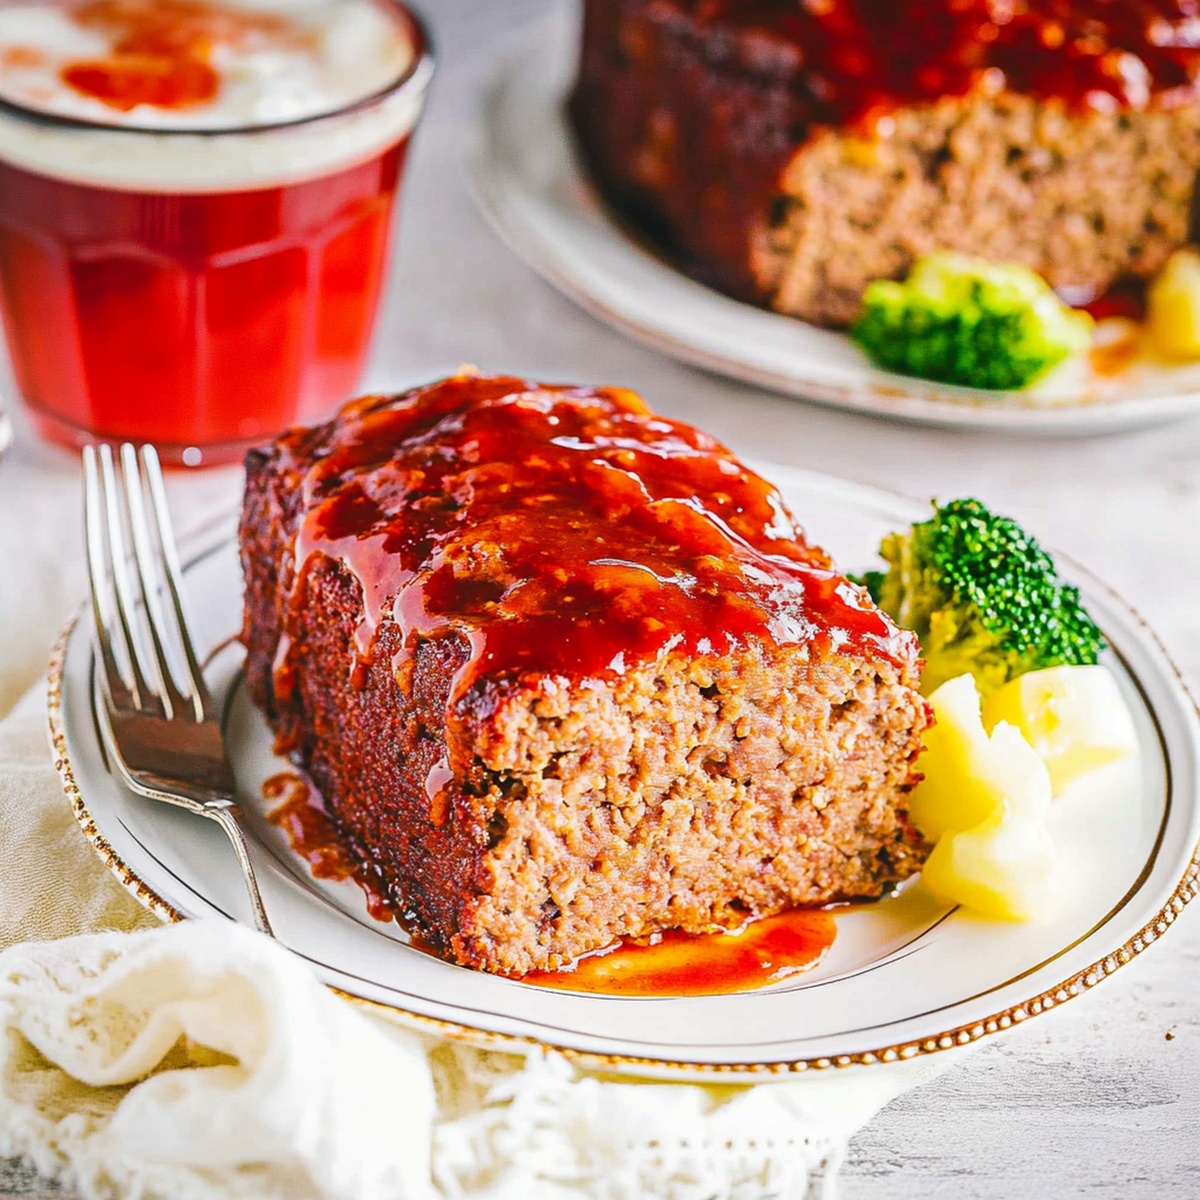
Homestyle Magic: The Irresistible Cracker Barrel Meatloaf Recipe
Comfort food takes center stage with this classic cracker barrel meatloaf recipe that promises to satisfy even the most discerning taste buds.
Rich ground beef mingles with savory seasonings, creating a mouthwatering main dish that screams home-cooked goodness.
Tender and packed with flavor, this meatloaf delivers a nostalgic dining experience straight from traditional American kitchens.
Every bite brings warmth and memories of family dinners around the table.
The blend of simple ingredients transforms an ordinary meal into something extraordinary.
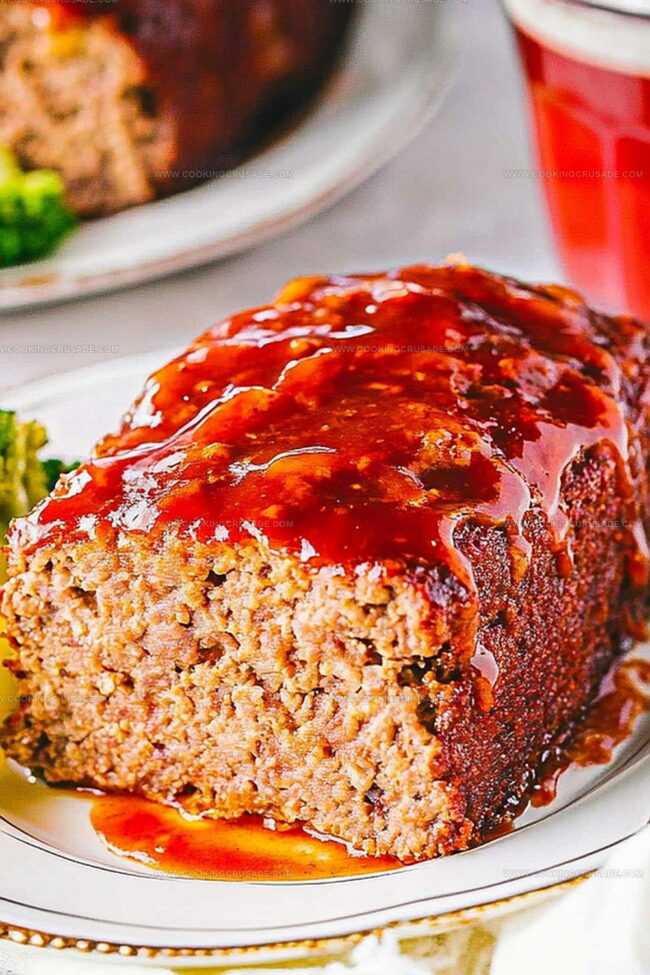
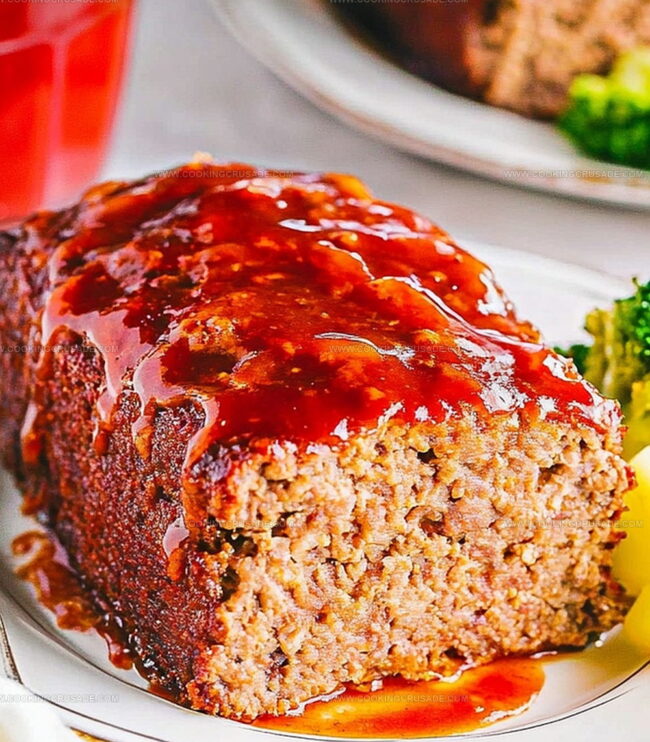
Topped with a tangy glaze that caramelizes beautifully, this meatloaf will have everyone asking for seconds.
Let’s unlock the secrets to making a truly irresistible dinner that brings comfort and joy to your plate.
Quick Recipe Overview
Copycat Cracker Barrel Meatloaf Ingredient List
For Meat Base:For Binding and Moisture:For Flavor Enhancers:Tools For Copycat Cracker Barrel Meatloaf
How To Bake Copycat Cracker Barrel Meatloaf
Get your oven warmed up to a cozy 350°F and grab a baking sheet or loaf pan. Lightly grease it or line with parchment paper to ensure your meatloaf doesn’t stick.
In a large mixing bowl, combine ground beef, crumbled crackers, eggs, milk, and those flavor-packed seasonings. Use your hands to gently blend everything together, being careful not to overwork the meat.
Form the meat mixture into a classic loaf shape, making sure it’s evenly distributed. Sprinkle some extra seasoning on top for an extra flavor kick.
Whip up a mouth-watering topping by mixing ketchup, brown sugar, and a splash of mustard. This sweet and tangy glaze will give your meatloaf that irresistible shine and flavor.
Carefully spread the glaze over the top of your meatloaf. Pop it into the preheated oven and let it bake for about 1 hour, or until the internal temperature reaches 160°F.
Once done, remove the meatloaf from the oven and let it rest for 10 minutes. This helps the juices redistribute, ensuring each slice is moist and delicious. Slice and serve hot, watching your family’s faces light up with excitement!
Tips For Moist Copycat Cracker Barrel Meatloaf
Serving Copycat Cracker Barrel Meatloaf Best
How To Store Copycat Cracker Barrel Meatloaf
Print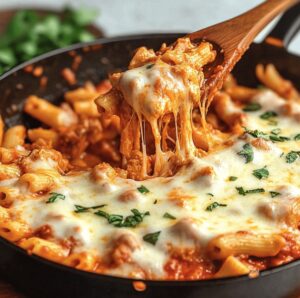
Cheesy Chicken Parmesan Pasta Skillet Recipe
- Total Time: 35 minutes
- Yield: 5 1x
Description
Mouthwatering chicken parmesan pasta skillet blends Italian culinary traditions with comfort food charm. Rich cheese, crispy chicken, and al dente pasta create a satisfying meal you’ll crave repeatedly.
Ingredients
- 2 pieces chicken breasts (boneless, skinless, cut into bite-sized)
- 2 cups (480 ml) penne or rotini pasta (uncooked)
- 2 cups (480 ml) marinara sauce
- 2 cups (480 ml) chicken broth or water
- ½ cup (120 ml) heavy cream (optional, for creamier sauce)
- 1 tsp salt
- ½ tsp black pepper
- 1 tsp garlic powder
- 1 tsp Italian seasoning
- 3 cloves garlic, minced
- ½ cup grated Parmesan cheese
- 1 cup shredded mozzarella cheese
- 2 tbsps olive oil
- ¼ cup fresh basil or parsley, chopped (for garnish)
Instructions
- Skillet Preparation: Heat olive oil in a spacious skillet over medium-high heat until it radiates culinary promise.
- Chicken Seasoning: Envelop chicken pieces with a robust medley of salt, cracked pepper, garlic powder, and Italian seasoning, then sear until a golden-brown crust emerges and interior reaches perfect doneness.
- Preliminary Staging: Delicately transfer cooked chicken to a separate plate, preserving its warmth while leveraging the skillet’s flavorful remnants.
- Pasta Integration: Introduce pasta directly into the skillet, thoroughly coating each strand with residual chicken-infused oils and seasonings.
- Sauce Fusion: Cascade marinara sauce over the pasta, gently folding to ensure comprehensive coverage and harmonious blending.
- Protein Reintroduction: Nestle the previously cooked chicken pieces back into the skillet, allowing them to seamlessly intermingle with the saucy pasta.
- Cheese Transformation: Generously layer mozzarella and parmesan cheese across the surface, creating a molten, bubbling dairy landscape.
- Final Melding: Cover the skillet, allowing the cheese to melt into a luxurious, stretchy layer that binds the dish’s complex flavors.
- Aromatic Finish: Adorn with fresh basil leaves, introducing a vibrant, herbaceous crescendo to the culinary composition.
Notes
- Manage Chicken Cooking: Ensure chicken pieces are uniform in size for even cooking, preventing some parts from being undercooked or overdone.
- Control Skillet Temperature: Maintain medium-high heat to achieve perfect golden-brown exterior without burning the chicken or creating tough meat texture.
- Cheese Melting Technique: Allow cheese to melt slowly under cover, creating a smooth, stretchy layer that integrates seamlessly with pasta and chicken.
- Dietary Adaptation Options: Easily swap regular pasta with gluten-free alternatives, use low-fat cheese for lighter version, or replace chicken with plant-based protein for vegetarian adaptation.
- Prep Time: 10 minutes
- Cook Time: 25 minutes
- Category: Dinner, Lunch
- Method: Sautéing
- Cuisine: Italian
Nutrition
- Serving Size: 5
- Calories: 564
- Sugar: 5 g
- Sodium: 770 mg
- Fat: 20 g
- Saturated Fat: 8 g
- Unsaturated Fat: 10 g
- Trans Fat: 0 g
- Carbohydrates: 60 g
- Fiber: 3 g
- Protein: 34 g
- Cholesterol: 95 mg
Olivia Bennett
Co-Founder & Content Creator
Expertise
Nutritional Analysis, Dietary Accommodations, Food Writing and Blogging,
Education
University of Texas at Austin
Institute of Culinary Education, New York, NY
Olivia Bennett is Cooking Crusade’s go-to expert for nutritious, feel-good food. Based in Austin, she blends her degree in Nutrition from the University of Texas with plant-based culinary training from the Institute of Culinary Education.
Olivia’s recipes are all about balance: vibrant, wholesome, and easy-to-love dishes that work for all kinds of eaters. Her mission is simple: to make healthy eating approachable and genuinely tasty, with tips that support your lifestyle, not complicate it.