Easy Homemade Apple Pie Recipe: Warm & Wonderful Classic
Crafting a delectable homemade apple pie recipe brings pure joy to any kitchen adventure.
Sweet aromas will soon waft through your home, promising comfort and warmth.
Crisp autumn apples form the heart of this classic dessert, blending traditional flavors with personal flair.
Baking becomes an art when you carefully select ripe, juicy fruits and mix them with fragrant spices.
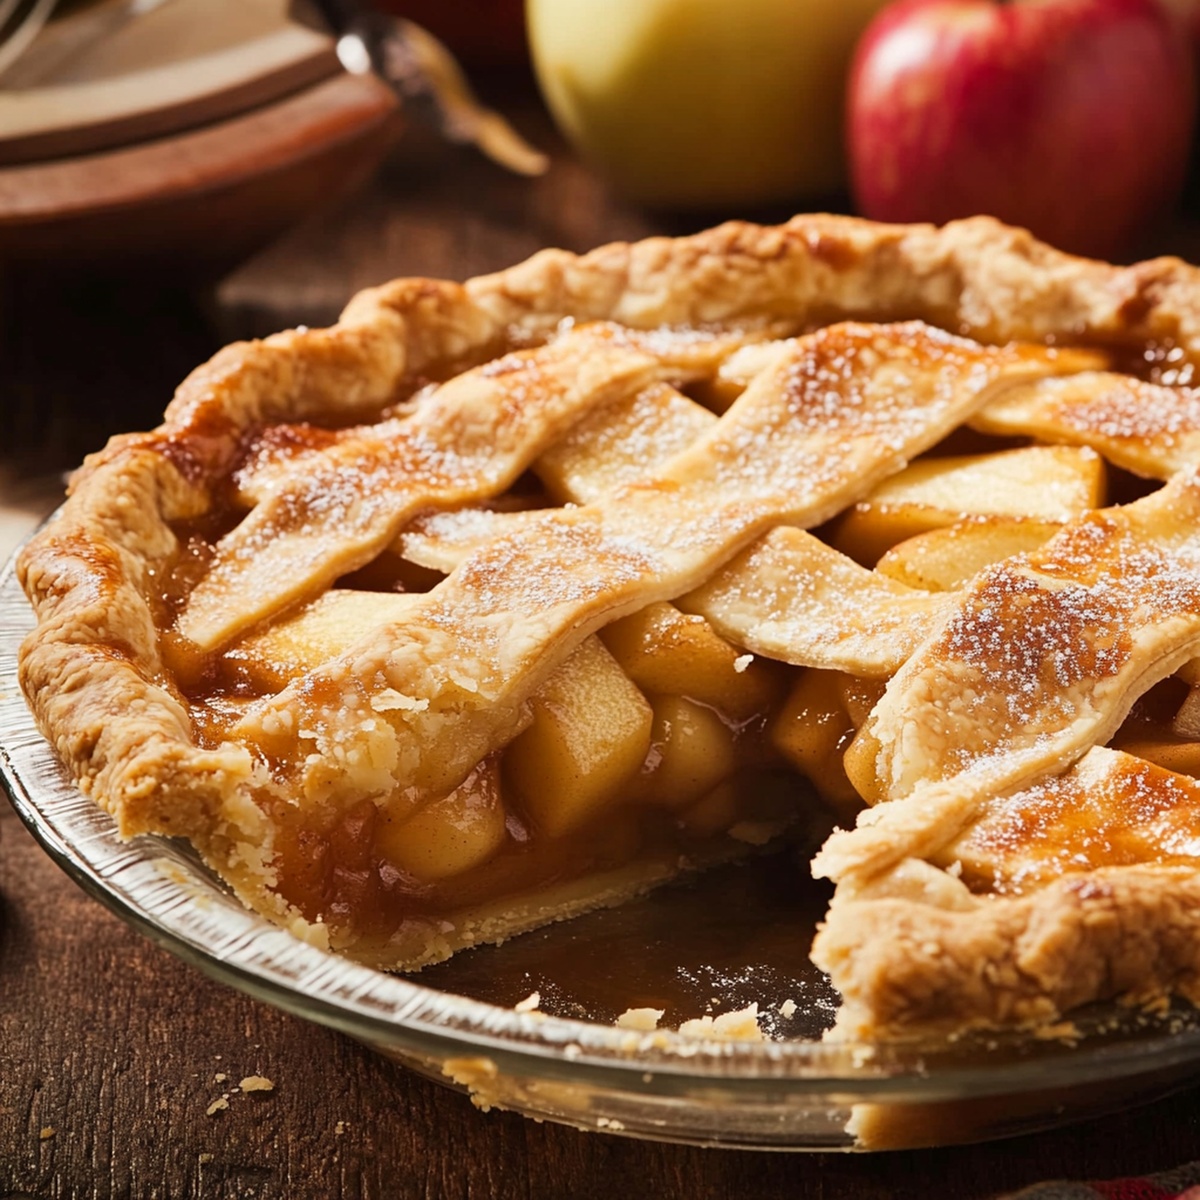
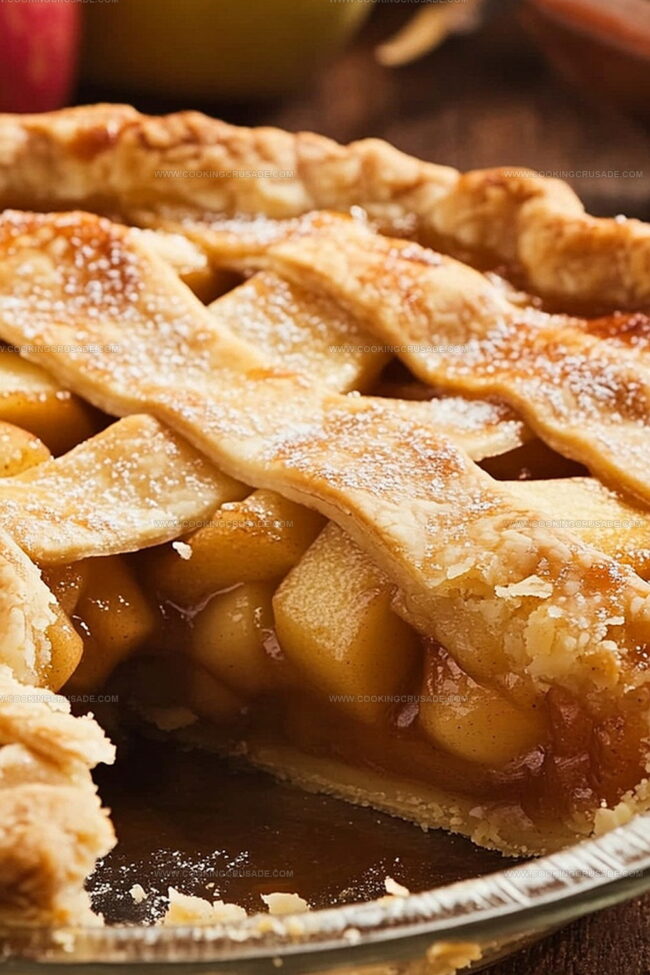
Buttery pastry promises a golden, flaky crust that melts in your mouth.
Each slice tells a story of love, care, and culinary passion.
The magic happens when simple ingredients transform into a masterpiece that invites everyone to gather and savor.
You’ll want to slice into this pie and create delicious memories right away.
Why Homemade Apple Pie Is an All-American Favorite
What Makes a Perfect Apple Pie Filling
Pie Crust Ingredients:Apple Filling Ingredients:Finishing Ingredients:Steps to Craft a Flaky Crust and Juicy Middle

Step 1: Create Flaky Pie Dough
Grab your mixing bowl and toss in flour, a pinch of salt, and a sprinkle of sugar. Cut cold butter into tiny cubes and work it into the dry ingredients using your fingertips or a pastry blender until the mixture looks like rough sandy crumbs. Drizzle in ice-cold water, mixing gently until the dough just comes together. Split the dough into two equal portions, wrap each in plastic wrap, and park them in the refrigerator for a solid hour to chill and relax.
Step 2: Prepare Luscious Apple Filling
Slice apples into thin, uniform pieces and toss them with:Let the apple mixture hang out for 15-20 minutes, allowing the flavors to mingle and juices to develop.
Step 3: Construct Beautiful Pie
Fire up the oven to 375°F. Roll out the first dough disk on a flour-dusted surface, creating a circle large enough to drape into a 9-inch pie pan. Trim the edges neatly. Pour the apple mixture into the crust, dotting with small butter nuggets. Unroll the second dough disk and cover the filling. Crimp the edges decoratively and slice a few steam vents on top.
Step 4: Bake to Golden Perfection
Whisk an egg with milk to create a glossy wash. Brush this over the crust for a stunning golden sheen. Slide the pie into the oven and bake for 50-60 minutes. Watch for a rich golden crust and bubbling filling. If the edges start browning too quickly, shield them with aluminum foil.
Step 5: Cool and Indulge
Patience is key! Allow the pie to cool for at least two hours so the filling sets beautifully. Slice and serve alongside a scoop of vanilla ice cream or a dollop of whipped cream. Savor every delectable bite!
Tips for a Crisp Top and Tender Core
Preserving Apple Pie Flavor After Day One
Great Partners for a Slice of Apple Pie
Spin This Pie Into Something New
Answering Every Apple Pie Curiosity
Cold butter helps create flaky, tender layers in your pie crust. When cold butter hits the hot oven, it creates steam pockets that make the crust light and crispy instead of dense and tough.
Absolutely! A mix of tart and sweet apples works best. Granny Smith, Honeycrisp, and Braeburn are excellent choices that provide great flavor and texture. Aim for a combination of 2-3 apple varieties for a more complex taste.
To avoid a soggy bottom, sprinkle a thin layer of breadcrumbs or ground nuts on the bottom crust before adding the apple filling. This helps absorb excess moisture and keeps the crust crisp. Also, make sure to let the apple mixture sit and release its juices before filling the pie.
Cornstarch helps thicken the pie filling and prevents it from becoming watery. It creates a smooth, glossy sauce that holds the apple slices together and gives the pie a perfect, not-too-runny consistency.
Print
Homemade Apple Pie Recipe
- Total Time: 2 hours 25 minutes
- Yield: 8 1x
Description
Savor the heartwarming essence of Grandma’s Classic Apple Pie, a golden-crusted masterpiece that whispers nostalgia with each delectable slice. Warm cinnamon-spiced apples nestled in a buttery, flaky crust will transport you to cherished family gatherings.
Ingredients
Main Ingredients:
- 6 cups apples, peeled, cored, and sliced (Granny Smith, Honeycrisp, or Fuji)
- 2 ½ cups all-purpose flour
- 1 cup (2 sticks) unsalted butter, cold and cubed
Sweeteners and Spices:
- ¾ cup granulated sugar
- ¼ cup brown sugar
- 1 ½ teaspoons cinnamon
- 1 tablespoon granulated sugar
- ¼ teaspoon nutmeg
- ¼ teaspoon salt
- 1 tablespoon lemon juice
Additional Ingredients:
- 6–8 tablespoons ice water
- 1 teaspoon salt
- 2 tablespoons cornstarch or flour
- 1 tablespoon unsalted butter, cut into small pieces
- 1 egg
- 1 tablespoon milk or water
Instructions
- Craft the pastry foundation by whisking flour, salt, and sugar in a spacious mixing vessel. Incorporate chilled butter cubes, using a pastry blender to create a texture resembling coarse sand.
- Gradually introduce ice-cold water, carefully blending until the dough coheres. Separate into two uniform disks, encase in plastic membrane, and chill for minimum 60 minutes to enhance structural integrity.
- Transform crisp apples into delectable filling by combining with sugars, citrus essence, warming spices, and thickening agent. Allow mixture to macerate, enabling natural fruit juices to develop and intensify flavor profile.
- Warm the culinary workspace to 375F, preparing for pie transformation. Gently roll one pastry disk onto floured surface, draping carefully into pie vessel and trimming excess edges with precision.
- Distribute seasoned apple mixture into prepared crust, strategically placing butter fragments across the surface for enhanced richness.
- Elegantly crown the filling with second pastry disk, meticulously sealing edges and creating decorative crimped border. Delicately slice venting channels to permit steam escape.
- Whisk egg with dairy liquid, creating golden glaze to brush across pastry surface, ensuring beautiful caramelized appearance during baking.
- Transfer pie to heated oven, monitoring for approximately 55 minutes until crust achieves rich amber tone and filling bubbles tantalizingly. Shield exposed edges with aluminum shield if browning occurs prematurely.
- Allow pie to rest and stabilize for two hours, permitting filling to set and flavors to harmonize. Serve accompanied by creamy vanilla ice cream or billowy whipped cream for ultimate indulgence.
Notes
- Use cold butter straight from the refrigerator to achieve a flaky, tender pie crust that melts in your mouth.
- Avoid overworking the dough to prevent tough, dense pastry by mixing just until the ingredients come together.
- Rest the dough in the refrigerator to relax the gluten and prevent shrinking during baking.
- Choose firm, tart apples like Granny Smith or Honeycrisp for the best balance of texture and flavor.
- Drain excess liquid from the apple filling to prevent a soggy bottom crust and ensure a perfectly crisp base.
- Create decorative lattice or cut-out designs on the top crust for a professional bakery-style presentation.
- Sprinkle a bit of raw sugar on the crust for extra crunch and a beautiful sparkly finish.
- Swap wheat flour with gluten-free flour blend for a celiac-friendly version of this classic dessert.
- Reduce sugar for a less sweet pie or use alternative sweeteners like maple syrup for a different flavor profile.
- Serve with a scoop of vanilla ice cream or a dollop of whipped cream to elevate the classic dessert experience.
- Prep Time: 30 minutes
- Cook Time: 55 minutes
- Category: Desserts
- Method: Baking
- Cuisine: American
Nutrition
- Serving Size: 8
- Calories: 392
- Sugar: 22 g
- Sodium: 181 mg
- Fat: 20 g
- Saturated Fat: 12 g
- Unsaturated Fat: 8 g
- Trans Fat: 0 g
- Carbohydrates: 50 g
- Fiber: 3 g
- Protein: 2 g
- Cholesterol: 33 mg
James Mitchell
Founder & Recipe Developer
Expertise
Recipe Creation and Testing, Fusion Cuisine, Food Styling and Photography, Culinary Education
Education
Kendall College, Chicago, IL
The Culinary Institute of America, Hyde Park, NY
James Mitchell is the founder and fearless flavor explorer at Cooking Crusade. With a degree in Culinary Arts from Kendall College and advanced training in global gastronomy from The Culinary Institute of America, James has spent over a decade perfecting the art of recipe creation.
His background includes fine dining, private cheffing, and food styling, but his true joy comes from turning big ideas into doable recipes for home cooks. Every dish he shares is a mix of creativity, culture, and a little kitchen magic, built to bring excitement back to everyday meals.