Easy Homemade Rough Puff Pastry Dough Recipe – Flaky Perfection!
Crafting a homemade rough puff pastry dough can seem like a culinary adventure waiting to unfold.
Layers of buttery goodness promise something special for your baking experiments.
Professional bakers might make this technique look complicated, but anyone can master the art with practice.
Rich, flaky textures emerge from simple ingredients and careful technique.
Creating delicate pastries that shimmer with golden, crisp edges straight from your kitchen.
Minimal effort transforms basic components into something extraordinarily delectable.
You’ll be amazed how quickly these techniques become second nature with a little patience and practice.
Why Homemade Rough Puff Pastry Dough Is Worth It
What You’ll Need For Homemade Rough Puff Pastry Dough
Dry Ingredients:Fat Component:Liquid Component:How To Make Homemade Rough Puff Pastry Dough
Step 1: Combine Dry Ingredients
Grab a spacious mixing bowl and toss in flour and salt. Give them a gentle mix to ensure they’re well acquainted. The goal is to create a uniform base that will become the foundation of your delightful pastry.
Step 2: Work in Butter Chunks
Take your cold butter and cut it into small cubes. Drop these little butter gems into the flour mixture. Using a pastry cutter or your nimble fingers, break down the butter into pea-sized pieces. Don’t stress about perfection – some butter chunks are your secret weapon for creating those dreamy, flaky layers.
Step 3: Introduce Cold Water
Slowly drizzle ice-cold water into the mixture. Stir gently with a wooden spoon or your hands until the dough starts to come together. If the dough seems too dry, add water one tablespoon at a time. The texture should look slightly rough and uneven – that’s exactly what we want!
Step 4: Shape and Chill First Batch
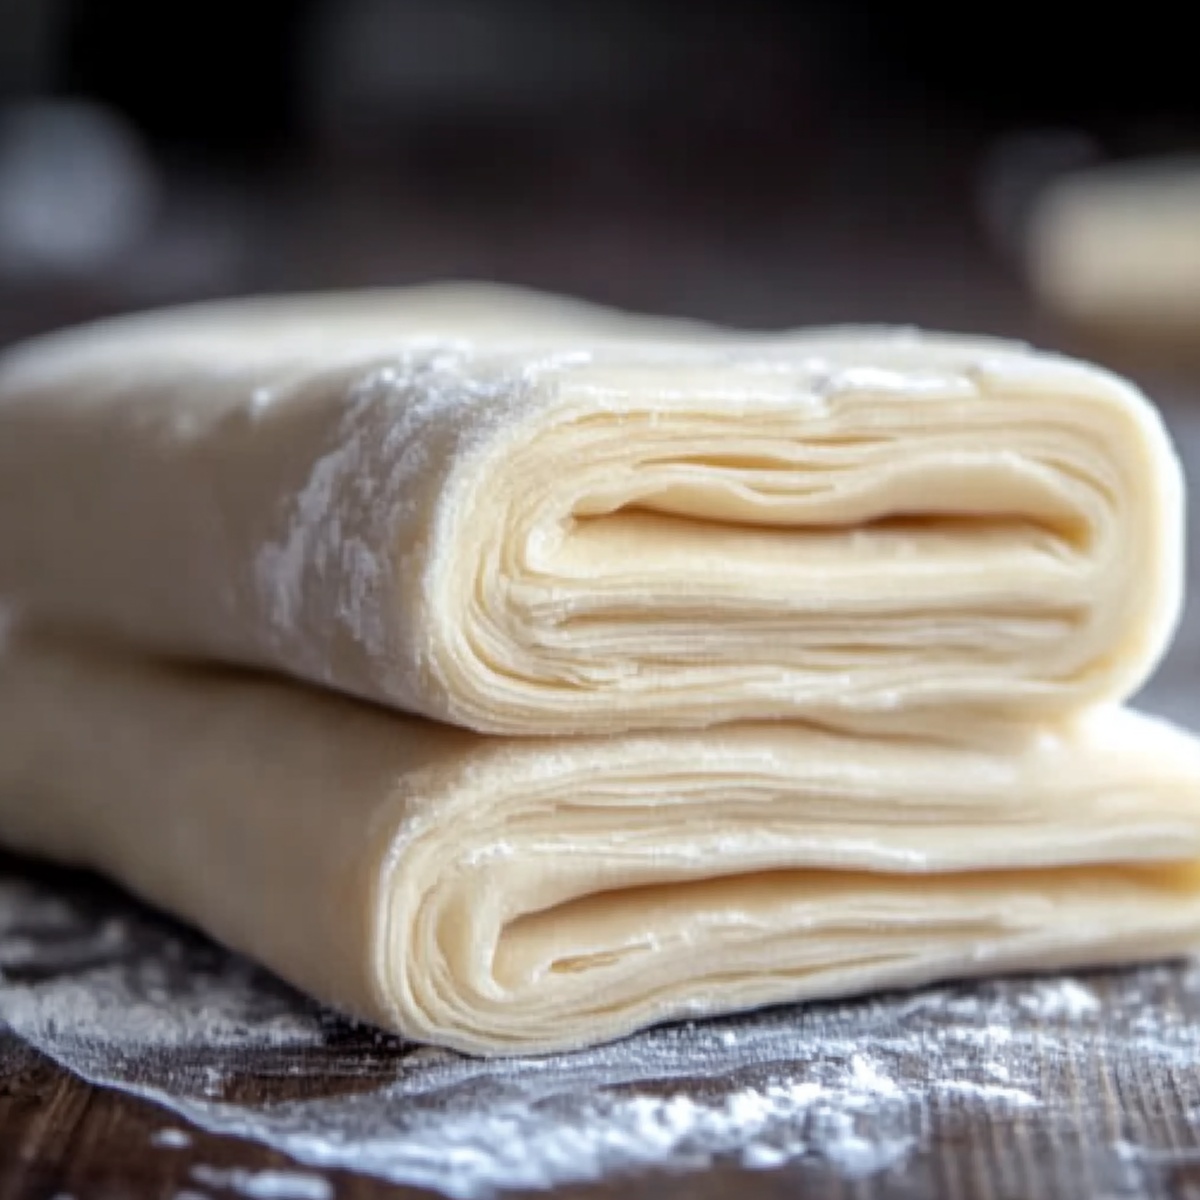
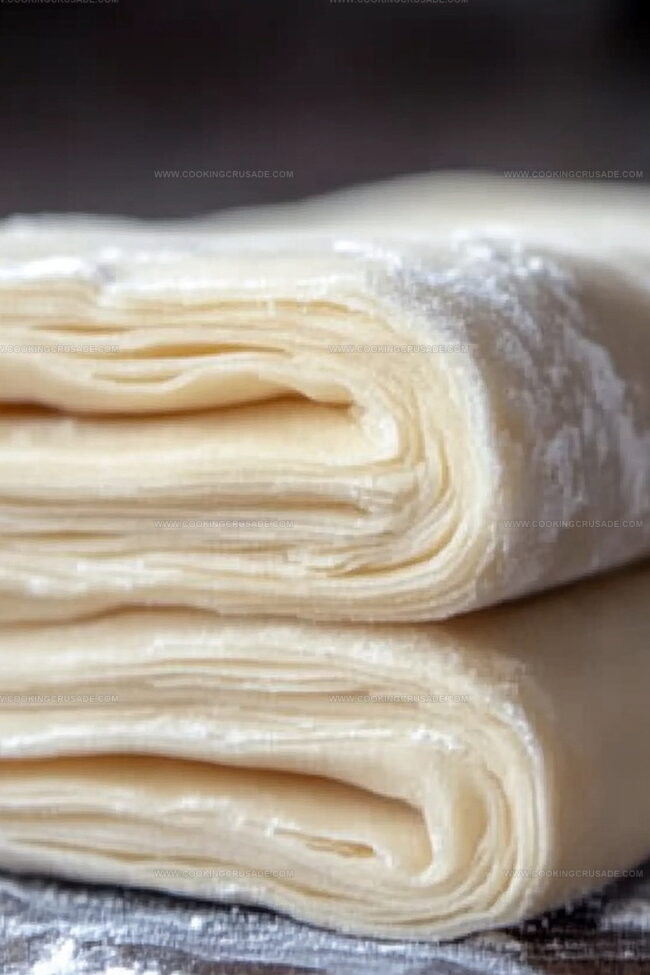
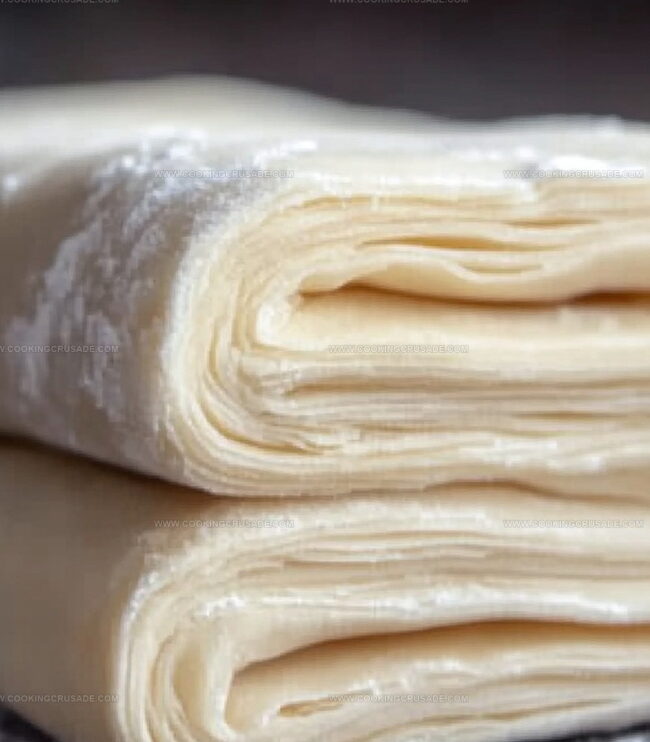
Transform your shaggy dough into a rough rectangular shape. Wrap it snugly in plastic wrap and tuck it into the refrigerator for a cool 30-minute rest. This helps the butter firm up and prevents it from melting.
Step 5: Execute First Folding Technique
Dust your work surface with a light layer of flour. Roll the chilled dough into a long rectangle. Now, imagine folding a formal letter – bring the top third down and the bottom third up. Rotate the dough 90 degrees so the open edges face sideways.
Step 6: Second Cooling Session
Wrap the folded dough again and return it to the refrigerator. Let it chill for another 20-30 minutes. This relaxation period helps develop those incredible flaky layers.
Step 7: Repeat Folding Magic
Repeat the rolling and folding process three more times. Each time, you’ll want to:Step 8: Final Preparation
After completing all the turns, wrap the dough tightly. Store it in the refrigerator for at least an hour before using. If you’re planning ahead, it can hang out in the fridge for up to two days. For longer storage, the freezer is your friend – it’ll keep for three months.
Helpful Tips For Homemade Rough Puff Pastry Dough
Storing Homemade Rough Puff Pastry Dough The Easy Way
Great Uses With Homemade Rough Puff Pastry Dough
Different Versions Of Homemade Rough Puff Pastry Dough
FAQs About Homemade Rough Puff Pastry Dough
Rough puff pastry is a simpler version of traditional puff pastry. Unlike classic puff pastry that requires extensive lamination, this method uses fewer folds and less precise technique, making it more approachable for home bakers while still delivering deliciously flaky results.
Butter is recommended for the best flavor and texture. Margarine might work, but it won’t provide the same rich taste and ideal flakiness that real butter creates. Stick with unsalted butter for the most consistent pastry.
If the butter starts to soften, immediately stop and refrigerate the dough for 20-30 minutes. Keeping the butter cold is crucial for creating those signature flaky layers in your pastry. Cold butter creates steam pockets during baking, which gives the pastry its signature light, airy texture.
The dough should look slightly shaggy but hold together when pressed. You’ll see small butter chunks, which is perfect. Don’t overmix or knead the dough – those butter pieces are key to creating beautiful, flaky layers in your final pastry.
Print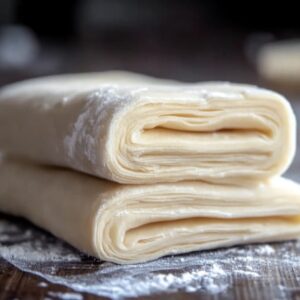
Homemade Rough Puff Pastry Dough Recipe
- Total Time: 2 hours 20 minutes
- Yield: 8 1x
Description
Crafting a delectable “Homemade Rough Puff Pastry Dough” requires minimal ingredients and expert technique. Professional bakers and home cooks can master this flaky, buttery pastry with simple steps and precise folding methods, delivering irresistible results for sweet and savory creations.
Ingredients
Primary Ingredients:
- 2 ½ cups (300 grams) all-purpose flour
- 1 cup (226 grams) unsalted butter, cold and cubed
Seasoning Ingredients:
- 1 teaspoon salt
Liquid Ingredients:
- ½ cup (120 milliliters) ice-cold water
- 12 tablespoons (180 milliliters) additional water (as needed for consistency)
Instructions
- Gather flour and salt in a spacious mixing vessel, ensuring even distribution of dry components.
- Introduce frigid, cubed butter into the flour mixture, employing a pastry cutter or fingertips to fragment the butter into diminutive, pea-like clusters while preserving distinctive butter chunks for ultimate flakiness.
- Delicately integrate ice-cold water into the crumbly mixture, stirring gently until the dough loosely consolidates. Adjust moisture by adding minimal water if the texture appears excessively parched.
- Mold the somewhat rugged dough into an imperfect rectangular formation, encase completely in transparent film, and refrigerate for a brief 30-minute interval to enhance structural integrity.
- Dust work surface and rolling implement with a gossamer layer of flour. Transform the chilled dough into an elongated rectangular shape, meticulously folding the upper and lower thirds inward, mimicking a traditional letter-folding technique. Rotate the dough 90 degrees, positioning unsealed edges laterally.
- Rewrap the manipulated dough in protective film and return to refrigeration for a 20-30 minute cooling period.
- Replicate the rolling and folding sequence an additional three times, punctuating each manipulation with a calculated chilling interlude to cultivate multilayered, delicate pastry architecture.
- Following the conclusive folding iteration, securely encapsulate the dough and allow it to rest in refrigerated environment for a minimum of one hour, preparing it for future culinary endeavors. Alternatively, preserve in freezer up to three months for extended utility.
Notes
- Butter temperature matters significantly for achieving those dreamy, flaky layers in your pastry. Keep it cold but not rock-hard to ensure perfect texture.
- Work quickly and confidently when handling the dough to prevent the butter from melting, which can compromise the beautiful layered structure.
- Consider using a digital scale for precise flour and butter measurements, guaranteeing consistent results every single time.
- Experiment with replacing a small portion of regular flour with whole wheat or almond flour for added nutritional complexity and unique flavor profiles.
- Prep Time: 20 minutes
- Cook Time: 2 hours
- Category: Desserts, Snacks
- Method: Mixing
- Cuisine: French
Nutrition
- Serving Size: 8
- Calories: 250
- Sugar: 0g
- Sodium: 200mg
- Fat: 18g
- Saturated Fat: 12g
- Unsaturated Fat: 6g
- Trans Fat: 0g
- Carbohydrates: 23g
- Fiber: 1g
- Protein: 3g
- Cholesterol: 30mg
James Mitchell
Founder & Recipe Developer
Expertise
Recipe Creation and Testing, Fusion Cuisine, Food Styling and Photography, Culinary Education
Education
Kendall College, Chicago, IL
The Culinary Institute of America, Hyde Park, NY
James Mitchell is the founder and fearless flavor explorer at Cooking Crusade. With a degree in Culinary Arts from Kendall College and advanced training in global gastronomy from The Culinary Institute of America, James has spent over a decade perfecting the art of recipe creation.
His background includes fine dining, private cheffing, and food styling, but his true joy comes from turning big ideas into doable recipes for home cooks. Every dish he shares is a mix of creativity, culture, and a little kitchen magic, built to bring excitement back to everyday meals.