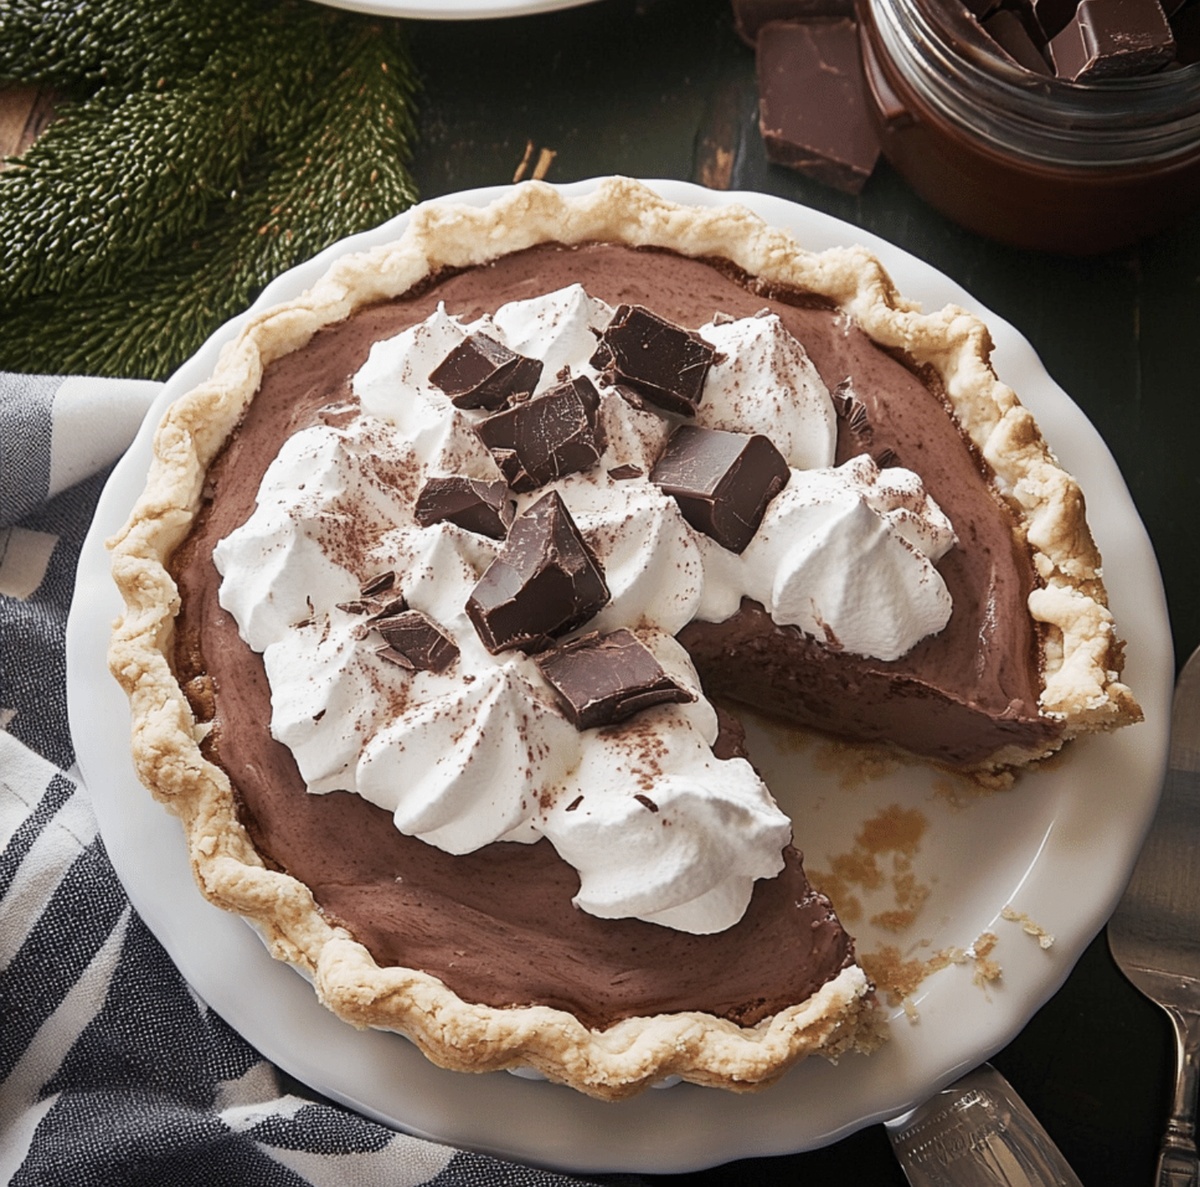
Dreamy Hot Chocolate Ice Box Pie Recipe for Cozy Comfort
Chilly evenings demand a warm chocolate ice box pie that melts hearts instantly.
Creamy layers whisper sweet comfort with each delectable bite.
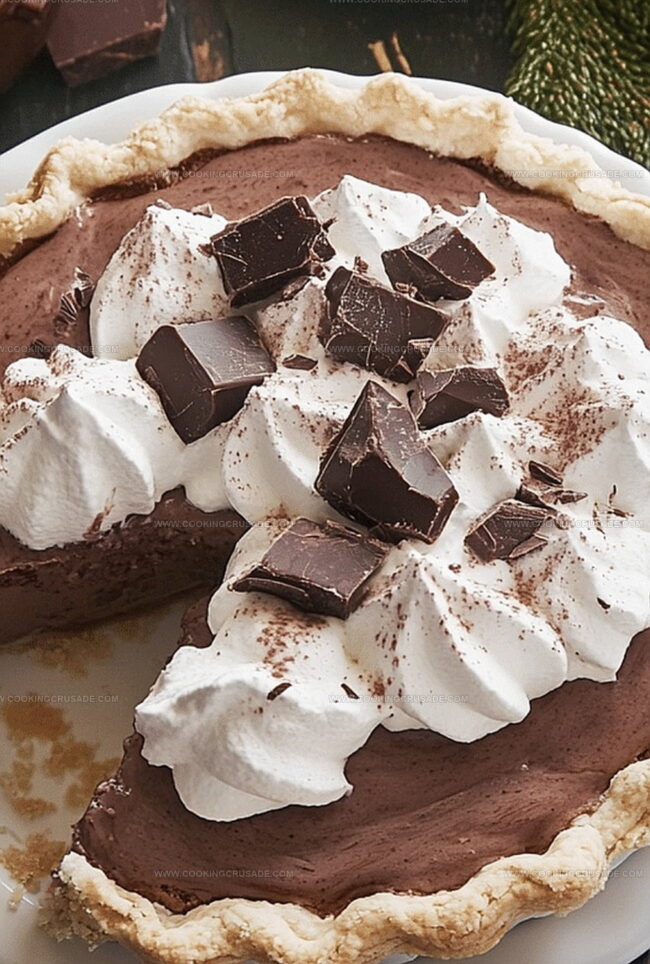
Soft peaks of whipped cream dance atop a rich, velvety filling.
Rich chocolate notes blend seamlessly into a silky smooth texture.
Graham cracker crusts provide a delightful crunch against the cool, luscious interior.
Unexpected ingredients make this dessert a magical conversation starter at gatherings.
We promise this recipe will become your new winter obsession.
Grab a fork and let the indulgence begin!
Why This Hot Chocolate Ice Box Pie Is Pure Comfort
What You Need to Build This Cozy Pie
Crust Base:Filling Ingredients:Topping and Garnish:Steps to Chill and Slice With Ease
Step 1: Craft The Chocolate Cookie Base
Grab your chocolate cookies and crush them into fine crumbs using a food processor or rolling pin. Melt butter until smooth and glossy. Mix the crumbs with melted butter until perfectly combined. Press this mixture firmly into a pie dish, covering the bottom and sides completely. Slide the crust into the refrigerator and let it chill and set for about 20 minutes.
Step 2: Whip Up The Dreamy Filling
In a spacious mixing bowl, pour heavy cream and sprinkle powdered sugar. Add a splash of vanilla extract. Whip the mixture until it forms beautiful, sturdy peaks that hold their shape. Set this cloud-like cream aside momentarily.
In another bowl, combine:Whisk these ingredients vigorously until the mixture transforms into a thick, luscious consistency. Gently fold the whipped cream into the pudding, creating a smooth and airy filling.
Step 3: Build Your Chocolate Dream Pie
Transfer the silky filling into the chilled chocolate cookie crust. Spread it evenly, ensuring a perfect surface. Carefully place the pie in the refrigerator and let it rest for at least 4 hours, allowing the filling to set completely.
Step 4: Decorate And Delight
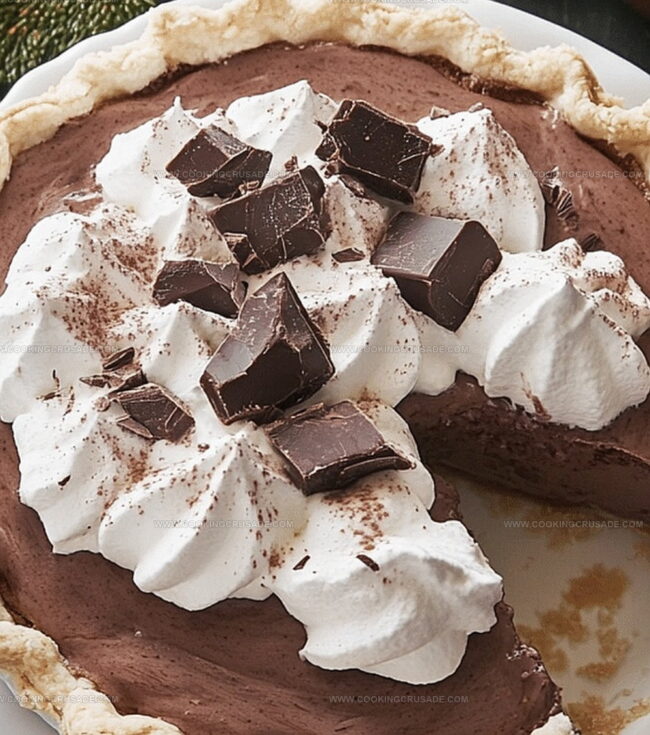
Just before serving, crown your pie with a layer of fluffy whipped cream. Sprinkle with playful toppings like:Slice, serve, and watch everyone’s eyes light up with pure joy!
Tips to Nail That Creamy, Fudgy Texture
Best Ways to Store Without Losing Structure
Perfect Pairings for Chocolate Pie Moments
Creative Twists on the Classic Ice Box Pie
Common Questions About This Dessert
This pie combines the cozy comfort of hot chocolate with a cool, creamy dessert. It’s a unique twist that brings together the warmth of chocolate flavor with a refreshing, chilled texture that’s perfect for any season.
Absolutely! While chocolate cookie crumbs work great, you can also use graham crackers, vanilla wafers, or even oreo cookies to create a delicious base. The key is to crush them finely and mix with melted butter for a solid crust.
Yes! The recipe balances sweetness by using pudding mix and whipped cream, creating a lighter, more subtle chocolate flavor. You can even adjust the sugar levels to suit your taste preferences.
The pie can be prepared a day ahead and stored in the refrigerator. In fact, letting it sit overnight can help the flavors meld together and create an even more delicious dessert experience.
Print
Hot Chocolate Ice Box Pie Recipe
- Total Time: 4 hours 20 minutes
- Yield: 8 1x
Description
Creamy “Hot Chocolate Ice Box Pie” merges winter comfort with cool dessert magic. Rich chocolate layers nestled in a graham cracker crust promise delightful indulgence you’ll savor to the last delectable bite.
Ingredients
Main Ingredients:
- 1 package (3.4 ounces/96 grams) instant chocolate pudding mix
- 1 ½ cups whole milk
- 1 ½ cups heavy whipping cream
Crust Ingredients:
- 2 cups chocolate cookie crumbs (e.g., Oreo or chocolate graham crackers)
- 6 tablespoons unsalted butter, melted
Topping and Flavoring Ingredients:
- ¼ cup hot cocoa mix
- ¼ cup powdered sugar
- 1 teaspoon vanilla extract
- 1 cup whipped cream (store-bought or homemade)
- Mini marshmallows
- Chocolate shavings or sprinkles
Instructions
- Transform chocolate cookie crumbs into a rich, compact foundation by thoroughly blending with melted butter until uniformly moistened.
- Firmly press the crumb mixture across the entire surface and interior walls of a 9-inch pie dish, creating an even, dense base.
- Refrigerate the crust for approximately 15-20 minutes, allowing it to solidify and develop a crisp texture.
- Whip heavy cream with powdered sugar and vanilla extract, creating voluminous peaks that hold their shape with elegant structure.
- Separately prepare the chocolate layer by vigorously whisking instant pudding mix with whole milk and hot cocoa powder until the mixture thickens and becomes glossy.
- Delicately incorporate the whipped cream into the chocolate pudding, folding gently to maintain airiness and create a smooth, luxurious filling.
- Transfer the creamy chocolate mixture into the chilled crust, smoothing the surface with a spatula to ensure an even distribution.
- Refrigerate the pie for a minimum of four hours, allowing the filling to set completely and develop rich, intense flavors.
- Prior to serving, adorn the pie with billowy whipped cream, creating decorative swirls or peaks across the surface.
- Embellish with mini marshmallows, delicate chocolate shavings, or playful sprinkles to enhance visual appeal and provide delightful textural contrast.
Notes
- Enhance the crust’s flavor by using chocolate graham crackers or adding a pinch of cinnamon to the cookie crumbs for depth.
- Ensure a stable crust by pressing the mixture firmly and evenly, creating a compact base that holds together when sliced.
- Prevent air bubbles in the filling by folding the whipped cream gently and using a spatula with smooth, deliberate motions.
- Customize the pie for dietary needs by using gluten-free cookie crumbs, dairy-free whipped topping, and sugar-free pudding mix for alternative versions.
- Prep Time: 20 minutes
- Cook Time: 4 hours
- Category: Desserts, Snacks, Drinks
- Method: Mixing
- Cuisine: American
Nutrition
- Serving Size: 8
- Calories: 440
- Sugar: 30 g
- Sodium: 250 mg
- Fat: 28 g
- Saturated Fat: 17 g
- Unsaturated Fat: 11 g
- Trans Fat: 0 g
- Carbohydrates: 43 g
- Fiber: 2 g
- Protein: 5 g
- Cholesterol: 80 mg
James Mitchell
Founder & Recipe Developer
Expertise
Recipe Creation and Testing, Fusion Cuisine, Food Styling and Photography, Culinary Education
Education
Kendall College, Chicago, IL
The Culinary Institute of America, Hyde Park, NY
James Mitchell is the founder and fearless flavor explorer at Cooking Crusade. With a degree in Culinary Arts from Kendall College and advanced training in global gastronomy from The Culinary Institute of America, James has spent over a decade perfecting the art of recipe creation.
His background includes fine dining, private cheffing, and food styling, but his true joy comes from turning big ideas into doable recipes for home cooks. Every dish he shares is a mix of creativity, culture, and a little kitchen magic, built to bring excitement back to everyday meals.