Scrumptious Cereal Bars Recipe: Sweet Treats in a Snap!
Snacking just got a delightful upgrade with these mouthwatering cereal bars that blend sweet and crunchy textures into one incredible treat.
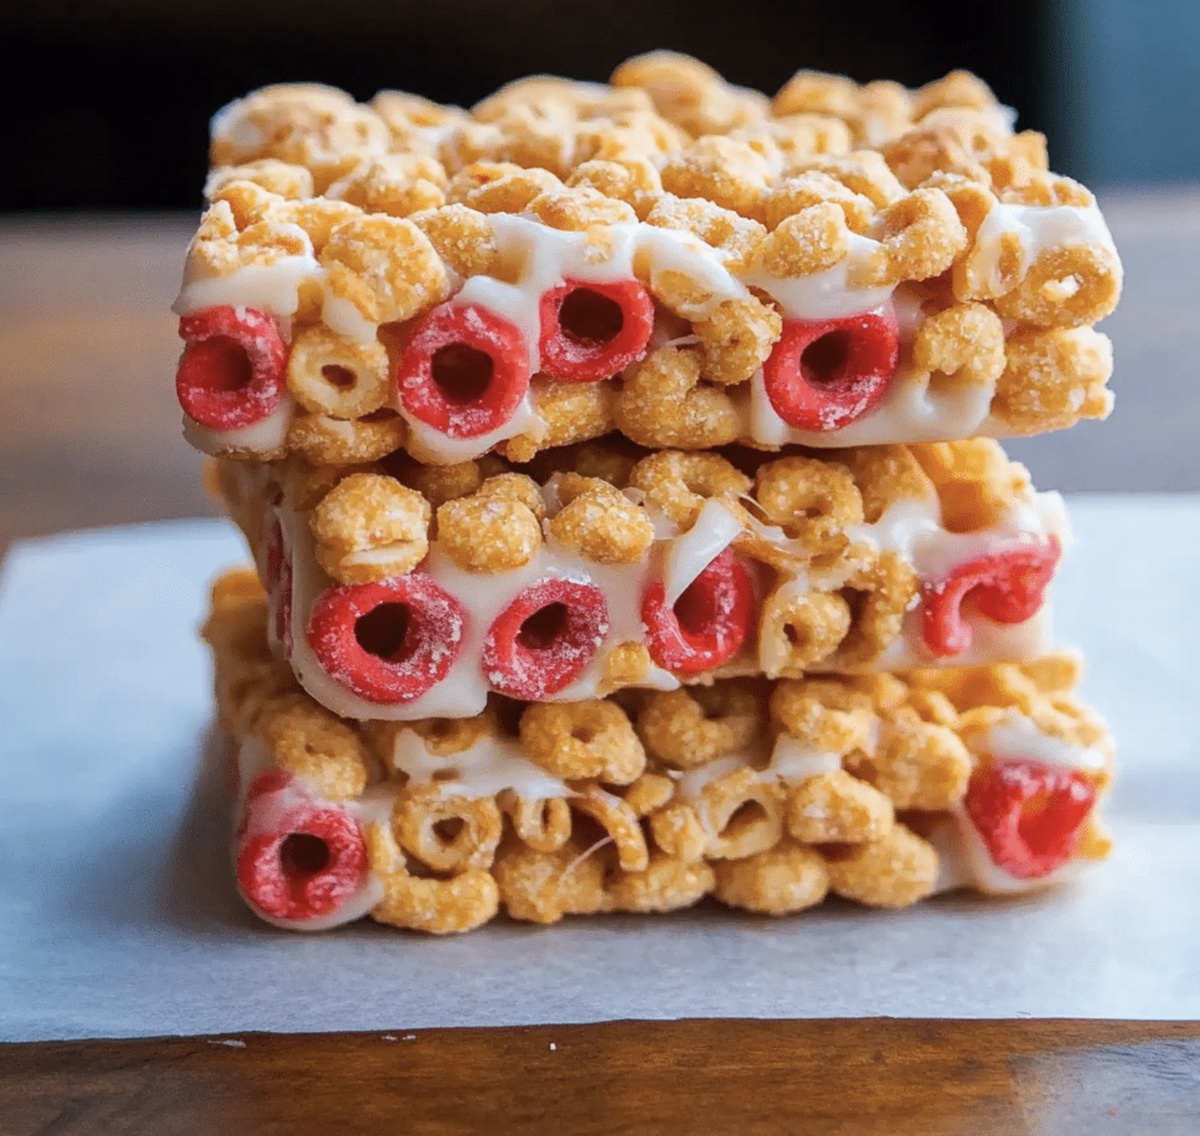
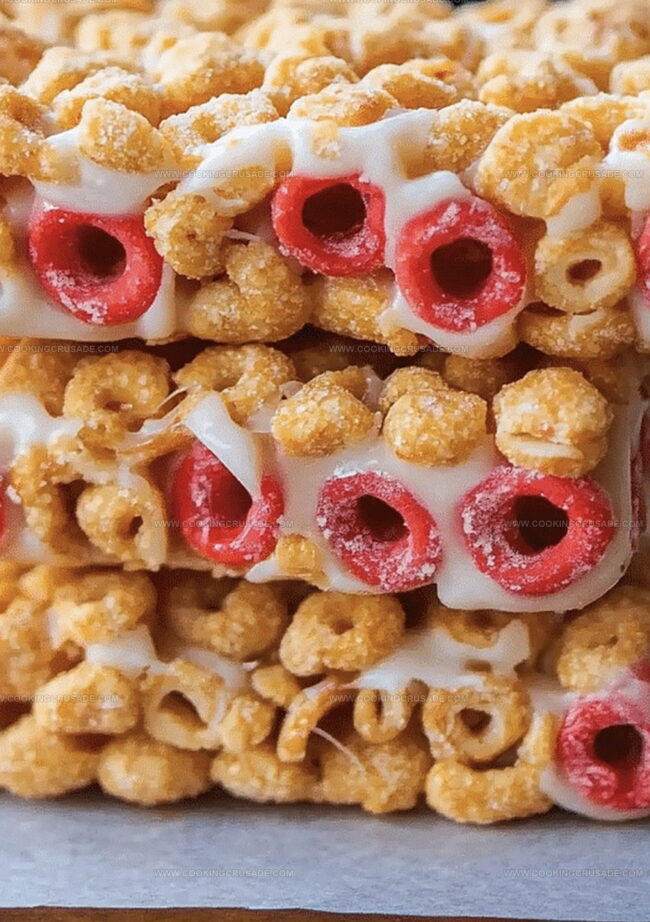
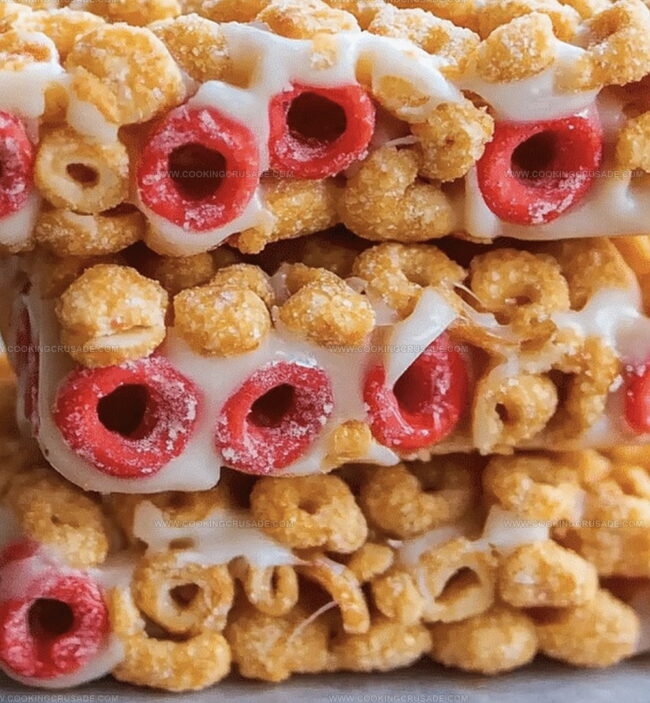
Every bite of the irresistible cereal bars recipe promises a burst of delectable flavors that dance across your taste buds.
The combination of simple ingredients creates a magical snack perfect for busy mornings or afternoon energy boosts.
Crisp cereals mix with sticky-sweet binding agents to form a delightful handheld delight.
Kids and adults alike will fall in love with these quick and easy bars that take minimal effort to prepare.
Packed with wholesome goodness and incredible taste, these bars offer a perfect balance of nutrition and indulgence.
Prepare to transform your snack game with this crowd-pleasing recipe that’s sure to become a household favorite.
Quick Recipe Overview
What You Need For Cereal Bars
For Base Ingredients:For Cereal Component:For Optional Mix-Ins:Must-Have Tools For Cereal Bars
How To Make Cereal Bars Step By Step
Grab a baking pan and line it with parchment paper, letting the edges hang over so you can easily lift out your tasty creation later.
Warm up your favorite nut butter with honey in a saucepan. Stir gently until everything blends into a smooth, silky mixture. Toss in a splash of vanilla and a pinch of salt for extra flavor.
Pour the warm, gooey mixture over your cereal in a big bowl. Fold everything together until each piece is perfectly coated. Feel free to toss in some bonus treats like dried fruit or seeds.
Transfer the mix into your prepared pan. Use a spatula to press and smooth the surface, creating a compact layer of deliciousness.
Pop the pan in the refrigerator for about an hour. Let the bars firm up and get nice and solid.
Pull out the bars using the parchment paper edges. Slice into fun-sized pieces. Munch right away or store in the fridge for a quick snack later.
Extra Tips And Twists For Cereal Bars
Serving Up Cereal Bars In Fun Ways
Keeping And Planning Around Cereal Bars
Print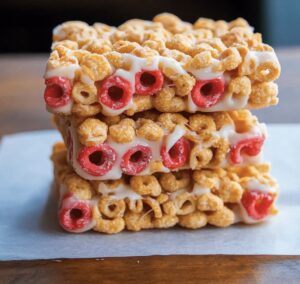
Irresistible Cereal Bars Recipe
- Total Time: 1 hour 10 minutes
- Yield: 13 1x
Description
Homemade cereal bars blend wholesome oats, honey, and nuts into a delightful snack perfect for morning energy or afternoon cravings. Packed with nutrition and simple ingredients, these bars offer a quick and satisfying treat for busy individuals seeking a convenient breakfast or snack option.
Ingredients
- 3 cups (75 g) cereal (Cheerios, puffed rice, or granola)
- ½ cup (120 g) nut butter (peanut butter, almond butter, or sunflower seed butter for nut-free)
- ½ cup (120 ml) honey or maple syrup
- ¼ cup (40 g) mini chocolate chips
- ¼ cup (30 g) dried fruit (raisins, cranberries, or chopped apricots)
- 2 tbsps (20 g) chia seeds or flaxseeds for extra nutrition
- 1 tsp vanilla extract
- ¼ tsp salt
Instructions
- Workspace Prep: Line a rectangular baking dish with parchment paper, extending edges for simple removal.
- Binding Liquid Creation: Melt nut butter, honey, vanilla extract, and salt in a saucepan, stirring until fully liquid and smooth.
- Cereal Coating: Combine warm liquid mixture with cereal in a large mixing bowl, ensuring complete and even coverage; optionally incorporate dried fruits, seeds, or nuts for enhanced texture.
- Pan Compression: Transfer coated cereal mixture into prepared pan, firmly pressing and smoothing to create an uniform layer using a spatula or hands.
- Chilling Process: Refrigerate for 60-75 minutes, allowing bars to solidify and develop a structured consistency.
- Portioning: Remove chilled block using parchment paper overhang, then slice into consistent rectangular or square servings on a cutting surface.
- Storage and Serving: Enjoy immediately or preserve in a sealed container within the refrigerator, maintaining optimal freshness for up to one week.
Notes
- Manage Sticky Mixture: Lightly coat your hands or spatula with cooking spray to prevent the binding liquid from sticking and make mixing easier.
- Control Binding Consistency: Maintain low-medium heat when melting ingredients to avoid burning or separating the nut butter and honey mixture, which could impact texture and taste.
- Customize Nutritional Profile: Experiment with different cereal types like gluten-free, high-protein, or low-sugar options to accommodate dietary restrictions and personal health goals.
- Optimize Storage Technique: Separate individual bars with parchment paper when storing to prevent them from sticking together and preserve their crisp texture in the refrigerator.
- Prep Time: 10 minutes
- Cook Time: 1 hour
- Category: Snacks, Breakfast
- Method: Mixing
- Cuisine: American
Nutrition
- Serving Size: 13
- Calories: 175
- Sugar: 10 g
- Sodium: 50 mg
- Fat: 8 g
- Saturated Fat: 1.5 g
- Unsaturated Fat: 6 g
- Trans Fat: 0 g
- Carbohydrates: 23 g
- Fiber: 2 g
- Protein: 4 g
- Cholesterol: 0 mg
Olivia Bennett
Co-Founder & Content Creator
Expertise
Nutritional Analysis, Dietary Accommodations, Food Writing and Blogging,
Education
University of Texas at Austin
Institute of Culinary Education, New York, NY
Olivia Bennett is Cooking Crusade’s go-to expert for nutritious, feel-good food. Based in Austin, she blends her degree in Nutrition from the University of Texas with plant-based culinary training from the Institute of Culinary Education.
Olivia’s recipes are all about balance: vibrant, wholesome, and easy-to-love dishes that work for all kinds of eaters. Her mission is simple: to make healthy eating approachable and genuinely tasty, with tips that support your lifestyle, not complicate it.