Irresistible Italian Arancini: Crispy Stuffed Rice Balls Recipe
Rice balls have a special magic when stuffed with savory italian arancini ingredients like melted cheese and herbs.
Sicily gave birth to these golden-brown delights that crunch beautifully when you bite into them.
Street vendors first created these crispy spheres as portable meals for workers and travelers.
Each ball tells a story of culinary creativity passed through generations of home cooks.
Warm memories flood back with every bite of these delectable snacks.
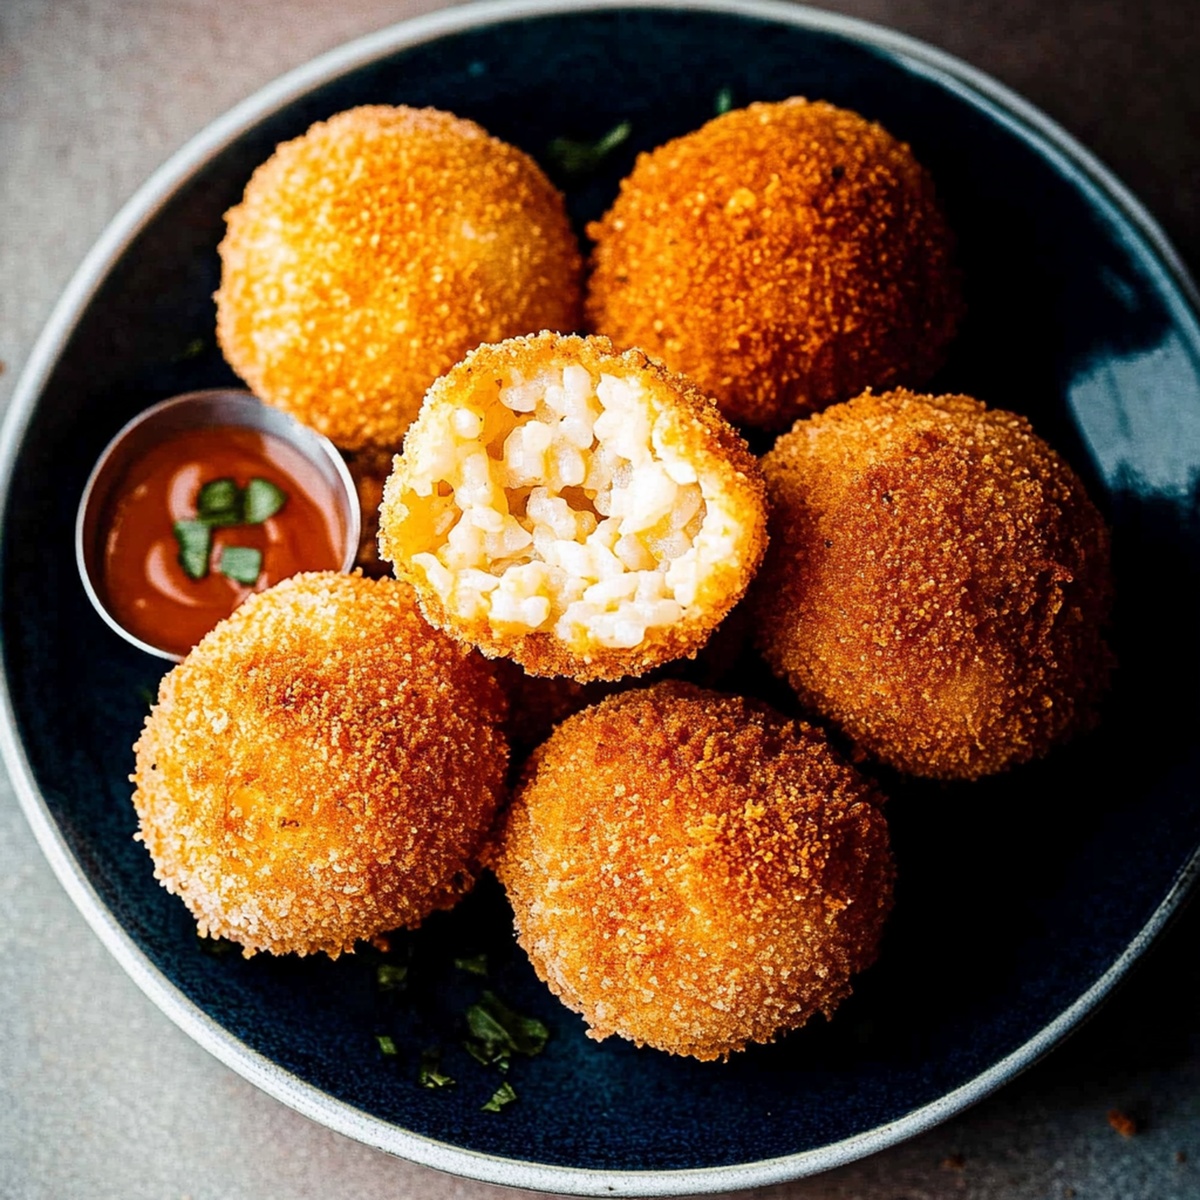
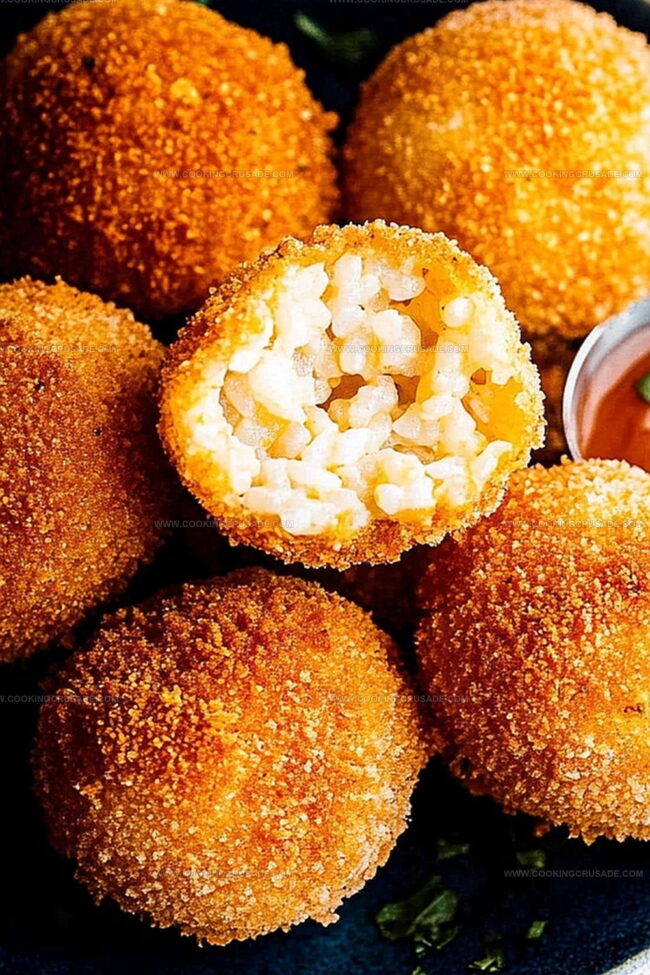
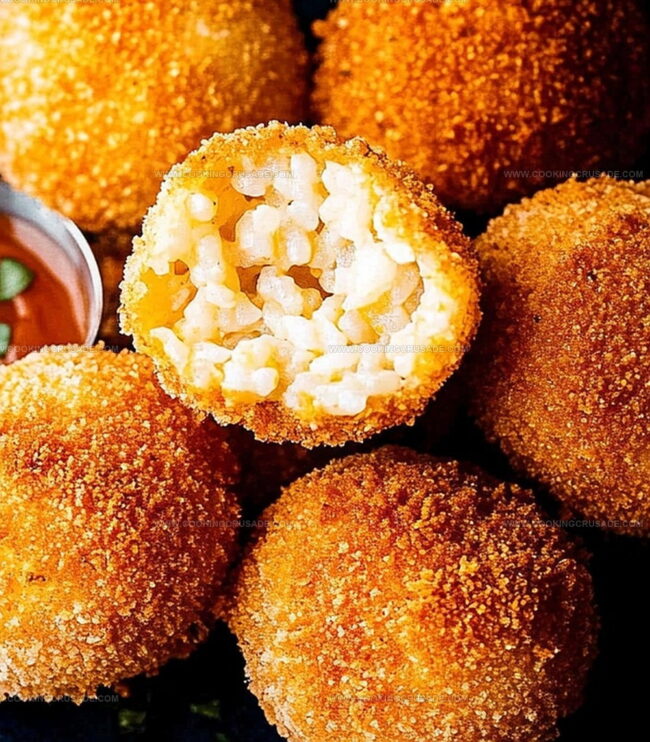
Golden breadcrumbs coat soft risotto rice that hugs a molten center of rich flavor.
You’ll fall in love with these irresistible morsels that promise a delightful taste adventure.
Why You’ll Love Italian Arancini (Crispy Stuffed Rice Balls)
Italian Arancini (Crispy Stuffed Rice Balls) Ingredient Guide
Rice Base:Binding and Flavor Enhancers:Filling and Coating Ingredients:Cooking Oil:Serving Accompaniment:Steps For Cooking Italian Arancini (Crispy Stuffed Rice Balls)
Step 1: Prepare Creamy Rice Base
In a large saucepan, bring broth to a gentle simmer. Carefully add Arborio rice with a pinch of salt and pepper. Stir occasionally, allowing rice to absorb liquid completely. This process takes about 15-18 minutes. Once liquid is absorbed, remove from heat and fold in:Spread rice mixture onto a wide tray and let cool for half an hour.
Step 2: Craft Delightful Rice Spheres
Scoop a small handful of cooled rice and gently flatten in your palm. Create a small pocket in the center and add your favorite filling such as:Carefully wrap rice around the filling, forming a ball slightly larger than a golf ball. Ensure filling is completely enclosed.
Step 3: Create Crispy Coating
Set up a breading station with three separate bowls:Roll each rice ball first in flour, then dunk in egg wash, and finally coat generously with breadcrumbs. Gently press to ensure an even, complete coating.
Step 4: Fry to Golden Perfection
Heat vegetable oil in a deep pot to 350 degrees Fahrenheit. Carefully lower rice balls into hot oil, working in small batches. Fry for 3-4 minutes, rotating to achieve an even golden-brown color. Remove with a slotted spoon and place on paper towels to drain excess oil.
Step 5: Serve and Savor
Transfer crispy arancini to a serving platter. Accompany with marinara sauce or sprinkle with additional Parmesan cheese. Enjoy immediately while warm and crunchy.
Pro Tips For Italian Arancini (Crispy Stuffed Rice Balls)
Storing Italian Arancini (Crispy Stuffed Rice Balls)
Tasty Sides For Italian Arancini (Crispy Stuffed Rice Balls)
Italian Arancini (Crispy Stuffed Rice Balls) Recipe Ideas
Italian Arancini (Crispy Stuffed Rice Balls) FAQ Roundup
Arancini are traditional Sicilian rice balls that originated in Italy during the 10th century. They are named “arancini” because they resemble small oranges (“arancia” in Italian) with their golden-brown, crispy exterior and round shape.
Yes! You can prepare the rice balls in advance and refrigerate them before coating and frying. Just be sure to bring them to room temperature and coat them with breadcrumbs right before frying to maintain their crispy texture.
Arborio rice is the ideal choice because of its high starch content, which helps the rice balls hold their shape perfectly. Short-grain risotto rice works best and creates that creamy, sticky texture necessary for forming compact rice balls.
Arancini can be both vegetarian and non-vegetarian. Traditional versions often include ragù (meat sauce) or peas, but you can easily make vegetarian versions by using just cheese or adding vegetables as filling.
Print
Italian Arancini (Crispy Stuffed Rice Balls) Recipe
- Total Time: 50 minutes
- Yield: 4 1x
Description
Indulgent Italian arancini showcases Sicily’s culinary magic, delivering golden-crisp rice spheres filled with molten cheese and savory meat. Delicate yet hearty, these bite-sized delights promise a perfect blend of crunch and creamy comfort that will transport you straight to Mediterranean sunshine.
Ingredients
Main Ingredients:
- 2 cups arborio rice (or short-grain risotto rice)
- 4 cups chicken or vegetable broth (hot)
- 100 grams (3.5 ounces) mozzarella cheese (cut into small cubes)
- ½ cup cooked ground beef (seasoned with salt & pepper, optional)
- ¼ cup peas (optional, for extra texture)
Cheese and Seasoning Ingredients:
- ½ cup grated Parmesan cheese
- ½ teaspoon salt
- ½ teaspoon black pepper
- 2 tablespoons unsalted butter
Coating and Binding Ingredients:
- 2 egg yolks (beaten, for binding)
- 2 eggs (beaten)
- 1 cup all-purpose flour
- 1 ½ cups breadcrumbs (Italian or Panko for extra crunch)
- Vegetable oil (for frying, about 3-4 cups)
Instructions
- Prepare a fragrant broth and gently simmer Arborio rice, allowing the grains to absorb the liquid while stirring periodically until tender and creamy.
- Once cooked, incorporate Parmesan, butter, and egg yolks into the rice, creating a rich and smooth mixture.
- Spread the rice onto a flat surface and let it cool completely, allowing the grains to set and become manageable for shaping.
- Portion the cooled rice into small handfuls, creating a delicate base for the arancini.
- Create a small cavity in each rice portion, carefully nestling cubes of mozzarella, optional meat, or peas at the center.
- Gently mold the rice around the filling, forming uniform spheres approximately the size of a golf ball, ensuring the filling is completely enclosed.
- Establish a breading station with separate bowls of flour, beaten eggs, and breadcrumbs.
- Roll each rice ball methodically through the flour, then immerse in beaten eggs, and finally coat thoroughly with breadcrumbs, pressing gently to secure an even layer.
- Heat oil in a deep pot to the optimal temperature of 350F, maintaining a consistent heat for even frying.
- Carefully lower the breaded rice balls into the hot oil, frying in small batches to prevent overcrowding.
- Rotate the arancini periodically, allowing them to achieve a uniform golden-brown exterior with a crispy texture.
- Extract the fried arancini using a slotted spoon, letting excess oil drain on absorbent paper towels.
- Serve immediately while hot, accompanied by marinara sauce or a sprinkle of Parmesan cheese for enhanced flavor.
Notes
- Chill the rice completely to ensure it holds its shape and prevents falling apart during frying.
- Use cold risotto from the day before for best texture and easier handling of rice balls.
- Wet your hands with water while shaping arancini to prevent rice from sticking and create smoother spheres.
- Experiment with different cheese fillings like gorgonzola or fontina for unique flavor variations.
- Check oil temperature carefully to avoid burning the exterior while keeping the inside undercooked.
- Create vegetarian versions by replacing meat with roasted vegetables or mushroom filling.
- Freeze uncooked arancini for up to one month, allowing you to prepare them in advance for quick meals.
- Allow excess oil to drain thoroughly on paper towels to maintain crispiness and reduce greasiness.
- Prep Time: 30 minutes
- Cook Time: 20 minutes
- Category: Appetizer, Snacks
- Method: Frying
- Cuisine: Italian
Nutrition
- Serving Size: 4
- Calories: 380
- Sugar: 2 g
- Sodium: 500 mg
- Fat: 20 g
- Saturated Fat: 8 g
- Unsaturated Fat: 10 g
- Trans Fat: 0 g
- Carbohydrates: 40 g
- Fiber: 2 g
- Protein: 12 g
- Cholesterol: 60 mg


James Mitchell
Founder & Recipe Developer
Expertise
Recipe Creation and Testing, Fusion Cuisine, Food Styling and Photography, Culinary Education
Education
Kendall College, Chicago, IL
The Culinary Institute of America, Hyde Park, NY
James Mitchell is the founder and fearless flavor explorer at Cooking Crusade. With a degree in Culinary Arts from Kendall College and advanced training in global gastronomy from The Culinary Institute of America, James has spent over a decade perfecting the art of recipe creation.
His background includes fine dining, private cheffing, and food styling, but his true joy comes from turning big ideas into doable recipes for home cooks. Every dish he shares is a mix of creativity, culture, and a little kitchen magic, built to bring excitement back to everyday meals.