Bake These Scrumptious Cherry Pie Bars Recipe Today!
Sweet summer memories dance on the palate with these irresistible cherry pie bars that blend homemade comfort and nostalgic flavors.
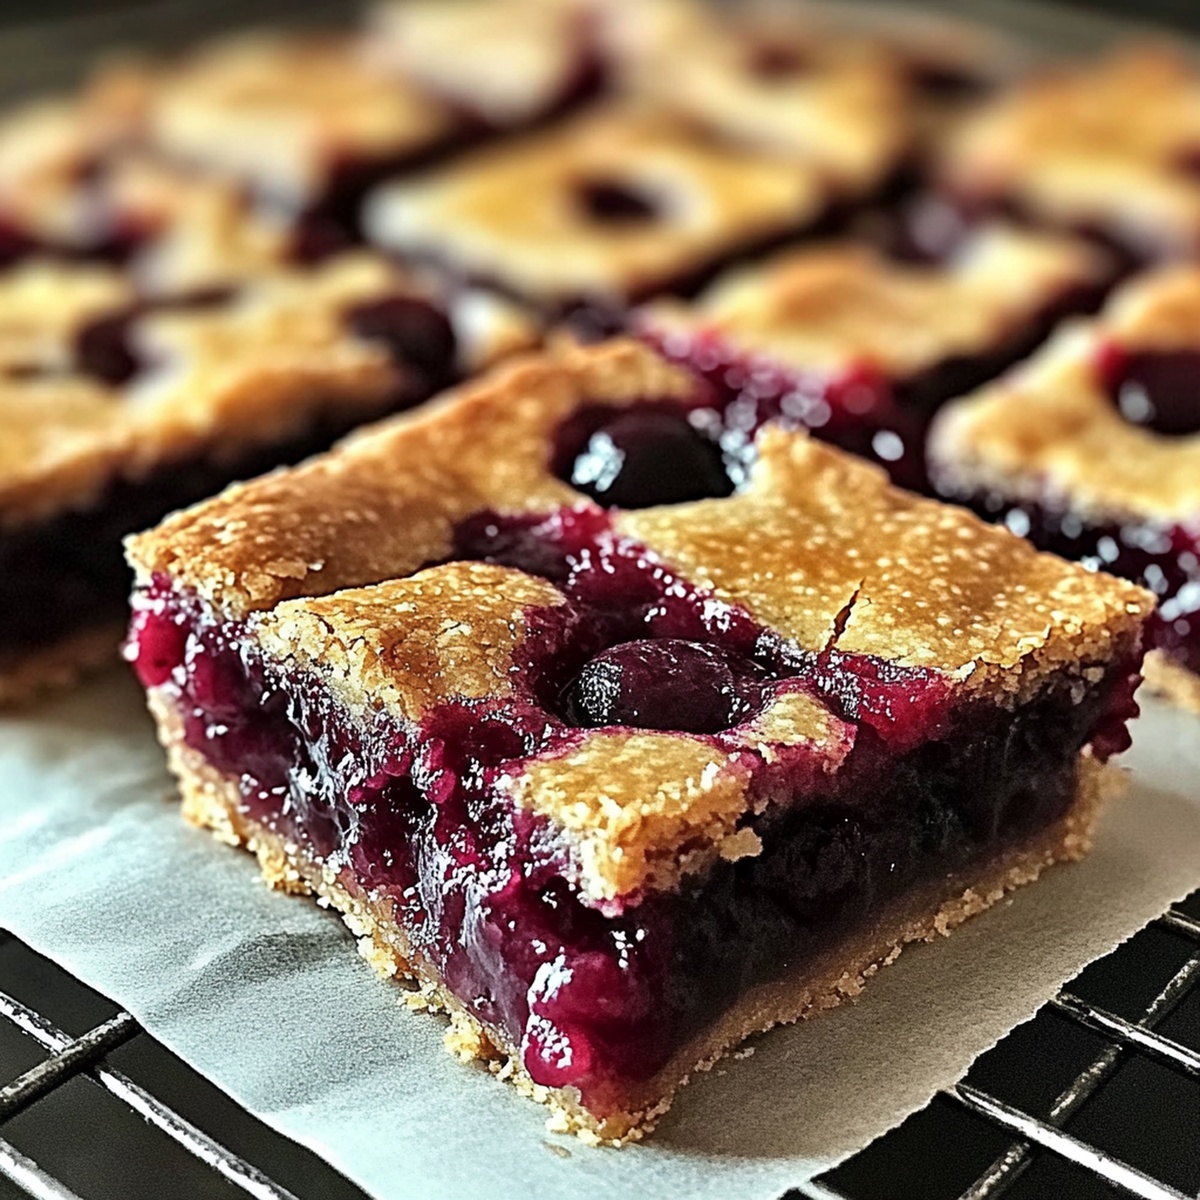
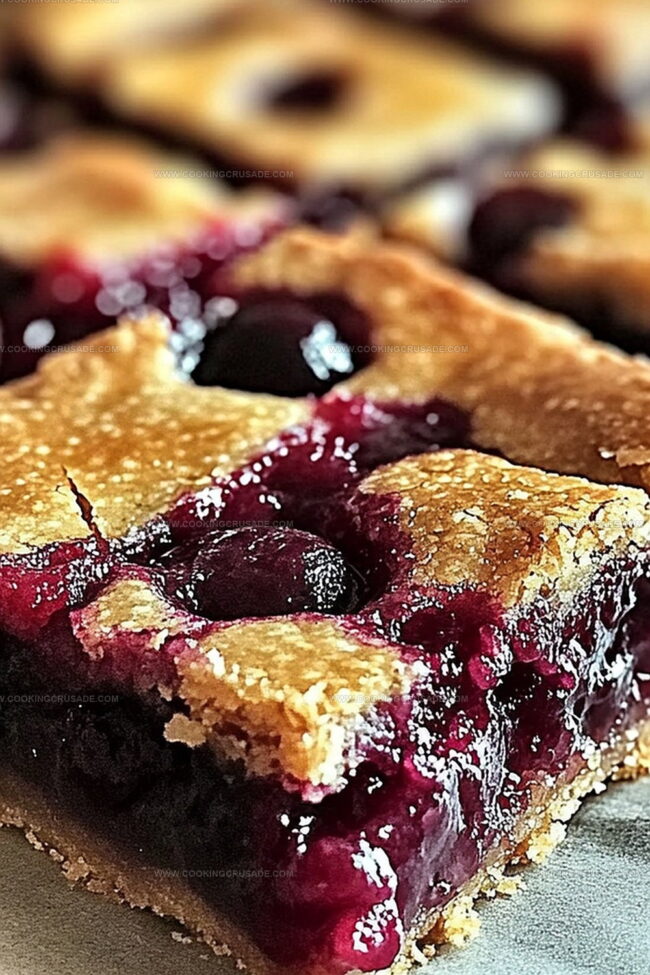
Bursting with ripe, juicy cherries nestled in a buttery crust, this dessert promises pure delight.
Each bar delivers a perfect balance of tart and sweet that melts in your mouth.
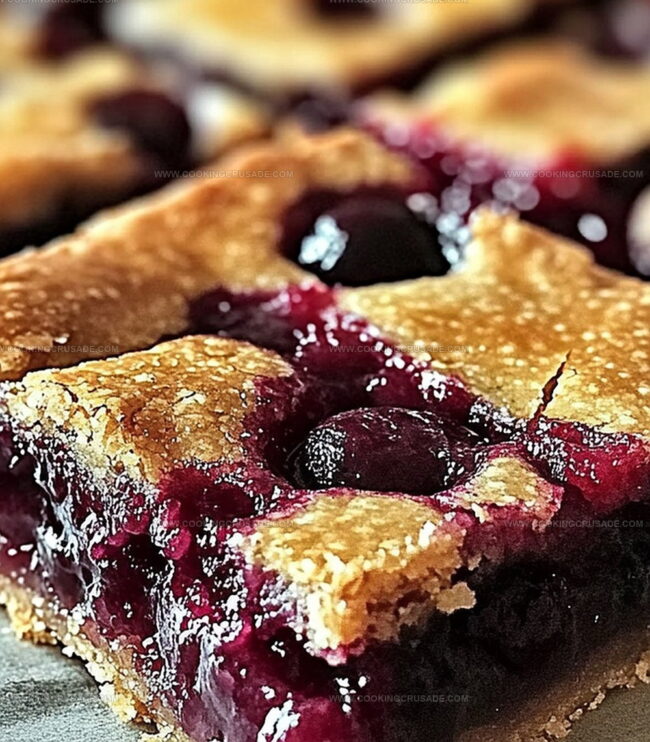
The golden-brown edges hint at the delectable treat waiting inside.
Crumbly, tender, and packed with robust cherry goodness, these bars transform an ordinary afternoon into a celebration.
Weekend baking never tasted so incredible.
Grab a fork and savor every single delicious bite.
Quick Recipe Overview
What Goes Into Cherry Pie Bars Recipe
For Crust and Base:For Fruit Filling:For Finishing Touch:Tools You’ll Need For Cherry Pie Bars Recipe
How To Make Cherry Pie Bars Recipe
Crank your oven to a toasty 350F and get your baking pan ready by giving it a light coating of grease or lining it with parchment paper.
Whip butter and sugar until they’re light and fluffy. Toss in eggs and flavor boosters, mixing until everything looks smooth and dreamy. Slowly fold in flour and a pinch of salt until you’ve got a thick, luscious batter.
Spread two-thirds of your batter across the pan like a cozy blanket. Pour cherry goodness over the top, creating a vibrant fruity layer. Gently dot the remaining batter across the cherries – don’t worry about full coverage, it’ll work its magic while baking.
Pop the pan into the oven and let it transform for 35-40 minutes. You’ll know it’s done when the top turns a gorgeous golden brown. Let the bars cool completely before adding any final touches.
Tasty Twists For Cherry Pie Bars Recipe
How To Serve Cherry Pie Bars Recipe
How To Store Cherry Pie Bars Recipe
Print
Luscious Cherry Pie Bars Recipe
- Total Time: 55 minutes
- Yield: 13 1x
Description
Homemade cherry pie bars bring classic American dessert flavors into an easy-to-serve treat. Rich fruit filling nestled between buttery crumble layers offers sweet comfort with each delightful bite you’ll savor.
Ingredients
- 3 cups (720 ml/24 fl oz) all-purpose flour
- 4 large eggs
- 1 (21 oz/595 g) can cherry pie filling
- 1 ¾ cups (350 g) granulated sugar
- 1 cup (227 g/8 oz) unsalted butter, softened
- 1 tsp vanilla extract
- ½ tsp almond extract (optional)
- ½ tsp salt
- 1 cup (120 g/4 oz) powdered sugar
- ½ tbsps milk
- ½ tsp vanilla or almond extract
Instructions
- Preparation: Grease a 9×13-inch baking dish or line with parchment paper, ensuring full coverage to prevent adhesion.
- Base Creation: Cream butter and sugar until fluffy, then blend in eggs and extracts until smooth and homogeneous.
- Batter Development: Gently incorporate flour and salt, mixing until a silky, uniform batter forms without any dry ingredients visible.
- Initial Layer: Pour two-thirds of the batter into the prepared pan, spreading evenly to create a consistent foundation.
- Cherry Distribution: Spread cherry pie filling across the initial batter layer, ensuring complete and uniform coverage.
- Final Topping: Carefully drop remaining batter over the cherry layer in sporadic dollops, allowing natural spreading during baking.
- Baking Process: Position in a preheated 350°F (175°C) oven for 35-40 minutes, monitoring until the surface turns a rich, golden brown.
- Cooling and Serving: Allow bars to cool completely, enabling layers to solidify and flavors to harmonize before cutting into servings.
Notes
- Prevent Batter Sticking: Use parchment paper or generously butter the pan to ensure easy removal and clean slicing of bars.
- Achieve Smooth Consistency: Cream butter and sugar thoroughly until light and fluffy, which creates a tender, even texture in the final bars.
- Control Moisture Balance: Distribute cherry filling evenly to prevent soggy patches and ensure each bite has the perfect fruit-to-cake ratio.
- Optimize Baking Precision: Watch bars closely during final 5-10 minutes of baking to avoid over-browning and maintain a moist, golden surface.
- Prep Time: 15 minutes
- Cook Time: 40 minutes
- Category: Desserts, Snacks
- Method: Baking
- Cuisine: American
Nutrition
- Serving Size: 13
- Calories: 400
- Sugar: 30 g
- Sodium: 150 mg
- Fat: 20 g
- Saturated Fat: 12 g
- Unsaturated Fat: 8 g
- Trans Fat: 0 g
- Carbohydrates: 52 g
- Fiber: 1 g
- Protein: 4 g
- Cholesterol: 80 mg
Olivia Bennett
Co-Founder & Content Creator
Expertise
Nutritional Analysis, Dietary Accommodations, Food Writing and Blogging,
Education
University of Texas at Austin
Institute of Culinary Education, New York, NY
Olivia Bennett is Cooking Crusade’s go-to expert for nutritious, feel-good food. Based in Austin, she blends her degree in Nutrition from the University of Texas with plant-based culinary training from the Institute of Culinary Education.
Olivia’s recipes are all about balance: vibrant, wholesome, and easy-to-love dishes that work for all kinds of eaters. Her mission is simple: to make healthy eating approachable and genuinely tasty, with tips that support your lifestyle, not complicate it.