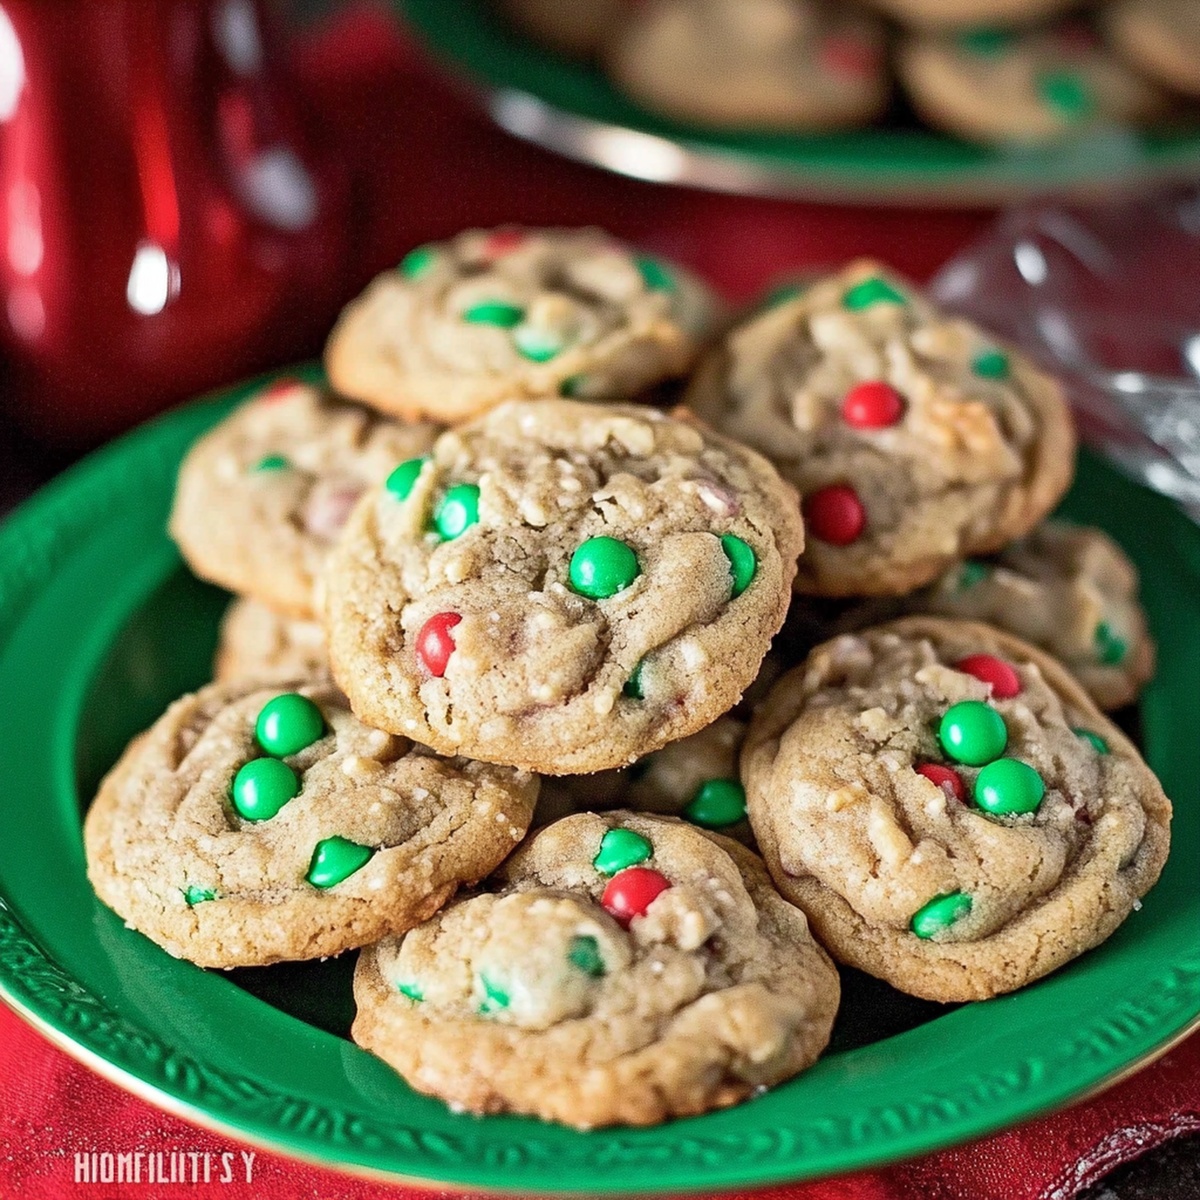
Festive Holiday Magic: Santa’s Favorite Cookies Recipe
Sweet aromas of cinnamon and sugar waft through kitchens during holiday santas favorite cookies moments that spark pure joy.
Generations have cherished these delightful treats passed down through beloved family traditions.
Crisp edges and soft centers define this classic recipe that brings warmth to winter gatherings.
Each bite promises a delectable journey of nostalgic flavors and festive cheer.
Christmas baking becomes an enchanting experience with these irresistible cookies that melt hearts faster than snow in sunlight.
Bakers of all skill levels can create magic with simple ingredients and a dash of holiday spirit.
You’ll find these cookies disappear faster than Santa’s midnight snack!
Quick Recipe Overview
Everything In Santas Favorite Cookies
For Dry Ingredients:For Sweet and Creamy Base:For Mix-Ins and Festive Touch:Baking Tools For Santas Favorite Cookies
Steps To Make Santas Favorite Cookies Fun
Crank the oven to a toasty 350F and grab a baking sheet. Line it with parchment paper for easy cleanup.
Grab two bowls: one for dry stuff and another for wet ingredients. Cream the butter with sugars until they’re light and fluffy. Toss in eggs and vanilla, mixing until everything looks smooth and dreamy.
Gently fold dry ingredients into the wet mixture. Don’t overmix! Sprinkle in white chocolate chips, festive sprinkles, and crushed candy canes for that holiday cheer.
Scoop out little dough balls and place them on the prepared baking sheet. Give each cookie some breathing room – about 2 inches apart. Pop them in the oven for 9-11 minutes until the edges look golden and the centers stay soft.
Let the cookies rest on the baking sheet for 5 minutes. Then transfer them to a wire rack to cool completely. Get ready to munch on Santa’s absolute favorite treat!
Tips To Sweeten Santas Favorite Cookies
Serve Santas Favorite Cookies With Milk
Store Santas Favorite Cookies Like A Pro
Print
Magical Santas Favorite Cookies Recipe
- Total Time: 20 minutes
- Yield: 25 1x
Description
Santa’s favorite cookies blend nostalgic North Pole flavors with classic chocolate chip goodness. Warm spices and creamy chocolate create a magical holiday treat that connects families around festive gatherings.
Ingredients
- 2 ½ cups (297 g) all-purpose flour
- ¾ cup (170 g) unsalted butter, softened
- ¾ cup brown sugar, packed
- ½ cup granulated sugar
- 2 large eggs
- 1 cup white chocolate chips
- 1 tbsp vanilla extract
- 1 tsp baking soda
- ½ tsp salt
- ½ cup red and green sprinkles
- ½ cup crushed candy canes (optional)
Instructions
- Prepare Workspace: Arrange mixing bowls, electric mixer, baking sheet, and parchment paper for efficient cookie crafting.
- Dry Ingredient Fusion: Sift flour, baking soda, and salt together, ensuring uniform distribution and eliminating potential lumps.
- Sugar and Butter Transformation: Whip butter with brown and granulated sugars using an electric mixer until the blend turns pale and voluminous, creating a light, creamy base.
- Wet Ingredient Integration: Blend eggs individually, mixing thoroughly after each addition, then incorporate vanilla extract to develop a rich, harmonious foundation.
- Dough Development: Gently fold dry ingredients into the wet mixture, maintaining a delicate texture and avoiding excessive manipulation.
- Mix-in Celebration: Carefully fold white chocolate chips, festive sprinkles, and crushed candy canes throughout the dough, creating a balanced distribution of flavors and textures.
- Oven Preparation: Line baking sheet with parchment paper and preheat oven to 350°F (175°C), establishing the ideal baking environment.
- Dough Portioning and Placement: Scoop rounded portions onto the prepared sheet, strategically spacing them to allow for proper spreading during baking.
- Baking Precision: Bake for 10-12 minutes, monitoring for golden-kissed edges and centers that remain slightly tender, signaling perfect doneness.
- Cooling and Finishing: Allow cookies to rest on the baking sheet for 5 minutes, then transfer to a wire rack for complete cooling before serving or storing.
Notes
- Prevent Overmixing: Stir dry ingredients gently into wet mixture to maintain a light, tender cookie texture and avoid dense, tough results.
- Chill Dough Technique: Refrigerate cookie dough for 30 minutes before baking to prevent spreading and create thicker, more structured cookies.
- Customize Flavor Variations: Swap candy canes with crushed peppermint, add dark chocolate chunks, or include nuts for personalized festive twists.
- Precise Temperature Control: Use an oven thermometer to ensure accurate baking temperature, preventing under or over-baking of delicate holiday cookies.
- Prep Time: 10 minutes
- Cook Time: 10 minutes
- Category: Desserts, Snacks
- Method: Baking
- Cuisine: American
Nutrition
- Serving Size: 25
- Calories: 180
- Sugar: 12 g
- Sodium: 90 mg
- Fat: 8 g
- Saturated Fat: 5 g
- Unsaturated Fat: 3 g
- Trans Fat: 0 g
- Carbohydrates: 25 g
- Fiber: 0 g
- Protein: 2 g
- Cholesterol: 30 mg
Olivia Bennett
Co-Founder & Content Creator
Expertise
Nutritional Analysis, Dietary Accommodations, Food Writing and Blogging,
Education
University of Texas at Austin
Institute of Culinary Education, New York, NY
Olivia Bennett is Cooking Crusade’s go-to expert for nutritious, feel-good food. Based in Austin, she blends her degree in Nutrition from the University of Texas with plant-based culinary training from the Institute of Culinary Education.
Olivia’s recipes are all about balance: vibrant, wholesome, and easy-to-love dishes that work for all kinds of eaters. Her mission is simple: to make healthy eating approachable and genuinely tasty, with tips that support your lifestyle, not complicate it.