Bake Magic with this Dreamy Mini Ombre Cakes Recipe
Crafting mini ombre cakes brings pure joy to your baking adventure.
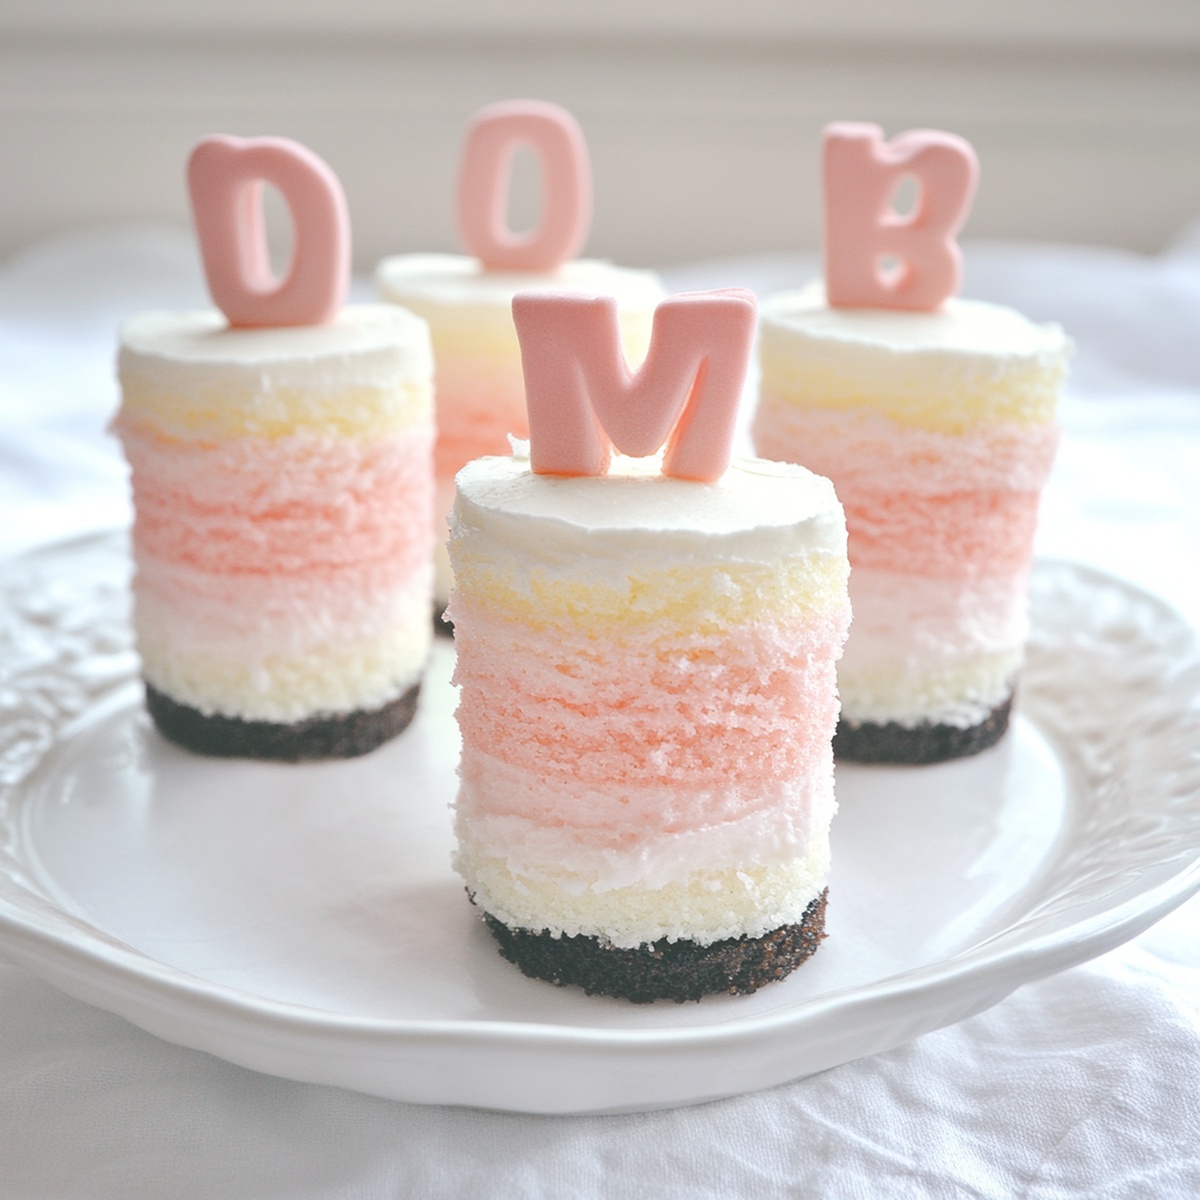
Layers of delicate colors cascade like a sweet rainbow on your plate.
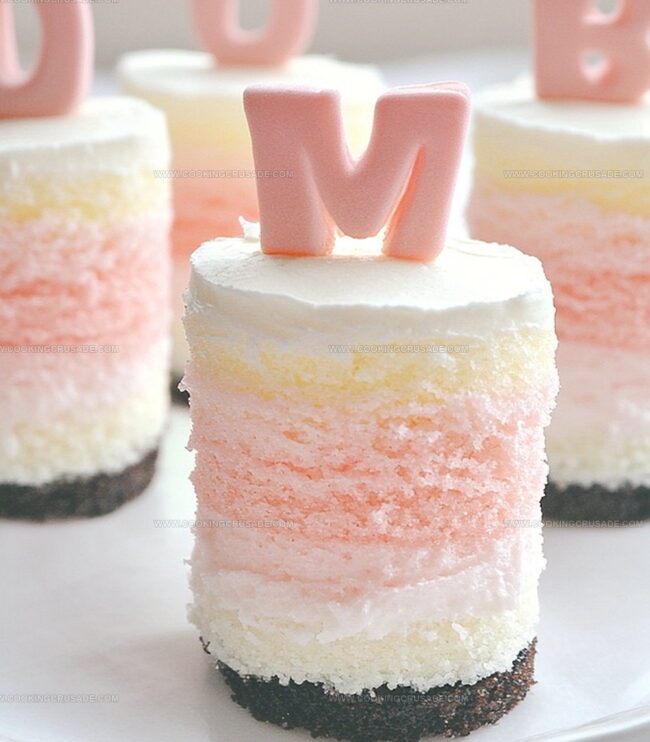
Each slice reveals a mesmerizing gradient that sparks immediate conversation.
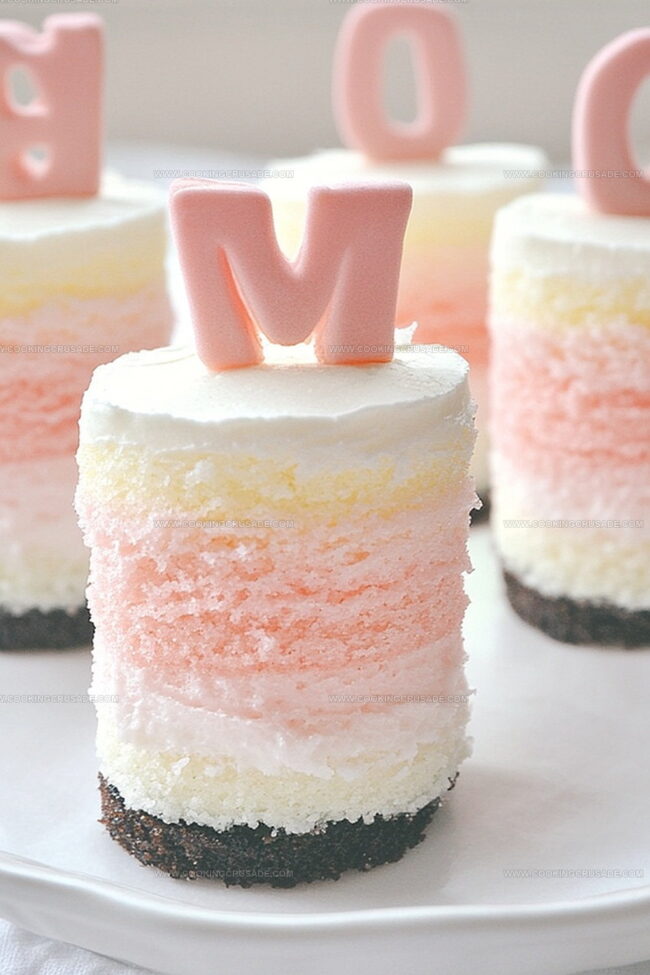
Soft pastel hues blend seamlessly from light to rich tones, creating visual magic.
Home bakers can easily master this technique with simple tools and patience.
Decorating these petite desserts feels like painting with edible art.
The playful technique allows endless color combinations to match any celebration or mood.
Grab your mixing bowls and let your creativity shine through these delightful miniature masterpieces.
Why Mini Ombre Cakes Are A Hit At Parties
Mini Ombre Cakes Ingredient Details
Cake Base:Color Gradation:Baking Preparation:How To Assemble Mini Ombre Cakes
Step 1: Prepare Baking Station
Preheat the oven to 350°F (175°C). Grab your cake pans and give them a generous coating of cooking spray or butter. Dust with flour or line with parchment paper to ensure easy cake removal.
Step 2: Mix Cake Base
Open your favorite white cake mix and follow the package instructions. Crack eggs, pour in oil, and mix until the batter is smooth and free of lumps. Use an electric mixer for best results.
Step 3: Create Color Layers
Pour the entire cake batter into three separate mixing bowls. Each bowl will become a unique shade for your beautiful ombre cake.
Step 4: Craft Gradient Colors
Grab your gel food coloring in pink or red shades. Start with the lightest layer:Stir each bowl carefully to distribute color evenly.
Step 5: Layer Batter
Pour each colored batter into separate cake pans. Smooth the tops with a spatula to create even layers.
Step 6: Bake Cake Layers
Slide the pans into the preheated oven. Bake for 20-25 minutes, checking with a toothpick for doneness. The pick should come out clean when inserted into the center.
Step 7: Cool and Prepare
Remove cakes from oven and let them cool in pans for 10 minutes. Gently turn out onto wire racks to cool completely.
Step 8: Assemble Ombre Cake
Once cooled, stack cake layers from lightest to darkest. Add frosting between each layer and cover the entire cake with a smooth layer of buttercream.
Step 9: Decorate and Serve
Add final decorative touches like sprinkles or piped frosting. Slice and enjoy your stunning mini ombre creation!
Baking Tips For Mini Ombre Cakes
Keep Mini Ombre Cakes Fresh With These Tips
Sides And Sips For Mini Ombre Cakes
Ways To Switch Up Mini Ombre Cakes
Mini Ombre Cakes Frequently Asked Questions
Start by using gel food coloring for vibrant, even color. Add incrementally more color to each bowl, creating a gradual transition from light to dark pink or red shades. Gently fold the color to maintain the cake’s fluffy texture.
Gel food coloring is recommended because it provides more intense color without adding excess liquid that could alter the cake’s texture. Liquid food coloring might make your batter too watery and affect the cake’s structure.
You can use clear measuring cups or any clean containers that allow you to see the color gradation. The key is having distinct containers to create different color intensities without cross-contaminating the batters.
Not at all! This technique is surprisingly simple. Just remember to add color gradually and mix gently. Even if your first attempt isn’t perfect, the result will still look charming and delicious.
Print
Mini Ombre Cakes Recipe
- Total Time: 1 hour
- Yield: 12 1x
Description
Pastel-hued mini ombre cakes bring whimsical French patisserie charm to your dessert table. Delicate layers of gradient-colored sponge and silky buttercream invite you to savor elegant sweetness with each delightful bite.
Ingredients
Main Ingredients (Cake Base):
- 1 box white or vanilla cake mix
- 3 eggs (from box instructions)
- ⅓ cup vegetable oil (from box instructions)
- 1 cup water (from box instructions)
Coloring and Flavor:
- 1 red or pink gel food coloring
Frosting Components:
- 1 cup (2 sticks / 226 grams) unsalted butter, softened
- 4 cups (480 grams) powdered sugar
- 24 tablespoons (360 milliliters) heavy cream or milk
- 1 teaspoon vanilla extract
- 1 pinch salt
Instructions
- Thoroughly clean and prep three 9-inch round cake pans, ensuring even greasing and flouring to prevent potential sticking.
- Mix cake batter with precision, following package guidelines carefully to achieve a smooth, consistent texture.
- Strategically portion the batter into three identical mixing bowls, using a kitchen scale for exact volume measurements.
- Craft an elegant color gradient by introducing gel food coloring incrementally: gentle pink for the lightest tier, vibrant rose for the medium layer, and deep crimson for the boldest shade.
- Gently fold the coloring into each batter portion, using a silicone spatula to maintain batter integrity and create uniform, saturated hues without overmixing.
- Pour each color-transformed batter into designated cake pans, smoothing surfaces with a spatula to eliminate potential air pockets and ensure level baking.
- Position pans in preheated oven, maintaining equal spacing for consistent heat circulation and optimal rising.
- Bake until cake layers exhibit springy texture and a delicate golden edge, approximately 25-30 minutes, rotating pans midway through for even browning.
- Remove from oven and allow cakes to cool completely on wire racks before attempting any assembly or decoration.
Notes
- Opt for gel food coloring instead of liquid to achieve vibrant, consistent colors without altering the cake batter’s texture.
- Start with a tiny amount of food coloring and gradually add more to control the intensity of each shade precisely.
- Use white cake mix for the most true and bright color result, as it provides a neutral base for the ombre effect.
- Gently fold the food coloring into each batter bowl to prevent overmixing, which can make the cake tough and dense.
- Prep Time: 15 minutes
- Cook Time: 45 minutes
- Category: Desserts, Snacks
- Method: Baking
- Cuisine: American
Nutrition
- Serving Size: 12
- Calories: 300
- Sugar: 25g
- Sodium: 200mg
- Fat: 14g
- Saturated Fat: 8g
- Unsaturated Fat: 4g
- Trans Fat: 0g
- Carbohydrates: 40g
- Fiber: 0g
- Protein: 2g
- Cholesterol: 40mg
James Mitchell
Founder & Recipe Developer
Expertise
Recipe Creation and Testing, Fusion Cuisine, Food Styling and Photography, Culinary Education
Education
Kendall College, Chicago, IL
The Culinary Institute of America, Hyde Park, NY
James Mitchell is the founder and fearless flavor explorer at Cooking Crusade. With a degree in Culinary Arts from Kendall College and advanced training in global gastronomy from The Culinary Institute of America, James has spent over a decade perfecting the art of recipe creation.
His background includes fine dining, private cheffing, and food styling, but his true joy comes from turning big ideas into doable recipes for home cooks. Every dish he shares is a mix of creativity, culture, and a little kitchen magic, built to bring excitement back to everyday meals.