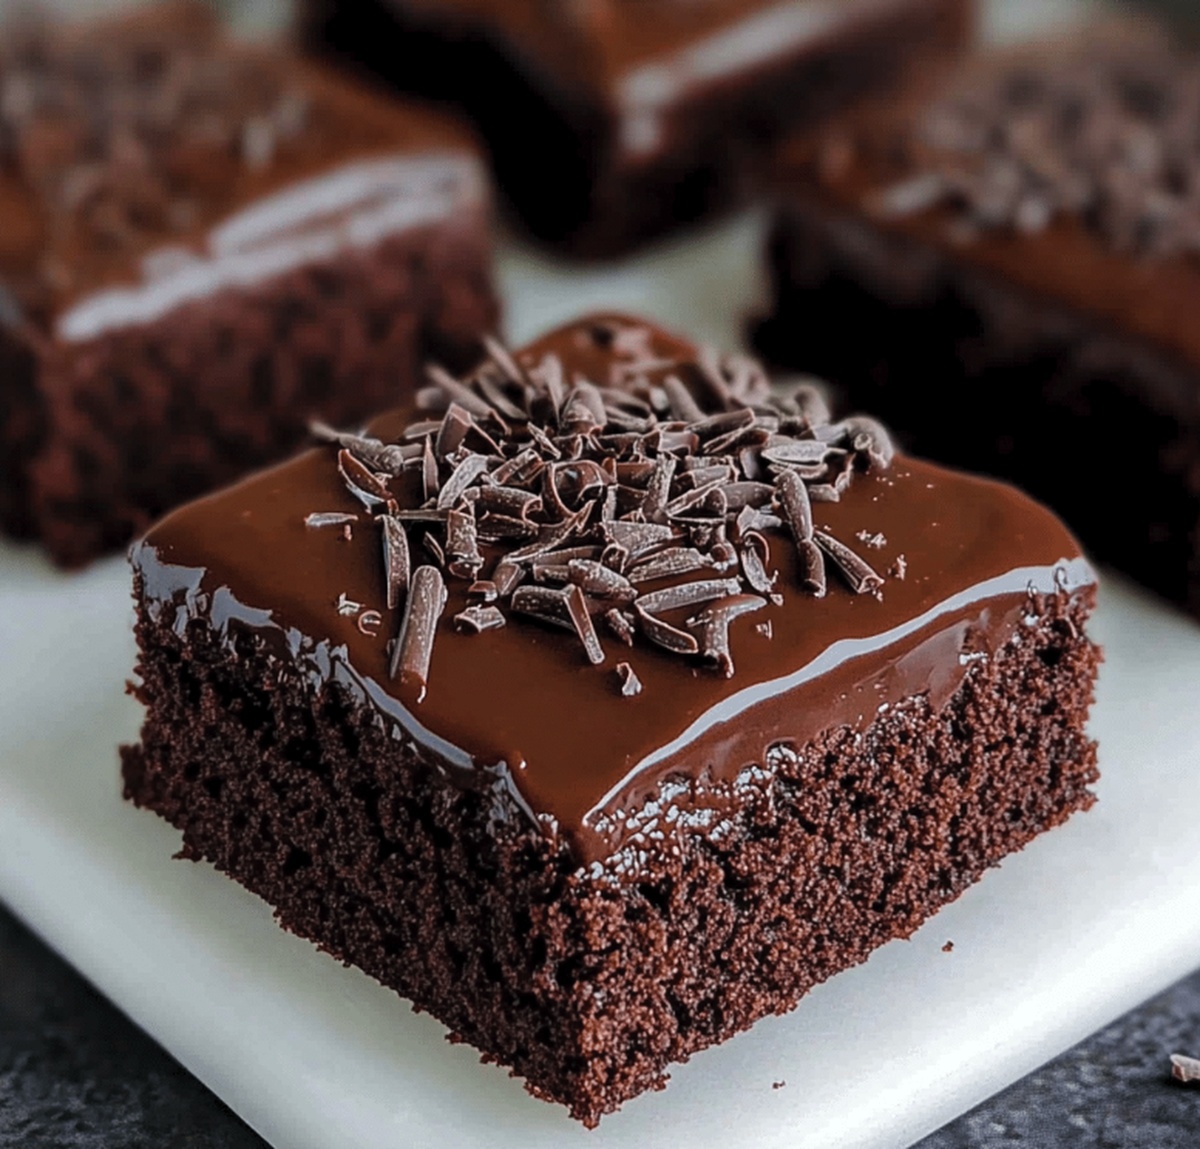
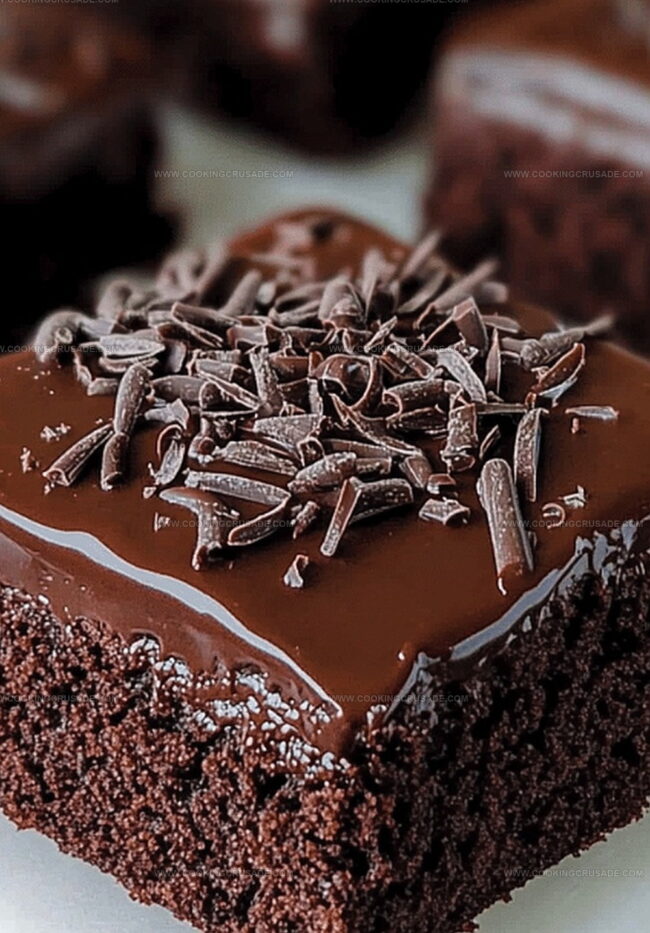
Classic Chocolate Traybake Cake Recipe: Sweet Nostalgia
Sweet chocolate lovers know a perfectly moist chocolate traybake cake can turn any ordinary afternoon into a delightful celebration.
This decadent dessert promises rich, velvety layers that melt in your mouth with incredible chocolate intensity.
An easy one-pan recipe delivers maximum flavor with minimal effort.
Simple pantry ingredients combine effortlessly to create a dessert that looks professionally baked.
Chocolate lovers will adore the deep, intense cocoa notes dancing across each tender crumb.
The cake’s soft texture guarantees a crowd-pleasing treat for every chocolate enthusiast.
Prepare to indulge in a slice of pure chocolatey bliss that will have everyone asking for seconds.
Quick Recipe Overview
What’s Inside Old School Chocolate Traybake Cake
For Cake Base:For Liquid Enhancers:For Finishing Touches:Baking Tools For Old School Chocolate Traybake Cake
Steps To Make Old School Chocolate Traybake Cake
Crank your oven to a toasty 350F and grab a 9×13-inch baking tray. Line it with parchment paper, making sure every corner is covered.
Grab a big mixing bowl and blend butter and sugar until they transform into a fluffy, creamy dream. The mixture should look light and airy.
Crack eggs into the buttery mixture one by one, giving each a good beating until everything looks smooth and well-combined.
Sift cocoa powder, self-rising flour, and baking powder directly into your wet ingredients. Fold gently with a spatula, keeping the air and lightness intact.
Pour in milk and a splash of vanilla, stirring until your batter looks silky and tempting. No lumps allowed!
Transfer the batter into your prepared tray, spreading it evenly with a spatula. Slide into the preheated oven and bake for 25-30 minutes.
Once a toothpick comes out clean, remove from the oven. Let the cake cool completely before adding your favorite frosting or topping.
Tips To Make Old School Chocolate Traybake Cake Like Grandma
Serving Old School Chocolate Traybake Cake Made Fun
Keep Old School Chocolate Traybake Cake Rich And Moist
Print
Moist Chocolate Traybake Cake Recipe
- Total Time: 40 minutes
- Yield: 13 1x
Description
Grandma’s classic chocolate traybake cake delivers pure nostalgia with rich cocoa and tender crumb. Simple ingredients merge into a comforting dessert perfect for family gatherings and weekend treats you’ll cherish.
Ingredients
- 1 cup (2 sticks/226 grams) unsalted butter, softened
- 4 large eggs
- 1 ¾ cups (220 grams) self-rising flour
- 1 cup (200 grams) granulated sugar
- ½ cup (120 ml/4 fl oz) milk (whole or semi-skimmed)
- ¼ cup (25 grams) unsweetened cocoa powder
- 1 tsp baking powder
- 1 tsp vanilla extract
- 2 cups (240 grams) powdered sugar
- ¼ cup (25 grams) unsweetened cocoa powder
- 3 tbsps (42 grams) unsalted butter, melted
- 4 tbsps (60 ml/2 fl oz) hot water (adjust for consistency)
- 1 tsp vanilla extract
- Colorful sprinkles (hundreds and thousands)
Instructions
- Preheating Preparation: Position oven rack to center and warm to 350F (175C) while lining a 9×13-inch tray with parchment paper, covering bottom and sides completely.
- Butter Mixture Creation: Cream butter and sugar in a spacious mixing bowl until the blend transforms into a pale, fluffy, and voluminous texture that appears light and aerated.
- Egg Integration: Gently introduce eggs one at a time into the creamed mixture, ensuring thorough blending and maintaining a smooth, consistent batter without lumps.
- Dry Ingredient Incorporation: Sift self-rising flour, cocoa powder, and baking powder directly over the wet ingredients, using delicate folding techniques to preserve the mixture’s airiness.
- Liquid Harmonization: Introduce milk and vanilla extract, stirring with precision until the batter achieves a silky, uniform consistency with no visible dry ingredients remaining.
- Baking Process: Carefully transfer the batter to the prepared tray, spreading evenly with a spatula to create a perfectly level surface, then slide into the preheated oven.
- Cooling and Finishing: Bake for 25-30 minutes, verifying doneness with a toothpick test, then remove and allow the cake to cool completely on a wire rack before applying icing.
Notes
- Measure Accurately: Use precise measuring tools for flour, cocoa, and other ingredients to maintain the cake’s light, fluffy texture and prevent dense results.
- Room Temperature Ingredients: Allow butter and eggs to reach room temperature before mixing, ensuring smoother blending and better cake structure.
- Gentle Folding Technique: Mix dry ingredients with a light hand to preserve air bubbles, creating a softer, more delicate cake crumb.
- Oven Positioning: Place the tray in the center of the oven for even heat distribution, preventing burnt edges or undercooked centers.
- Prep Time: 10 minutes
- Cook Time: 30 minutes
- Category: Desserts, Snacks
- Method: Baking
- Cuisine: British
Nutrition
- Serving Size: 13
- Calories: 310
- Sugar: 32 g
- Sodium: 150 mg
- Fat: 15 g
- Saturated Fat: 9 g
- Unsaturated Fat: 4 g
- Trans Fat: 0 g
- Carbohydrates: 43 g
- Fiber: 1 g
- Protein: 3 g
- Cholesterol: 70 mg
Olivia Bennett
Co-Founder & Content Creator
Expertise
Nutritional Analysis, Dietary Accommodations, Food Writing and Blogging,
Education
University of Texas at Austin
Institute of Culinary Education, New York, NY
Olivia Bennett is Cooking Crusade’s go-to expert for nutritious, feel-good food. Based in Austin, she blends her degree in Nutrition from the University of Texas with plant-based culinary training from the Institute of Culinary Education.
Olivia’s recipes are all about balance: vibrant, wholesome, and easy-to-love dishes that work for all kinds of eaters. Her mission is simple: to make healthy eating approachable and genuinely tasty, with tips that support your lifestyle, not complicate it.