
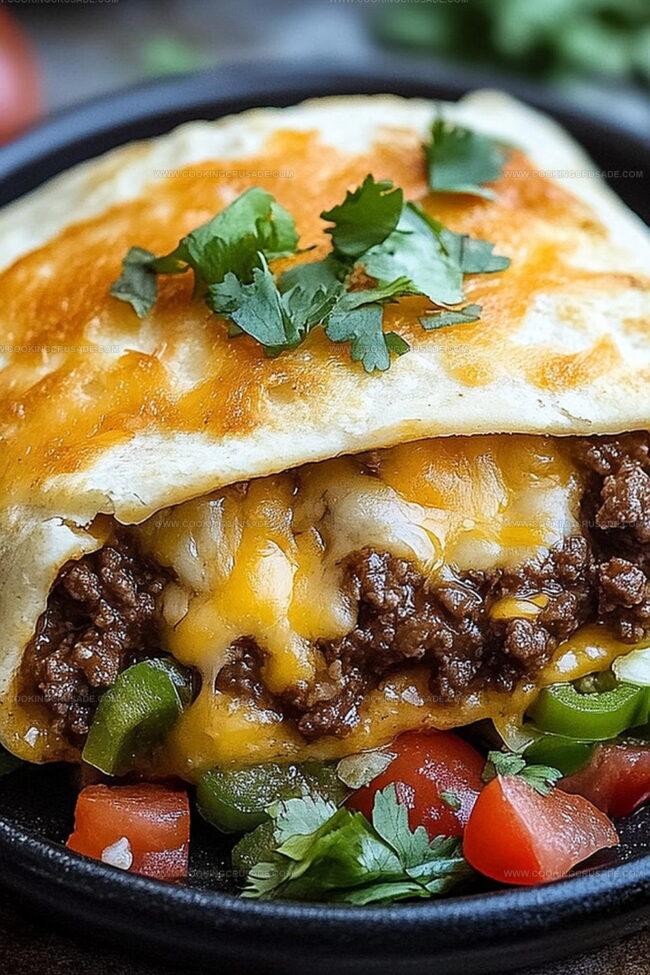
Golden Cheesy Beef Meximelt Recipe: A Fiesta of Flavor
Melted cheese and seasoned beef create a delightful harmony in this classic tex-mex beef meximelt that captures the essence of comfort food.
Tangy and rich flavors blend seamlessly in every bite.
The recipe brings together simple ingredients that dance on your palate with zesty excitement.
Soft tortillas embrace a filling that promises pure satisfaction.
Restaurants often charge premium prices for this delectable treat, but you can craft it effortlessly at home.
Each meximelt serves up a burst of southwestern charm that will leave you craving more.
Prepare to embark on a culinary journey that transforms an ordinary meal into an extraordinary experience.
Quick Recipe Overview
What You Need For Cheesy Beef Meximelt
For Protein Base:For Fresh Topping:For Assembly And Melting:Helpful Tools For Cheesy Beef Meximelt
Steps To Make Cheesy Beef Meximelt
Sizzle ground beef in a hot skillet, breaking it into tiny bits. Mix in zesty taco seasoning and let it bubble until the mixture gets thick and flavorful.
Chop ripe tomatoes, crisp onions, and spicy jalapeños. Squeeze fresh lime juice and sprinkle chopped cilantro for a bright, tangy topping.
Gently heat soft tortillas in a dry pan or quickly zap them in the microwave to make them soft and flexible.
Spread the saucy beef down the center of each tortilla. Shower generously with melty cheese and crown with vibrant salsa.
Roll the tortilla into a neat bundle. Wrap in a damp paper towel and microwave briefly until the cheese turns gooey and irresistible.
Unwrap your steaming Meximelt and enjoy the explosion of flavors right away!
Flavor Ideas For Cheesy Beef Meximelt
How To Serve Cheesy Beef Meximelt
Storage Guide For Cheesy Beef Meximelt
Print
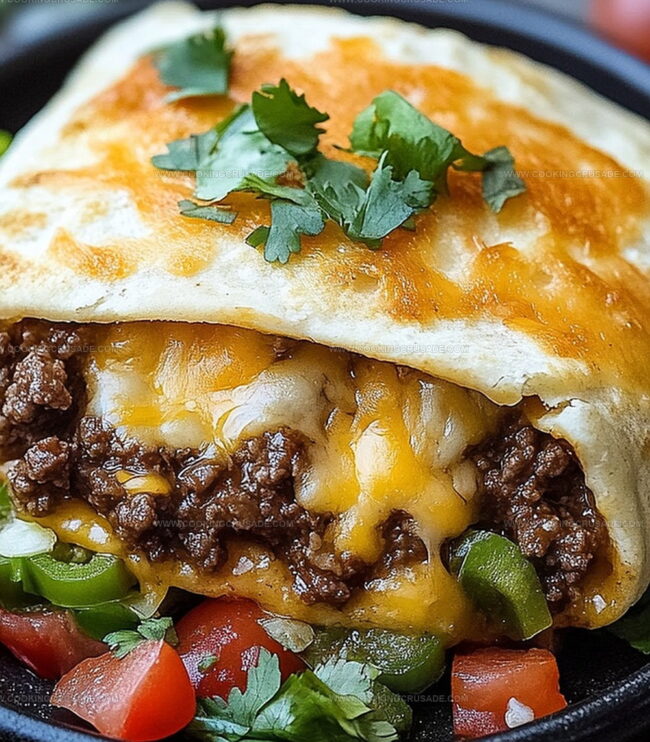
Mouthwatering Beef Meximelt Recipe
- Total Time: 25 minutes
- Yield: 7 1x
Description
Authentic Mexican-inspired Meximelt recipe blends savory ground beef with melted cheese in a warm tortilla. Zesty flavors and simple ingredients create a quick, satisfying meal for home cooks craving Mexican-style comfort.
Ingredients
- 1 lb (454 g) ground beef
- 1 ½ cups (340 g) shredded Mexican cheese blend (cheddar, Monterey Jack, and pepper jack)
- 6 small flour tortillas (6-inch)
- 1 packet taco seasoning mix
- ¾ cup (180 ml) water
- 1 cup (240 ml) fresh pico de gallo
- 2 Roma tomatoes, diced
- ½ small red onion, finely chopped
- 1 jalapeno, seeded and minced
- ¼ cup (60 ml) fresh cilantro, chopped
- 1 tbsp (15 ml) lime juice
- Salt, to taste
Instructions
- Meat Preparation: Sizzle ground beef in a large skillet over medium heat, crumbling until thoroughly browned and caramelized.
- Seasoning Fusion: Drain excess fat, then incorporate taco seasoning and water, simmering until the mixture thickens into a rich, aromatic filling.
- Pico de Gallo Creation: Combine diced tomatoes, minced onions, chopped jalapeno peppers, and cilantro in a bowl, brightening the mixture with fresh lime juice and a touch of salt.
- Tortilla Warming: Soften tortillas in a dry skillet or microwave, ensuring they become pliable and easy to manipulate.
- Meximelt Assembly: Layer a warm tortilla with seasoned beef, generously sprinkle shredded cheese, and top with freshly prepared pico de gallo.
- Rolling Technique: Carefully fold and roll the tortilla, sealing the edges to contain the flavorful filling.
- Final Heating: Wrap each Meximelt in a damp paper towel and microwave briefly, allowing the cheese to melt into a creamy, indulgent coating.
- Serving: Present immediately, revealing a hot, gooey southwestern-inspired delicacy bursting with vibrant flavors.
Notes
- Manage Meat Moisture: Drain excess fat completely after browning ground beef to prevent soggy, greasy Meximelts and ensure a crisp, clean texture.
- Cheese Melting Magic: Use freshly shredded cheese instead of pre-packaged varieties for smoother, more even melting and superior flavor development.
- Tortilla Temperature Trick: Warm tortillas just until pliable to prevent cracking or becoming too brittle during rolling, which can cause filling leakage.
- Spice Level Control: Adjust jalapeno quantity in pico de gallo based on personal heat tolerance, removing seeds for milder version or adding extra for bold flavor enthusiasts.
- Prep Time: 10 minutes
- Cook Time: 15 minutes
- Category: Lunch, Dinner, Snacks
- Method: Sautéing
- Cuisine: Mexican
Nutrition
- Serving Size: 7
- Calories: 420
- Sugar: 2 g
- Sodium: 800 mg
- Fat: 24 g
- Saturated Fat: 10 g
- Unsaturated Fat: 8 g
- Trans Fat: 0 g
- Carbohydrates: 30 g
- Fiber: 2 g
- Protein: 22 g
- Cholesterol: 70 mg
Olivia Bennett
Co-Founder & Content Creator
Expertise
Nutritional Analysis, Dietary Accommodations, Food Writing and Blogging,
Education
University of Texas at Austin
Institute of Culinary Education, New York, NY
Olivia Bennett is Cooking Crusade’s go-to expert for nutritious, feel-good food. Based in Austin, she blends her degree in Nutrition from the University of Texas with plant-based culinary training from the Institute of Culinary Education.
Olivia’s recipes are all about balance: vibrant, wholesome, and easy-to-love dishes that work for all kinds of eaters. Her mission is simple: to make healthy eating approachable and genuinely tasty, with tips that support your lifestyle, not complicate it.