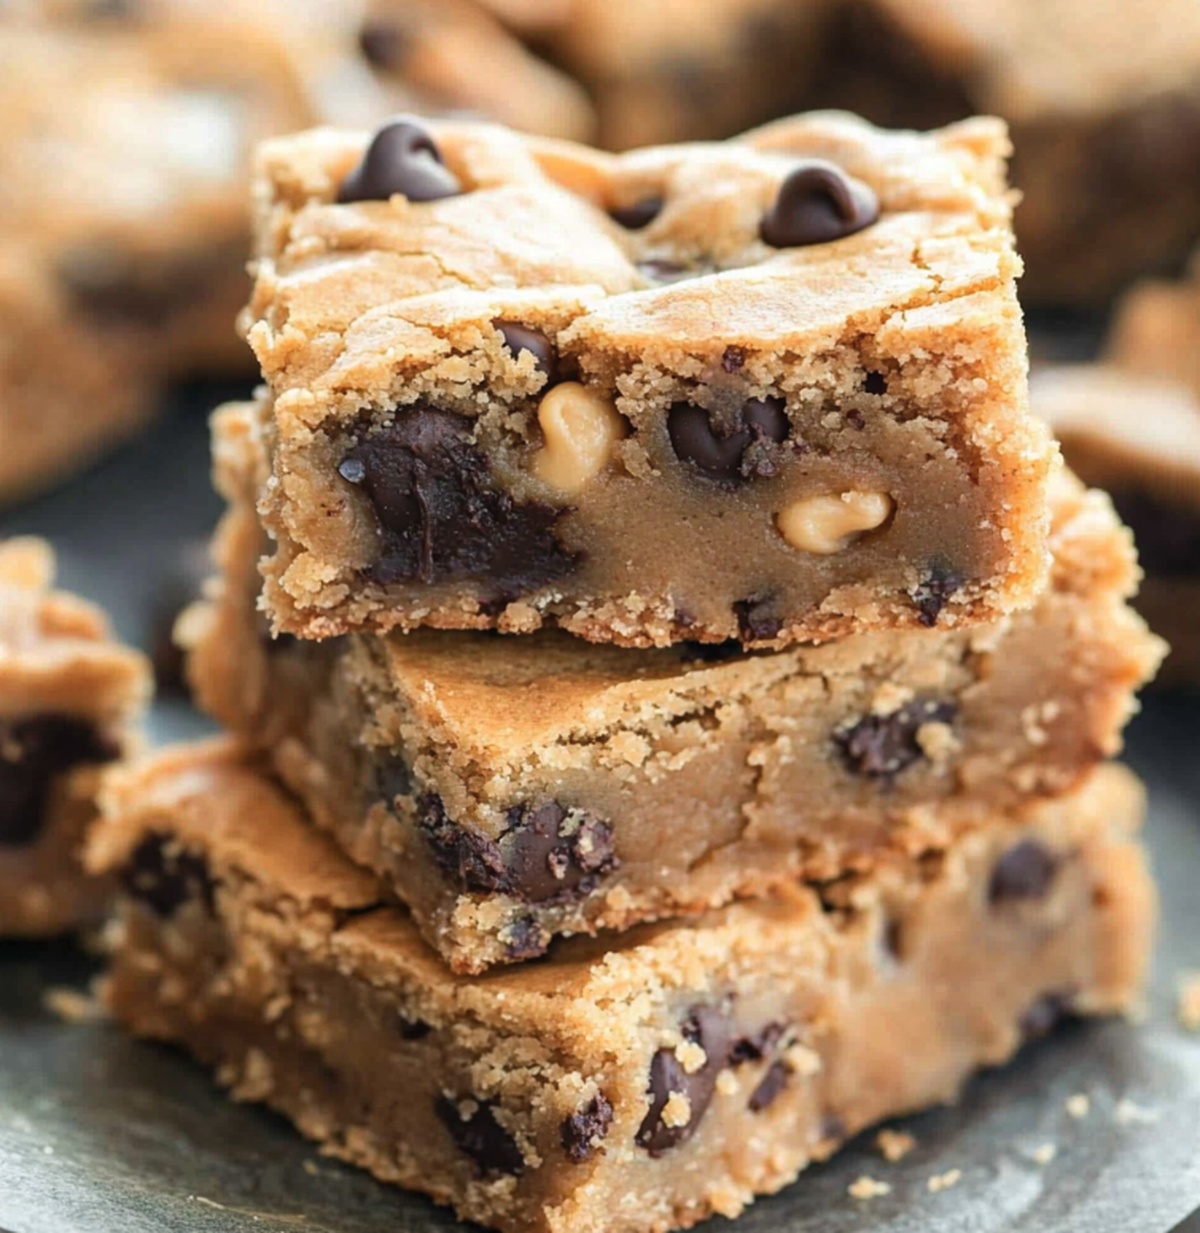
Heavenly Gooey Peanut Butter Chocolate Chip Cookie Bars Recipe
Nothing beats the classic comfort of homemade peanut butter chocolate chip cookie bars that melt in your mouth with pure decadence.
Soft, chewy, and packed with rich flavor, these bars promise an irresistible treat for any sweet tooth.
The combination of creamy peanut butter and melted chocolate chips creates a symphony of taste that dances across your palate.
Each bite delivers a perfect balance of sweetness and nutty depth that keeps you coming back for more.
Baking these bars is simpler than you might expect, requiring just a few basic ingredients and minimal prep time.
The result is a dessert that looks impressive and tastes even better than store-bought treats.
Prepare to indulge in a dessert that will have everyone asking for seconds.
Quick Recipe Overview
Everything Needed For Gooey Peanut Butter Chocolate Chip Cookie Bars
For Wet Ingredients:For Dry Ingredients:For Mix-Ins:Equipment For Gooey Peanut Butter Chocolate Chip Cookie Bars
How To Make Gooey Peanut Butter Chocolate Chip Cookie Bars
Crank the oven to a toasty 350F and grab a 9-inch baking pan. Line it with parchment paper, letting the edges hang over like a cozy blanket.
Grab a big mixing bowl and whisk together melted butter, creamy peanut butter, and both sugars until they’re dancing together smoothly. Crack in the egg and egg yolk, splash in vanilla, and mix until everything looks perfectly blended. Gently fold in flour, baking powder, and a pinch of salt, stirring just enough to combine. Now for the fun part – toss in those chocolate chips and watch the magic happen.
Spread the dough evenly across the pan like you’re tucking it into bed. Slide into the hot oven and bake for 20-25 minutes. You’ll want the edges looking set but the center still soft and tempting. Once done, let it cool in the pan for a quick 15-minute rest. Then lift out using the parchment paper and slice into irresistible squares of pure joy.
Baking Tips For Gooey Peanut Butter Chocolate Chip Cookie Bars
How To Serve Gooey Peanut Butter Chocolate Chip Cookie Bars
Keep Gooey Peanut Butter Chocolate Chip Cookie Bars Fresh
Print
Mouthwatering Peanut Butter Chocolate Chip Cookie Bars Recipe
- Total Time: 35 minutes
- Yield: 13 1x
Description
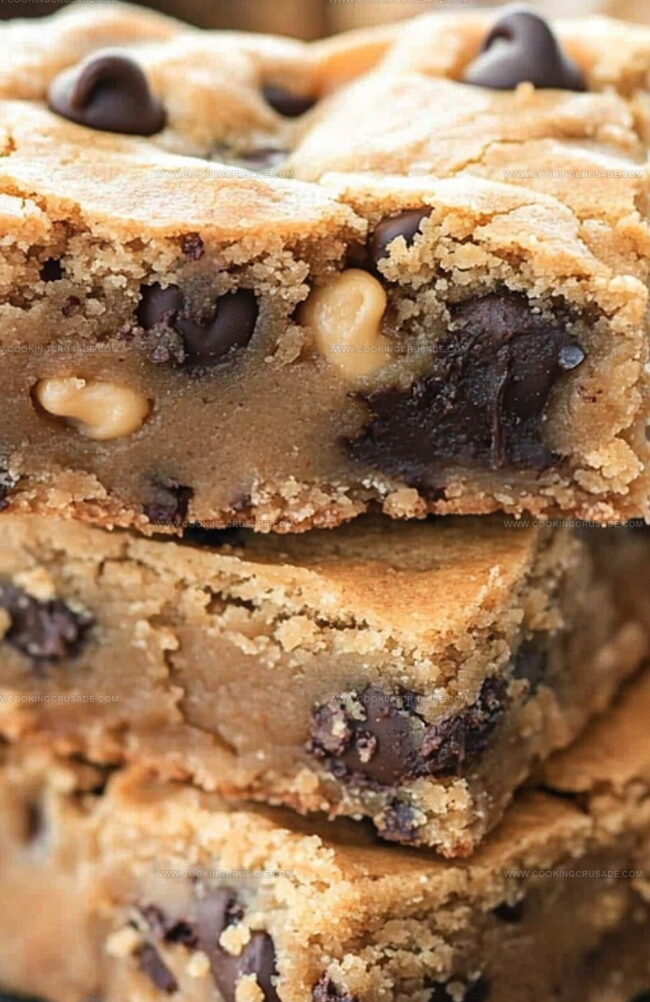
Indulgent chocolate chip and peanut butter cookie bars meld classic comfort with irresistible sweetness. Warm, rich layers promise delightful moments of pure baking bliss that welcome you to savor each delectable bite.
Ingredients
- 1 cup (180 g / 6.3 oz) chocolate chips (semi-sweet or milk chocolate)
- ½ cup (115 g / 4 oz) unsalted butter, melted
- ½ cup (120 g / 4.2 oz) creamy peanut butter
- ½ cup (75 g / 2.6 oz) peanut butter chips (optional, for extra peanut butter flavor)
- 1 cup (200 g / 7 oz) sugar (¾ cup brown sugar + ¼ cup granulated sugar)
- 1 ¼ cups (160 g / 5.6 oz) all-purpose flour
- 1 egg
- 1 egg yolk
- 1 tsp vanilla extract
- ½ tsp baking powder
- ¼ tsp salt
Instructions
- Preparation: Activate the oven to 350F (175C) and line a 9×9-inch pan with parchment paper, creating extended edges for effortless extraction.
- Base Creation: Whisk melted butter, peanut butter, and sugars into a glossy, harmonious blend that promises rich, indulgent flavor.
- Liquid Integration: Vigorously blend eggs and vanilla extract into the butter mixture, transforming the texture into a silky, uniform consistency.
- Dry Ingredient Fusion: Delicately fold flour, baking powder, and salt into the wet mixture, maintaining a tender dough structure without aggressive mixing.
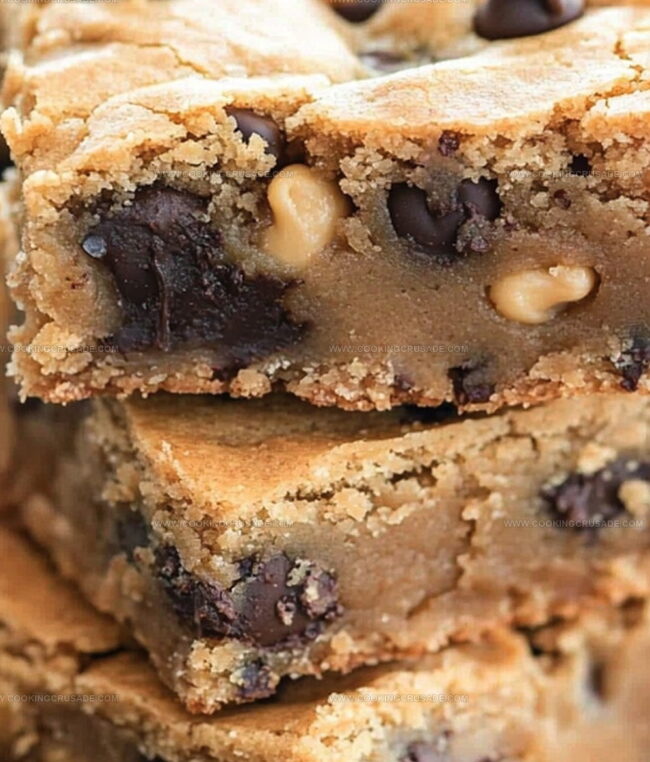
- Chip Distribution: Thoroughly disperse chocolate and peanut butter chips throughout the dough, ensuring a balanced sweet sensation in every morsel.
- Pan Arrangement: Expertly spread the cookie dough across the prepared pan, creating an even layer that fills every corner with potential deliciousness.
- Baking Process: Slide the pan into the preheated oven, baking for 22-26 minutes until edges turn golden and center remains luxuriously soft, developing a perfect textural contrast.
- Cooling Stage: Allow bars to rest in the pan for 15 minutes, enabling structural stabilization and flavor intensification.
- Serving Presentation: Elevate the bars using parchment paper, then slice into square portions to reveal the decadent, gooey interior.
Notes
- Prevent Dryness: Use room temperature butter and eggs to ensure a moist, tender texture that melts in your mouth.
- Maintain Gooey Consistency: Avoid overbaking by checking bars at 22 minutes and removing when edges are golden but center remains slightly soft and jiggly.
- Customize Chip Distribution: Mix chocolate and peanut butter chips gently to prevent sinking, ensuring an even spread of sweet morsels throughout the bars.
- Enhance Flavor Depth: Consider adding a pinch of sea salt on top before baking to amplify the sweet-salty contrast and elevate the overall taste profile.
- Prep Time: 10 minutes
- Cook Time: 25 minutes
- Category: Desserts, Snacks
- Method: Baking
- Cuisine: American
Nutrition
- Serving Size: 13
- Calories: 280
- Sugar: 20 g
- Sodium: 120 mg
- Fat: 14 g
- Saturated Fat: 6 g
- Unsaturated Fat: 8 g
- Trans Fat: 0 g
- Carbohydrates: 35 g
- Fiber: 1 g
- Protein: 5 g
- Cholesterol: 40 mg
Olivia Bennett
Co-Founder & Content Creator
Expertise
Nutritional Analysis, Dietary Accommodations, Food Writing and Blogging,
Education
University of Texas at Austin
Institute of Culinary Education, New York, NY
Olivia Bennett is Cooking Crusade’s go-to expert for nutritious, feel-good food. Based in Austin, she blends her degree in Nutrition from the University of Texas with plant-based culinary training from the Institute of Culinary Education.
Olivia’s recipes are all about balance: vibrant, wholesome, and easy-to-love dishes that work for all kinds of eaters. Her mission is simple: to make healthy eating approachable and genuinely tasty, with tips that support your lifestyle, not complicate it.