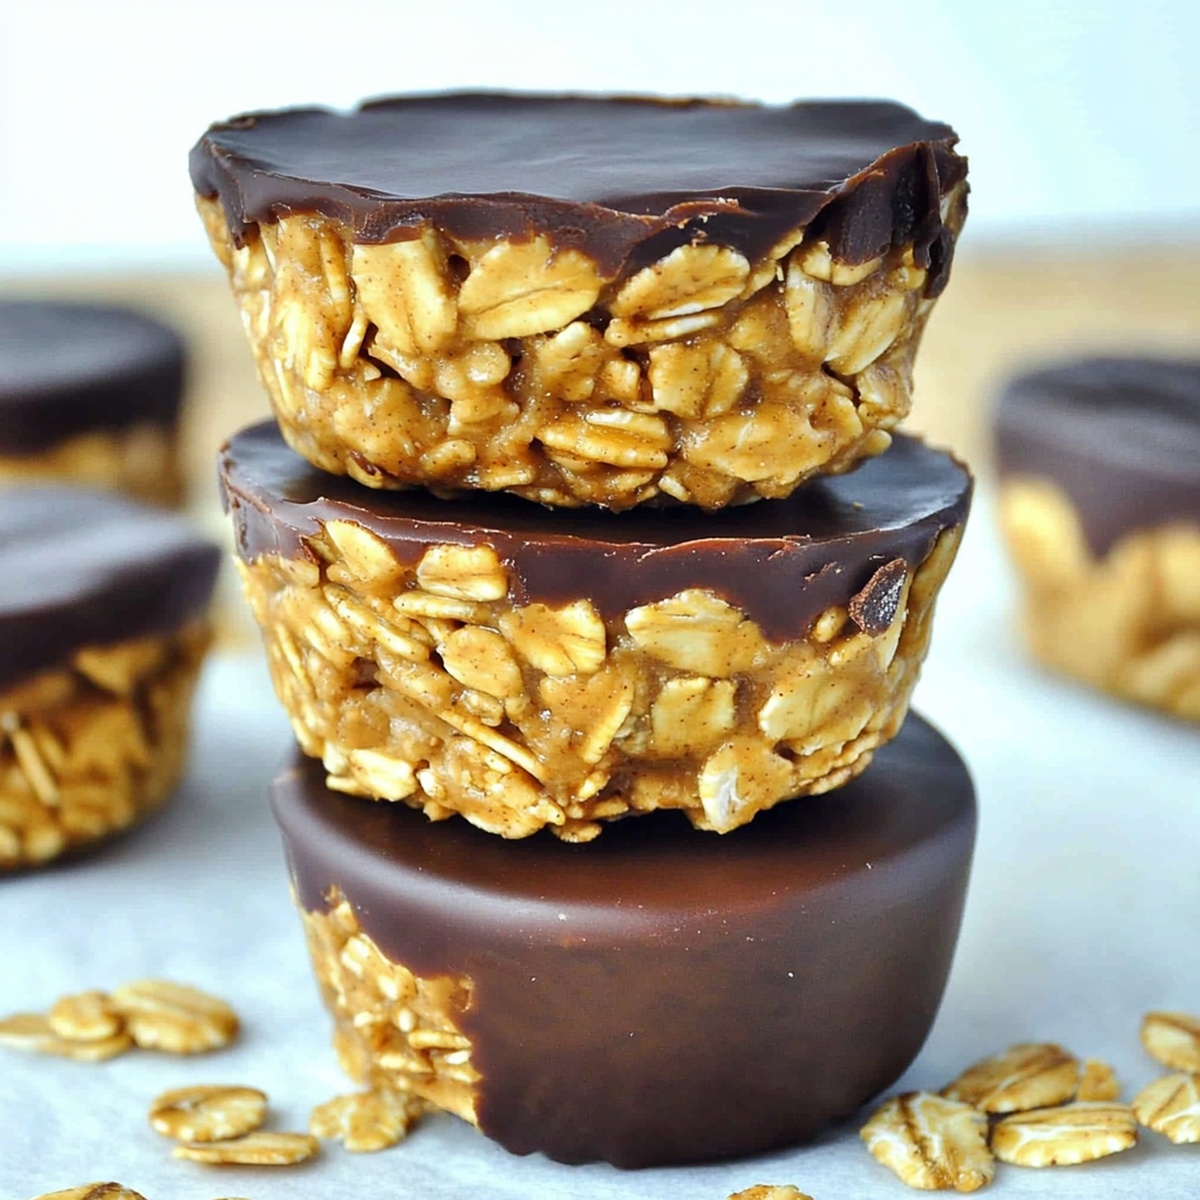
Quick No-Bake Peanut Butter Granola Cups Recipe for Sweet Bliss
These delightful no-bake peanut butter granola cups are about to become your newest obsession.
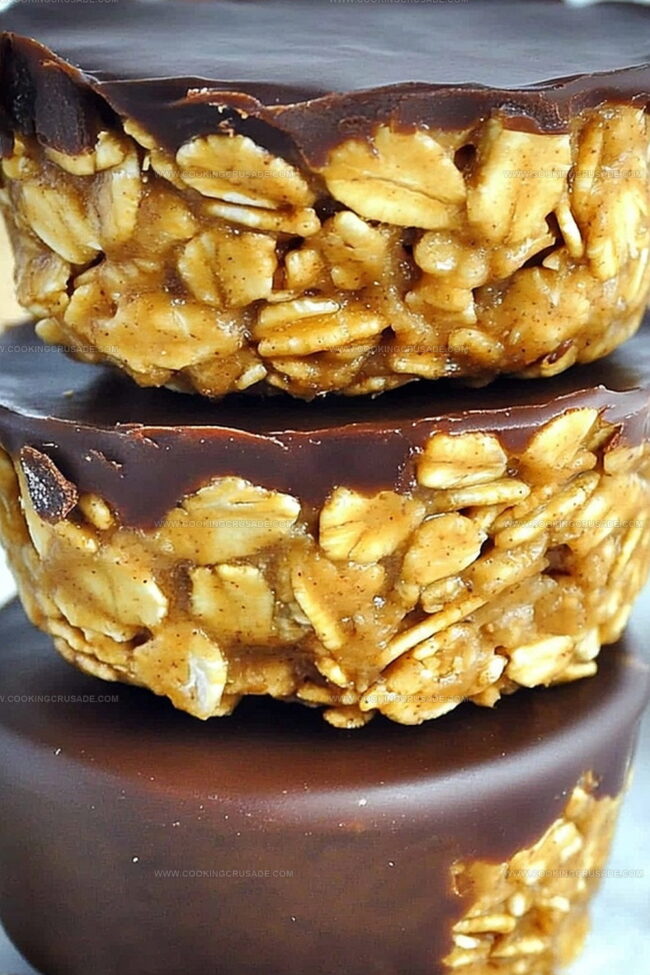
Sweet meets crunchy in a magical blend that screams simplicity and flavor.
Just imagine crafting a treat so delicious it practically makes itself.
Minimal ingredients and zero oven time mean you can whip up these little miracles in minutes.
Chocolate chips add a luxurious touch that takes these cups from good to absolutely irresistible.
Perfect for afternoon snacking or a quick breakfast boost, they’ll vanish faster than you can say “seconds, please!” Get ready to become the snack hero among everyone you know.
Why No-Bake Peanut Butter Granola Cups Are A Handy Snack
Everything You’ll Need For No-Bake Peanut Butter Granola Cups
Wet Ingredients:Dry Ingredients:Toppings and Garnish:How To Make No-Bake Peanut Butter Granola Cups Step By Step
Step 1: Melt Creamy Base
Grab a microwave-safe bowl and toss in:Zap in the microwave for 30-45 seconds until everything transforms into a silky smooth liquid. Whisk the mixture until perfectly blended.
Step 2: Combine Crunchy Elements
Grab a spacious mixing bowl and add:Step 3: Create Magical Mixture
Pour the warm liquid over the dry ingredients. Splash in vanilla extract. Stir with enthusiasm until every single oat gets a delicious coating.
Step 4: Shape Tasty Treats
Line a muffin tin with paper cups. Scoop the mixture into each cup. Press down firmly with the back of a spoon or your fingertips. Pack it tight to create perfect cup shapes.
Step 5: Chill and Set
Slide the muffin tin into the refrigerator. Let the cups firm up for at least one hour. They’ll transform into solid, delightful treats.
Step 6: Add Gorgeous Garnishes
Optional but totally recommended:Step 7: Serve and Preserve
Pop the granola cups out of their liners. Devour immediately or store in an airtight container in the refrigerator. They’ll stay fresh and fabulous for up to one week.
Pro Tip: These portable snacks are perfect for quick breakfasts, afternoon energy boosts, or late-night cravings!
Pro Tips For Easy No-Bake Peanut Butter Granola Cups
How To Store No-Bake Peanut Butter Granola Cups For On-The-Go
What To Pair With No-Bake Peanut Butter Granola Cups
Tasty Add-Ins For No-Bake Peanut Butter Granola Cups
Common Questions About No-Bake Peanut Butter Granola Cups
These no-bake granola cups are packed with nutritious ingredients like oats, chia seeds, and peanut butter. They’re a great source of protein, fiber, and healthy fats, making them a wholesome snack option.
Absolutely! You can skip the chocolate chips or substitute them with dried fruits, nuts, or seeds to customize the recipe to your liking. The base recipe is flexible and forgiving.
Not at all! You’ll just need a microwave-safe bowl, a regular mixing bowl, a muffin tin, and paper liners. It’s a simple recipe that doesn’t require any fancy kitchen tools.
They can be easily adapted. Use gluten-free oats for a gluten-free version, and replace honey with maple syrup for a vegan option. Just check your specific ingredient labels to ensure they meet your dietary needs.
Print
No-Bake Peanut Butter Granola Cups Recipe
- Total Time: 1 hour 10 minutes
- Yield: 12 1x
Description
Sweet dreams come true with these no-bake peanut butter granola cups, blending crunchy oats and creamy peanut butter into irresistible bite-sized treats. Chocolate drizzle and a sprinkle of sea salt elevate this quick dessert, making you crave more with each delightful mouthful.
Ingredients
Main Ingredients:
- 2 cups (480 ml) rolled oats
- ½ cup (120 ml) natural peanut butter
- ⅓ cup (80 ml) honey or maple syrup
- ¼ cup (60 ml) coconut oil
Additional Ingredients:
- 1 teaspoon (5 ml) vanilla extract
- ¼ cup (60 ml) mini chocolate chips
- 2 tablespoons (30 ml) chia seeds or flaxseeds
Toppings (Optional):
- Melted chocolate for drizzling
- Crushed peanuts for garnish
Instructions
- Melt the peanut butter, honey, and coconut oil together in a microwave-safe bowl, heating in short bursts until fully liquefied and smoothly blended.
- Transfer the rolled oats into a spacious mixing bowl, incorporating chia seeds and mini chocolate chips for added texture and flavor.
- Pour the warm liquid mixture over the dry ingredients, introducing vanilla extract to enhance the overall taste profile. Thoroughly mix until every oat is evenly coated and glistening.
- Prepare a muffin tin by lining each compartment with paper liners, creating a neat foundation for the granola cups.
- Carefully distribute the prepared mixture into each liner, using firm pressure from a spoon or fingertips to compress and shape the contents, ensuring a compact and sturdy structure.
- Refrigerate the muffin tin for approximately one hour, allowing the granola cups to solidify and develop a consistent, firm texture.
- Optional: Elevate the presentation by drizzling melted chocolate across the surface and sprinkling crushed peanuts for an additional layer of crunch and visual appeal.
- Gently remove the granola cups from their paper liners, ready to be savored immediately or stored in a sealed container within the refrigerator for up to seven days.
Notes
- Customize the sweetness by adjusting honey or maple syrup to suit personal taste preferences.
- Ensure the wet ingredients are thoroughly mixed to create a consistent binding for the granola cups.
- Use fresh, high-quality rolled oats for the best texture and crunch in your no-bake treats.
- Replace peanut butter with almond or sunflower seed butter for nut-free or allergy-friendly variations.
- Prep Time: 10 minutes
- Cook Time: 1 hour
- Category: Breakfast, Snacks, Desserts
- Method: Mixing
- Cuisine: American
Nutrition
- Serving Size: 12
- Calories: 180
- Sugar: 8g
- Sodium: 50mg
- Fat: 10g
- Saturated Fat: 4g
- Unsaturated Fat: 6g
- Trans Fat: 0g
- Carbohydrates: 20g
- Fiber: 2g
- Protein: 4g
- Cholesterol: 0mg
James Mitchell
Founder & Recipe Developer
Expertise
Recipe Creation and Testing, Fusion Cuisine, Food Styling and Photography, Culinary Education
Education
Kendall College, Chicago, IL
The Culinary Institute of America, Hyde Park, NY
James Mitchell is the founder and fearless flavor explorer at Cooking Crusade. With a degree in Culinary Arts from Kendall College and advanced training in global gastronomy from The Culinary Institute of America, James has spent over a decade perfecting the art of recipe creation.
His background includes fine dining, private cheffing, and food styling, but his true joy comes from turning big ideas into doable recipes for home cooks. Every dish he shares is a mix of creativity, culture, and a little kitchen magic, built to bring excitement back to everyday meals.