Dreamy Peanut Butter And Jelly Poke Cake Recipe for Kids
Comfort swoops in with this delightful peanut butter and jelly poke cake that brings childhood memories flooding back.
Sweet layers of nostalgia dance through every bite of this classic dessert.
The simple combination creates a magical treat that feels like a warm hug.
Dense cake punctured with ribbons of grape jelly and creamy peanut butter promises pure delight.
Each forkful connects you to cherished moments of carefree afternoons and school lunch memories.
Rich, soft, and perfectly balanced, this dessert transforms an ordinary day into something extraordinary.
You won’t be able to resist diving into this ultimate comfort food experience.
Quick Recipe Overview
What’s In Peanut Butter And Jelly Poke Cake
For Cake Base:For Filling and Topping:For Optional Garnish:Kitchen Items For Peanut Butter And Jelly Poke Cake
How To Make Peanut Butter And Jelly Poke Cake
Crank your oven to a toasty 350F and grab your favorite cake mix. Follow the package instructions and pour the batter into a baking dish, getting ready for some deliciousness.
Once your cake is baked and slightly cooled, grab a wooden spoon handle or straw. Go wild poking holes all over the cake, making little pathways for flavor to travel.
Zap your jelly in the microwave for a quick 30 seconds until it’s runny. Pour that sweet goodness directly into the holes, watching it seep deep into the cake’s core.
Blend peanut butter and softened butter until they become best friends. Gradually mix in powdered sugar, vanilla, and milk, creating a dreamy, spreadable frosting that’ll make taste buds dance.
Spread your luscious peanut butter frosting across the cake. Drizzle some extra jelly on top and swirl it around for a gorgeous marbled look. Sprinkle chopped peanuts if you’re feeling extra fancy.
Cut into squares and prepare for a flavor explosion. This cake is your ticket to instant happiness – perfect for parties, potlucks, or solo indulgence!
Tips To Try With Peanut Butter And Jelly Poke Cake
Serving Peanut Butter And Jelly Poke Cake
How To Store Peanut Butter And Jelly Poke Cake
Print
Nostalgic Peanut Butter And Jelly Poke Cake Recipe
- Total Time: 1 hour 50 minutes
- Yield: 13 1x
Description
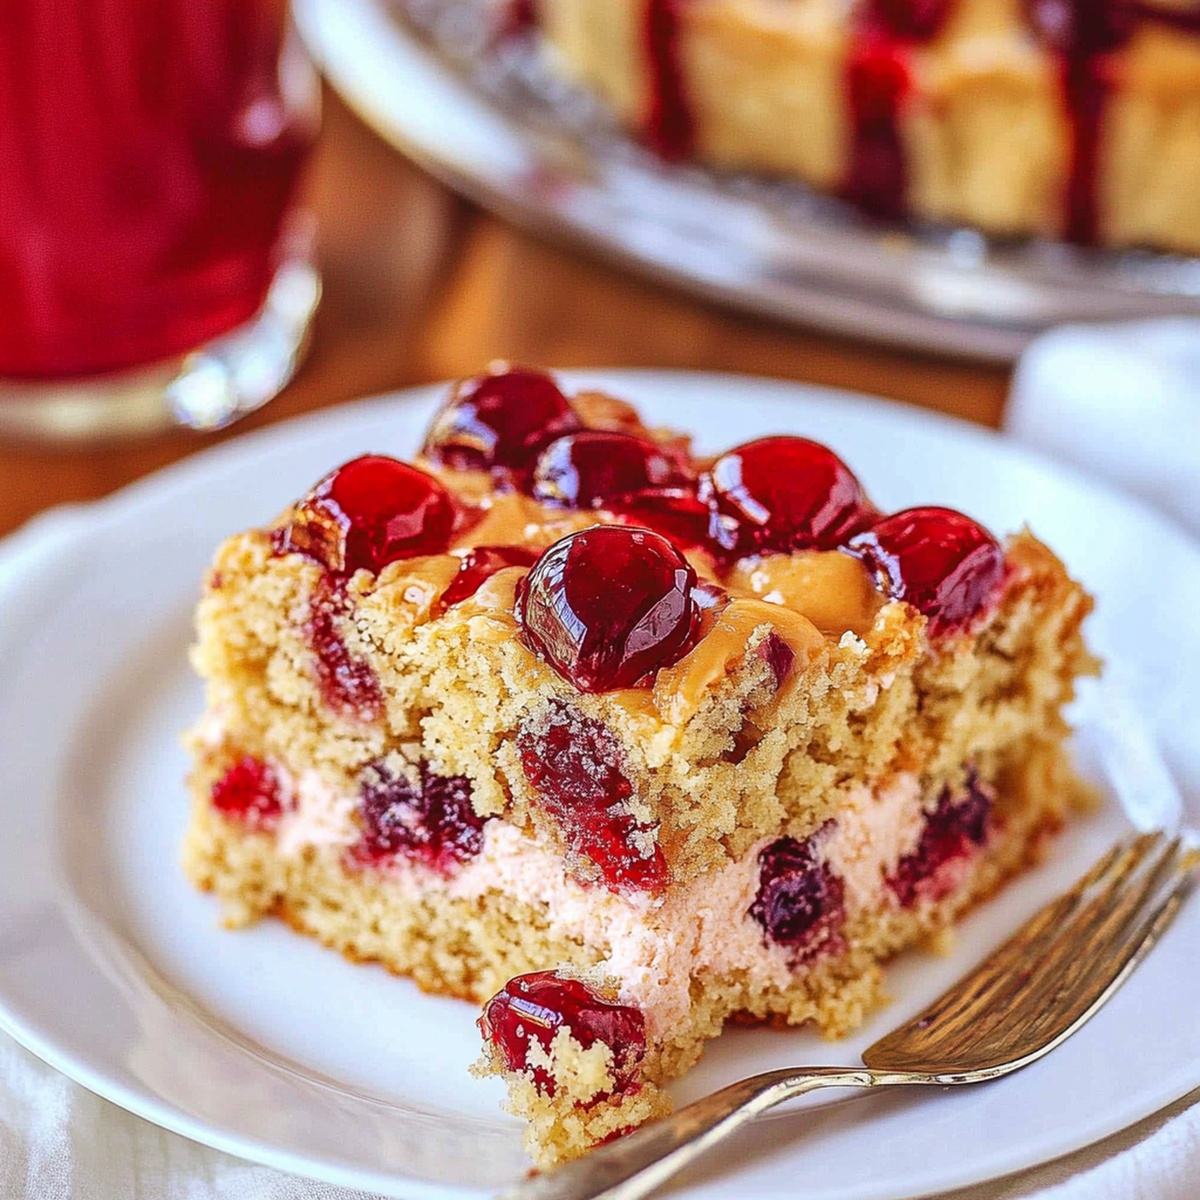
Classic Peanut Butter and Jelly Poke Cake brings nostalgic childhood flavors to dessert lovers. Sweet layers of moist cake, creamy peanut butter filling, and fruity jelly create a delightful treat you’ll crave again and again.
Ingredients
- 1 box (15.25 oz / 432 g) yellow or white cake mix (plus ingredients needed per package)
- 1 cup grape or strawberry jelly
- 1 cup (250 g) creamy peanut butter
- ½ cup (115 g) unsalted butter, softened
- 2 cups (250 g) powdered sugar
- ¼ cup (60 ml) milk (more as needed)
- 1 tsp vanilla extract
- ¼ cup grape or strawberry jelly (warmed slightly for drizzling)
- ¼ cup chopped peanuts (optional)
Instructions
- Cake Foundation: Preheat oven to 350F (175C) and prepare cake mix in a rectangular baking dish following package instructions.
- Cooling and Perforating: After baking, let cake rest for 10 minutes, then create uniform channels using a wooden spoon handle or straw at one-inch intervals.
- Jelly Infusion: Microwave jelly for 30 seconds until fluid, then methodically pour into perforated channels, ensuring complete cake saturation.
- Frosting Preparation: Blend softened peanut butter and butter until smooth, gradually mixing in powdered sugar, vanilla extract, and milk until achieving a light, spreadable consistency.
- Cake Finishing: Once cake is completely cooled, spread peanut butter frosting evenly across the surface, then artfully drizzle remaining warmed jelly and create marbled patterns with a knife.
- Garnishing and Serving: Optionally sprinkle chopped peanuts over the cake for added texture, then slice into neat squares to showcase the classic peanut butter and jelly flavor profile.
Notes
- Hole Precision: Create uniform, evenly spaced holes about one inch apart to ensure consistent jelly distribution throughout the cake’s interior.
- Jelly Temperature Control: Warm jelly briefly in the microwave to achieve perfect pouring consistency without overheating, which could compromise the cake’s texture.
- Frosting Consistency Tip: Gradually add milk and powdered sugar to achieve a spreadable frosting texture, adjusting ingredients carefully to prevent runny or too-stiff results.
- Cooling Critical: Allow the cake to cool completely before frosting to prevent melting and ensure a clean, professional-looking final presentation.
- Prep Time: 20 minutes
- Cook Time: 30 minutes
- Category: Desserts, Snacks
- Method: Baking
- Cuisine: American
Nutrition
- Serving Size: 13
- Calories: 375
- Sugar: 30 g
- Sodium: 300 mg
- Fat: 18 g
- Saturated Fat: 7 g
- Unsaturated Fat: 9 g
- Trans Fat: 0 g
- Carbohydrates: 50 g
- Fiber: 1 g
- Protein: 6 g
- Cholesterol: 30 mg
Olivia Bennett
Co-Founder & Content Creator
Expertise
Nutritional Analysis, Dietary Accommodations, Food Writing and Blogging,
Education
University of Texas at Austin
Institute of Culinary Education, New York, NY
Olivia Bennett is Cooking Crusade’s go-to expert for nutritious, feel-good food. Based in Austin, she blends her degree in Nutrition from the University of Texas with plant-based culinary training from the Institute of Culinary Education.
Olivia’s recipes are all about balance: vibrant, wholesome, and easy-to-love dishes that work for all kinds of eaters. Her mission is simple: to make healthy eating approachable and genuinely tasty, with tips that support your lifestyle, not complicate it.