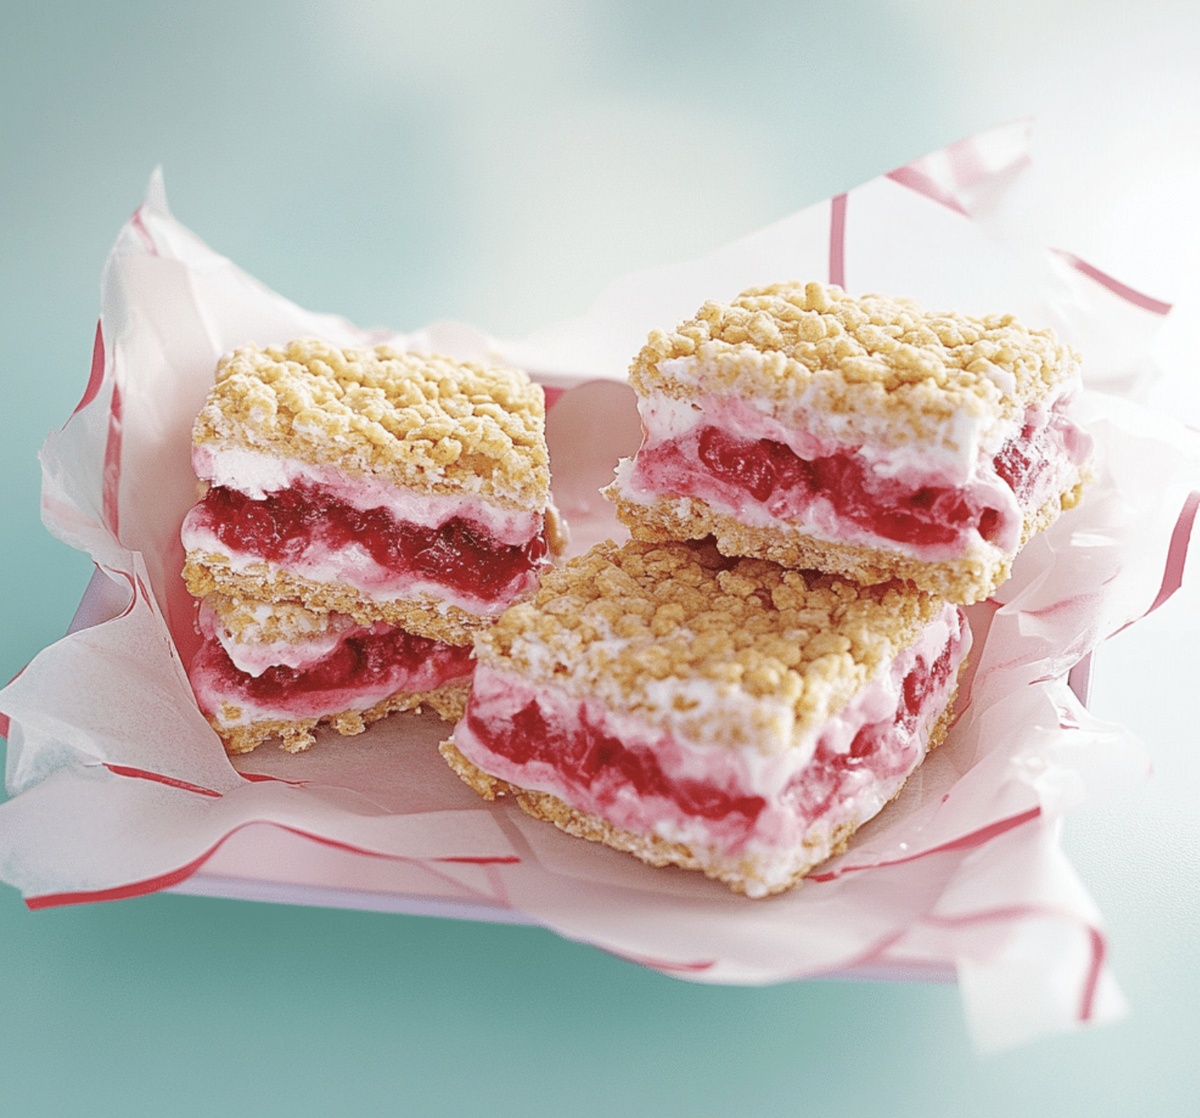
Playful PB&J Puffed Cereal Ice Cream Sandwiches Recipe
Creamy peanut butter and jelly puffed cereal ice cream sandwiches promise pure childhood nostalgia with a delightful twist.
Memories of lunchbox favorites dance through this playful dessert.
Crunchy, sweet cereal creates the perfect crisp exterior for these cool treats.
Soft ice cream nestles between layers of irresistible pb&j goodness.
Childhood comfort meets grown-up creativity in this simple yet ingenious recipe.
Each bite captures the classic sandwich’s spirit with a refreshing chill.
You’ll want to savor every delectable moment of this whimsical dessert adventure.
Why PB&J Ice Cream Sandwiches Are a Retro Win

What You Need for These Nostalgic Treats
Base Ingredients:Filling Ingredients:Preparation Ingredients:How to Assemble with No Melty Mess

Step 1: Create Cereal Base
Gather these tasty ingredients:Heat peanut butter, honey, and butter in a large saucepan over medium heat. Stir until everything melts into a smooth, creamy mixture. Take the pan off the heat and gently mix in the puffed rice cereal, ensuring every piece gets coated with the sweet, nutty sauce. Line a square baking pan with parchment paper and press half the cereal mixture firmly into the bottom, creating a solid foundation for your frozen treat. Pop the pan in the refrigerator for 15-20 minutes to set the base.
Step 2: Layer on the Creamy Goodness
Spread softened vanilla ice cream evenly over the chilled cereal layer. Grab your favorite jelly and drizzle or drop spoonfuls across the ice cream. Use a knife to create beautiful swirls, mixing the jelly into the ice cream for a marbled masterpiece.
Step 3: Top It Off
Carefully press the remaining cereal mixture over the ice cream layer. Ensure it’s smooth and compact, creating a perfect seal for your frozen sandwich. Cover the pan with plastic wrap and send it to the freezer for at least 4 hours – patience is key to achieving the ultimate cool treat!
Step 4: Slice and Enjoy
When the sandwiches are completely frozen, remove the pan from the freezer. Use the parchment paper to lift out the entire block of deliciousness. Grab a sharp knife and cut into squares or rectangles. Serve immediately for a refreshing dessert that combines the classic PB&J flavors with a cool, crunchy twist. Store any leftovers in the freezer for future snacking moments.
Pro Tip: For an extra indulgent experience, let the sandwiches sit at room temperature for a minute or two before serving to soften slightly and enhance the flavors.
Tips for Keeping Them Crunchy Yet Creamy
Smart Storage for Frozen Sandwiches
Pair With Childhood Favorites or New Sips
PB&J Ice Cream Variations to Explore
Answers to PB&J Sandwich Questions
Yes, you can substitute puffed rice cereal with other crispy cereals like Rice Krispies or corn flakes. Just ensure they provide a similar light and crunchy texture.
Absolutely! Use dairy-free vanilla ice cream and ensure your peanut butter and jelly are dairy-free. The recipe can easily be adapted for those with lactose intolerance.
They can be stored in an airtight container for up to 2 weeks. Wrap each sandwich individually in plastic wrap to prevent freezer burn and maintain their delicious flavor.
Definitely! Kids can help mix the cereal with peanut butter mixture, swirl the jelly, and assist in cutting the sandwiches. It’s a fun and easy recipe for family baking time.
Print
Pb&J Puffed Cereal Ice Cream Sandwiches Recipe
- Total Time: 4 hours 20 minutes
- Yield: 8 1x
Description
Childhood nostalgia meets gourmet delight in these pb&j puffed cereal ice cream sandwiches. Layers of creamy peanut butter ice cream nestled between crispy, sweet cereal bring playful indulgence to classic comfort, inviting you to savor pure bliss.
Ingredients
Main Ingredients:
- 4 cups puffed rice cereal
- ½ cup creamy peanut butter
- 1 pint vanilla ice cream
- ⅓ cup strawberry or grape jelly
Sweeteners and Binding Agents:
- ½ cup honey or light corn syrup
- 2 tablespoons (2 tbsp) unsalted butter
Instructions
- Craft the foundational cereal layer by gently melting peanut butter, honey, and butter in a large saucepan over medium heat, stirring until the mixture transforms into a smooth, glossy consistency.
- Remove the heated mixture from the stove and tenderly incorporate puffed rice cereal, ensuring each crisp morsel becomes thoroughly coated with the rich, sticky blend.
- Prepare a 9-inch square baking pan by lining it with parchment paper, then carefully press half of the cereal mixture into a compact, even base layer.
- Chill the initial cereal foundation in the refrigerator for approximately 15-20 minutes to help it set and stabilize.
- Retrieve the chilled pan and spread softened vanilla ice cream across the cereal base in a uniform, gentle motion.
- Create visual intrigue by drizzling jelly over the ice cream surface, then use a knife to delicately swirl the vibrant spread, generating a marbled artistic pattern.
- Carefully layer the remaining cereal mixture atop the ice cream, pressing down firmly to create a seamless, compact top.
- Encase the entire creation in plastic wrap and transfer to the freezer, allowing it to solidify completely for a minimum of 4 hours.
- Once thoroughly frozen, extract the pan and lift the sandwich block using the parchment paper edges.
- With a sharp knife, slice the frozen treat into precise squares or rectangles, ready to be savored immediately or stored for future enjoyment.
Notes
- Choose peanut butter with no added sugar for a healthier version that still delivers rich, nutty flavor.
- Opt for natural honey instead of corn syrup to reduce processed sugar content and add subtle floral sweetness.
- Swap regular vanilla ice cream with dairy-free alternatives like coconut or almond milk ice cream for vegan friends.
- Experiment with different jelly flavors like strawberry, raspberry, or grape to create unique taste combinations that surprise your palate.
- Prep Time: 20 minutes
- Cook Time: 4 hours
- Category: Breakfast, Snacks, Desserts
- Method: Mixing
- Cuisine: American
Nutrition
- Serving Size: 8
- Calories: 380
- Sugar: 28g
- Sodium: 90mg
- Fat: 17g
- Saturated Fat: 5g
- Unsaturated Fat: 11g
- Trans Fat: 0g
- Carbohydrates: 52g
- Fiber: 1g
- Protein: 7g
- Cholesterol: 10mg
James Mitchell
Founder & Recipe Developer
Expertise
Recipe Creation and Testing, Fusion Cuisine, Food Styling and Photography, Culinary Education
Education
Kendall College, Chicago, IL
The Culinary Institute of America, Hyde Park, NY
James Mitchell is the founder and fearless flavor explorer at Cooking Crusade. With a degree in Culinary Arts from Kendall College and advanced training in global gastronomy from The Culinary Institute of America, James has spent over a decade perfecting the art of recipe creation.
His background includes fine dining, private cheffing, and food styling, but his true joy comes from turning big ideas into doable recipes for home cooks. Every dish he shares is a mix of creativity, culture, and a little kitchen magic, built to bring excitement back to everyday meals.