The Perfect Peanut Butter Blossom Bars Recipe for Sweet Smiles
Crumbly, sweet peanut butter blossom bars have become my latest kitchen obsession.
My culinary adventures often lead me down unexpected paths of deliciousness.
These delectable treats combine the rich, nutty flavor of peanut butter with a classic chocolate center.
Baking these bars feels like a warm hug from childhood memories.
The simple ingredients come together effortlessly, creating a dessert that screams comfort and joy.
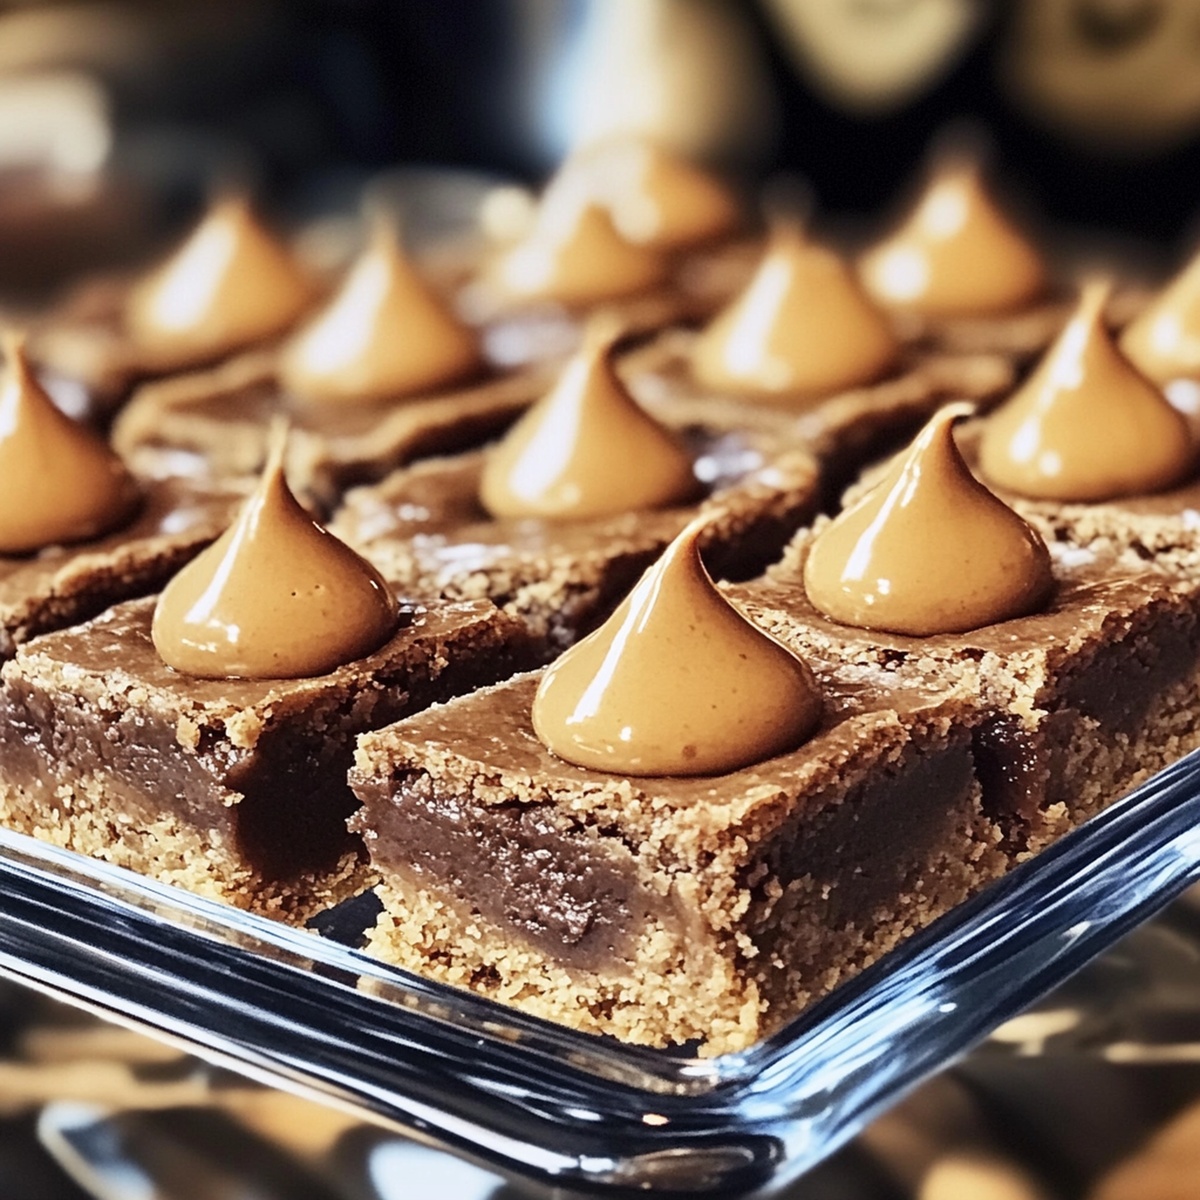
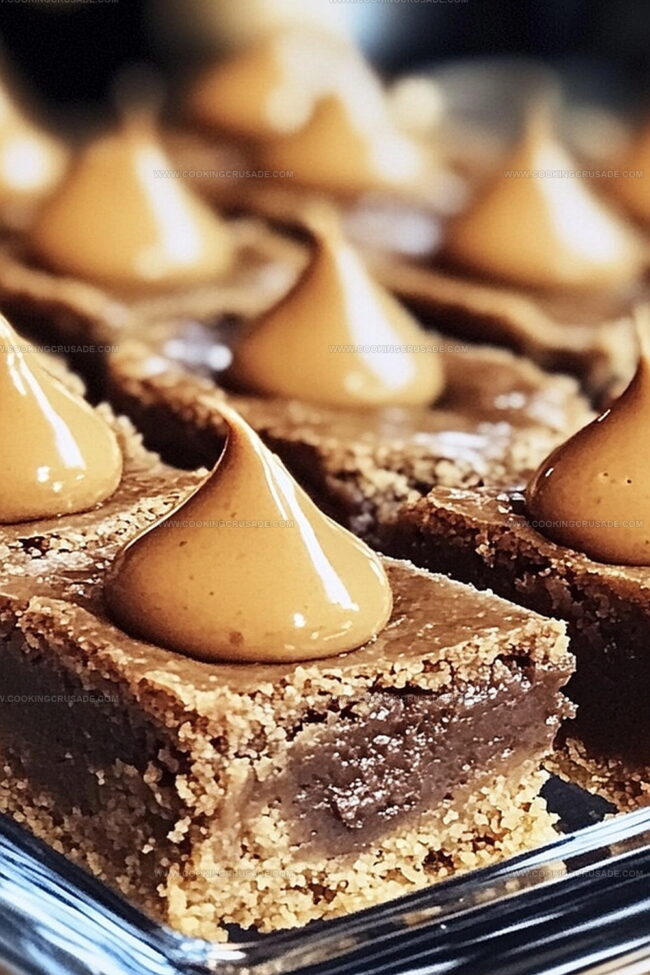
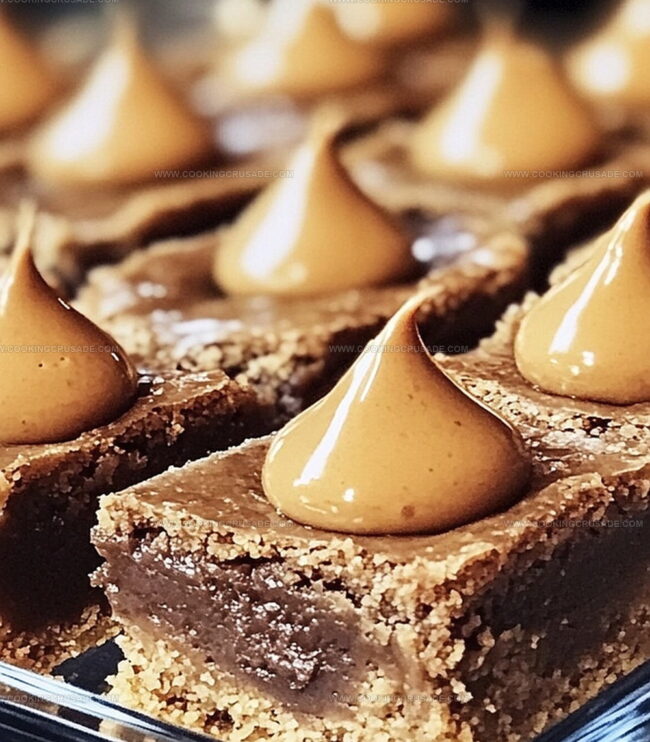
Chocolate kisses nestled into soft, golden squares promise pure delight for anyone who loves a classic combination.
You won’t be able to resist these irresistible bars that blend nostalgia with pure baking magic.
Why Peanut Butter Blossom Bars Feel Nostalgic And Sweet
Everything Needed For Peanut Butter Blossom Bars
Base Ingredients:Dry Ingredients:Binding and Flavor Ingredients:Steps To Make Peanut Butter Blossom Bars
Step 1: Warm Up the Oven and Prep the Baking Dish
Crank up your oven to a toasty 350F (175C). Grab your baking pan and give it some love by either:Step 2: Whip Up the Delicious Dough
Get ready to create magic in a mixing bowl! You’ll need:Cream these ingredients until they’re smooth and dreamy. Toss in an egg and splash of vanilla extract, mixing until everything looks perfectly blended.
In a separate bowl, mix your dry ingredients:Slowly fold the dry ingredients into your wet mixture, stirring until everything comes together in a delightful dough.
Step 3: Bake to Golden Perfection
Spread that gorgeous dough evenly across your prepared pan. Slide it into the preheated oven and bake for 20-22 minutes. You’ll know it’s ready when the edges turn a beautiful golden brown and a toothpick comes out clean when you test the center.
Step 4: Kiss and Decorate
Right after pulling the bars from the oven, gently press chocolate kisses into the warm surface. Space them out evenly so each bite gets a sweet chocolate surprise.
Step 5: Cool and Slice
Let the bars cool completely. This helps the chocolate set and makes cutting easier. Slice into 16 perfect squares and get ready to enjoy your homemade treat!
Pro Tip: These bars are perfect for sharing with friends, bringing to potlucks, or enjoying with a cold glass of milk. Store in an airtight container to keep them fresh and delicious for several days.
Helpful Baking Tips For Peanut Butter Blossom Bars
Storage Tips For Peanut Butter Blossom Bars
Perfect Pairings For Peanut Butter Blossom Bars
Peanut Butter Blossom Bars With A Twist
Peanut Butter Blossom Bars FAQ Guide
These bars are a convenient, easy-to-make version of the classic cookie. Instead of rolling individual cookies and placing Hershey’s Kisses on top, you spread the entire dough in a pan and press the chocolates into the baked surface, creating a more efficient and quicker dessert.
Yes! You can use creamy or crunchy peanut butter. Just ensure it’s a standard, smooth-spreading variety like Jif or Skippy. Natural or separated peanut butter might change the texture and consistency of the bars.
Absolutely! These bars can be prepared in advance and stored at room temperature for 3-4 days in an airtight container. They’re perfect for meal prep or making a day before a gathering.
While Hershey’s Kisses are traditional, you can experiment with chocolate chunks, chocolate chips, or even different flavored Kisses like dark chocolate or hugs for variety.
Print
Peanut Butter Blossom Bars Recipe
- Total Time: 30 minutes
- Yield: 12 1x
Description
Irresistible peanut butter blossom bars blend classic cookie charm with convenient bar form, delivering nostalgic comfort in each delectable square. Sweet chocolate kisses nestled atop rich peanut butter bases promise pure indulgence you cannot resist.
Ingredients
Main Ingredients:
- ¾ cup (170 grams) creamy peanut butter
- ½ cup (113 grams) unsalted butter (softened)
- 1 large egg
Sugars:
- ¾ cup (165 grams) brown sugar (packed)
- ¼ cup (50 grams) granulated sugar
Dry Ingredients and Flavoring:
- 1 ¼ cups (156 grams) all-purpose flour
- ½ teaspoon baking soda
- ½ teaspoon baking powder
- ¼ teaspoon salt
- 1 teaspoon vanilla extract
- 24 chocolate kisses (unwrapped)
Instructions
- Warm the oven to 350°F (175°C) and prepare a baking vessel by lining it with parchment paper or applying a light coating of grease to prevent sticking.
- In a spacious mixing bowl, combine softened butter, creamy peanut butter, and both brown and granulated sugars. Whip these ingredients until they form a silky, uniform mixture.
- Introduce the egg and vanilla extract to the sugar blend, mixing thoroughly until the components integrate seamlessly.
- In a separate container, sift together flour, baking soda, baking powder, and a pinch of salt, ensuring no lumps remain.
- Gradually fold the dry ingredients into the wet mixture, stirring gently until a cohesive dough forms without overmixing.
- Transfer the dough to the prepared baking pan, using a spatula to distribute it evenly and create a smooth, level surface.
- Place the pan in the preheated oven and bake for approximately 20-22 minutes, watching for a golden-brown perimeter and checking the center’s doneness with a toothpick.
- Upon removing from the oven, immediately nestle chocolate kisses into the warm surface, spacing them uniformly across the bars.
- Allow the bars to cool completely at room temperature, permitting the chocolate to set and the flavors to meld.
- Once fully cooled, slice the bars into neat squares, creating 16 delectable treats ready to be savored.
Notes
- Select natural, creamy peanut butter without added oils for a richer, more authentic flavor that enhances the overall taste of the bars.
- Soften butter at room temperature to ensure smooth mixing and better integration with other ingredients, preventing lumpy texture.
- Substitute chocolate kisses with dairy-free chocolate chips for a vegan-friendly version that maintains the classic sweet-and-nutty profile.
- Reduce baking time by 2-3 minutes if you prefer a softer, chewier bar with a slightly underbaked center for extra moisture.
- Prep Time: 10 minutes
- Cook Time: 20 minutes
- Category: Desserts, Snacks
- Method: Baking
- Cuisine: American
Nutrition
- Serving Size: 12
- Calories: 200
- Sugar: 12g
- Sodium: 90mg
- Fat: 10g
- Saturated Fat: 3.5g
- Unsaturated Fat: 6g
- Trans Fat: 0g
- Carbohydrates: 25g
- Fiber: 1g
- Protein: 4g
- Cholesterol: 20mg
James Mitchell
Founder & Recipe Developer
Expertise
Recipe Creation and Testing, Fusion Cuisine, Food Styling and Photography, Culinary Education
Education
Kendall College, Chicago, IL
The Culinary Institute of America, Hyde Park, NY
James Mitchell is the founder and fearless flavor explorer at Cooking Crusade. With a degree in Culinary Arts from Kendall College and advanced training in global gastronomy from The Culinary Institute of America, James has spent over a decade perfecting the art of recipe creation.
His background includes fine dining, private cheffing, and food styling, but his true joy comes from turning big ideas into doable recipes for home cooks. Every dish he shares is a mix of creativity, culture, and a little kitchen magic, built to bring excitement back to everyday meals.