The Sweetest Red Velvet Bear Cookies Recipe Ever Created
Crafting these adorable red velvet bear cookies brings a whimsical touch to your baking adventure.
Soft, cute, and irresistibly charming, these little treats will melt hearts faster than butter on a warm pan.
Each bear-shaped cookie carries rich crimson hues and a delicate cocoa undertone that promises pure delight.
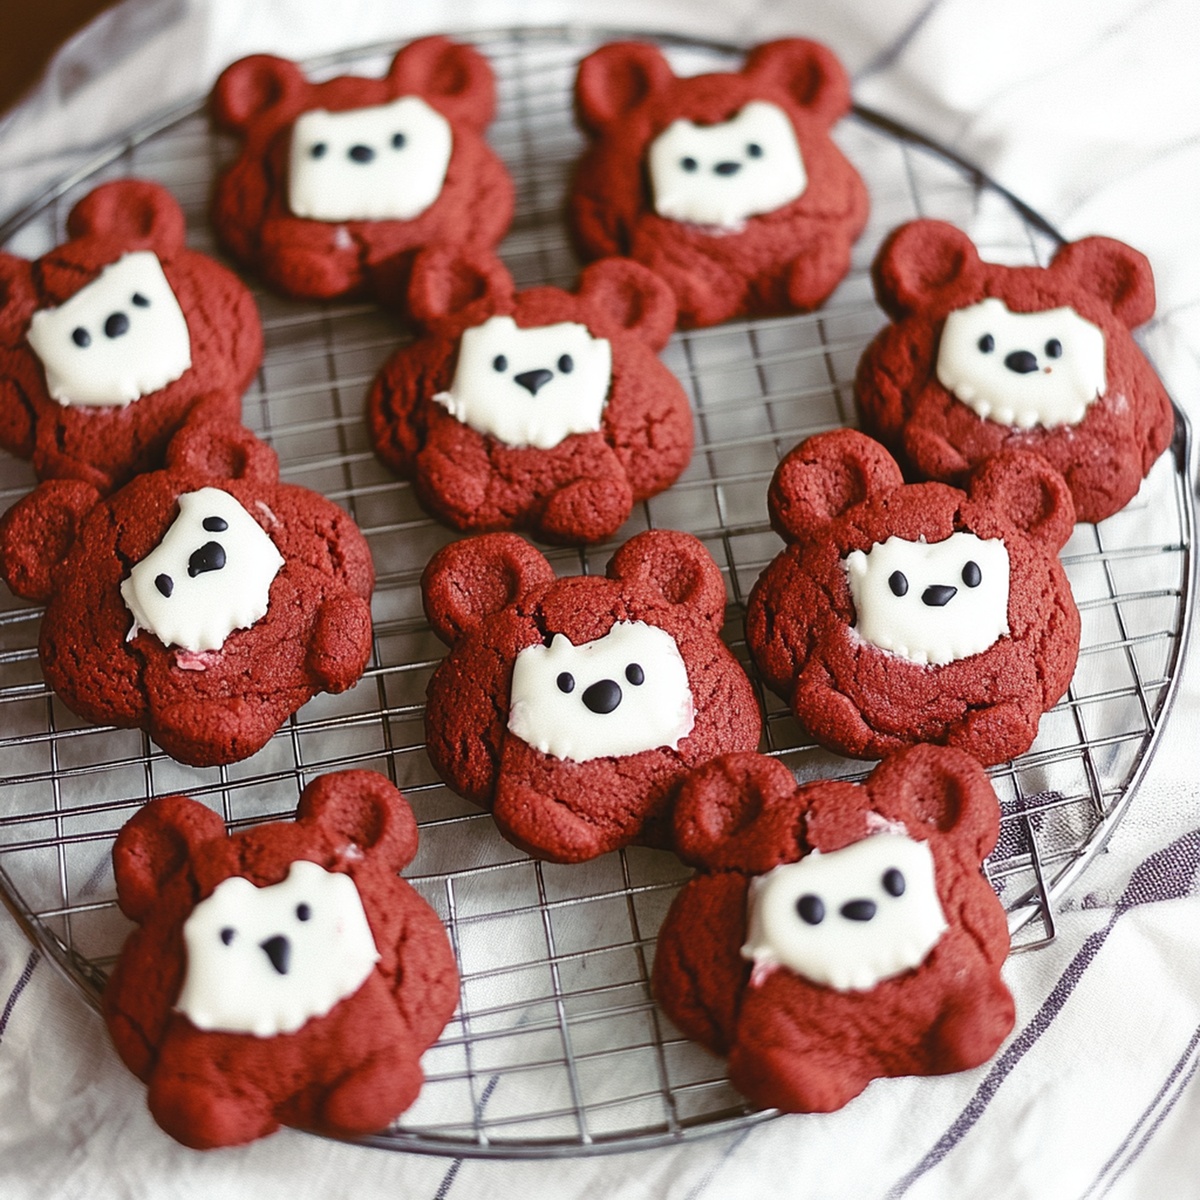
Picture delicate ears and round bellies emerging from your baking sheet, looking almost too cute to eat.
The gentle cocoa notes blend seamlessly with cream cheese frosting, creating a sensory experience that feels like a warm hug.
Sweet memories start right here with these playful, velvety companions that transform an ordinary afternoon into something magical.
Let these cuddly bear cookies become your next baking conquest.
Why Red Velvet Bear Cookies Feel Special
What You’ll Need For Red Velvet Bear Cookies
Main Ingredients:
Flour and Dry Ingredients:Wet Ingredients:Decorative Ingredients:How To Make Red Velvet Bear Cookies Easily
Step 1: Warm Up the Oven
Crank the oven to a cozy 350F (175C). Grab your baking sheets and line them with parchment paper or silicone mats for a smooth cookie adventure.
Step 2: Whip Up the Dough
Grab a mixing bowl and create cookie magic:Mix these until they’re light and fluffy like a cloud. Pour in:Blend until everything looks perfectly combined.
In another bowl, mix the dry ingredients:Slowly fold the dry mixture into the wet ingredients until a soft dough forms.
Step 3: Craft Adorable Bear Shapes
Time to turn dough into cute teddy bears:Step 4: Give Faces Personality
Bring your bears to life:Step 5: Bake to Perfection
Slide the cookie sheet into the oven:Step 6: Add Delightful Details
Want to take your teddy bears to the next level?
Enjoy your adorable Red Velvet Teddy Bear Cookies!
Tips To Help With Red Velvet Bear Cookies
How To Keep Red Velvet Bear Cookies From Drying
What Tastes Great With Red Velvet Bear Cookies
Fun Spins On Red Velvet Bear Cookies
Red Velvet Bear Cookies Q&A
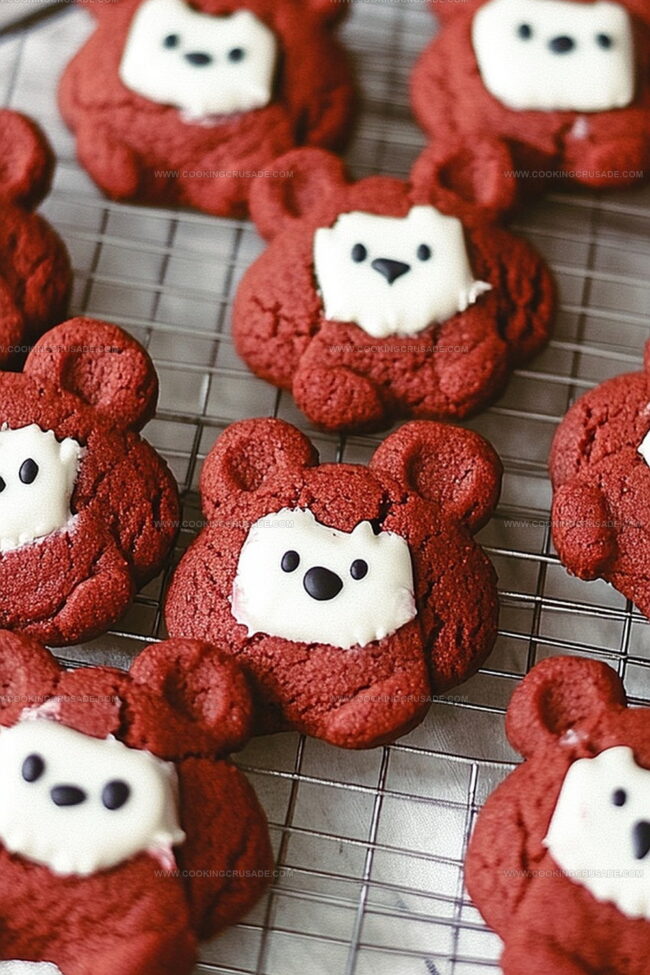
Red velvet bear cookies combine the classic charm of soft, cocoa-rich red velvet with adorable bear-shaped design. They’re not just cookies, but cute edible art that brings joy to both kids and adults.
While red food coloring gives the signature red velvet look, you can skip it. The cookies will be chocolate-brown but will still taste delicious. Just ensure you use high-quality cocoa powder for rich flavor.
Don’t worry! These bear cookies are beginner-friendly. The process is simple: make a larger ball for the head, two tiny balls for ears, and gently press them together. Even if they’re not perfect, they’ll still look cute and adorable.
Mini chocolate chips work perfectly for eyes and noses. Melted chocolate can help you add extra details like smiles or eyebrows. Simple decorations make these bear cookies super charming and fun to create.
Print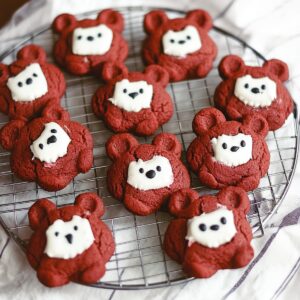
Red Velvet Bear Cookies Recipe
- Total Time: 32 minutes
- Yield: 24 1x
Description
Sweet red velvet bear cookies melt hearts with their adorable shape and rich cocoa charm. Homemade baking magic delivers irresistible treats you’ll savor bite by delightful bite.
Ingredients
Main Ingredients:
- 1 ¼ cups all-purpose flour
- ½ cup unsalted butter, softened
- ½ cup granulated sugar
- ¼ cup brown sugar, packed
- 1 large egg
Sweet and Flavor Enhancers:
- 1 teaspoon vanilla extract
- 1 teaspoon red food coloring (gel preferred)
- 2 tablespoons unsweetened cocoa powder
Stabilizers and Detailed Ingredients:
- ½ teaspoon baking soda
- ¼ teaspoon salt
- ¼ cup mini chocolate chips (for eyes and noses)
- ¼ cup melted dark or milk chocolate (optional, for extra details)
Instructions
- Prepare the baking environment by heating the oven to 350F (175C) and lining baking sheets with parchment paper or silicone mats.
- Create the cookie base by thoroughly blending softened butter with granulated and brown sugars until the mixture becomes airy and smooth.
- Incorporate the egg, vanilla extract, and red food coloring into the butter mixture, ensuring complete integration of all components.
- Separately combine flour, cocoa powder, baking soda, and salt, then gradually fold these dry ingredients into the wet mixture to form a cohesive dough.
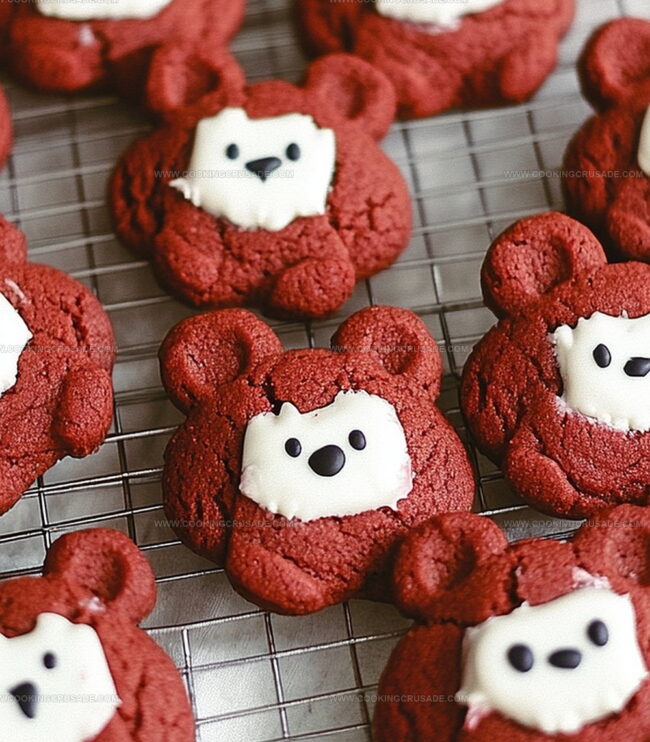
- Craft bear-shaped cookies by rolling the dough into 1-inch spheres for the main head, then creating smaller 1/4-inch balls for ears.
- Carefully attach the smaller ear balls to the top of each larger ball, gently pressing to secure their position.
- Arrange the shaped cookies on prepared baking sheets, maintaining approximately 2 inches of space between each bear cookie.
- Design bear faces by strategically embedding mini chocolate chips to represent eyes and nose.
- Bake the cookies for 10-12 minutes, watching for set edges and slightly soft centers.
- Allow cookies to rest on baking sheets for 5 minutes, then transfer to a wire rack for complete cooling.
- Optional: Use melted chocolate to add final decorative details like facial expressions or subtle features to personalize each bear cookie.
Notes
- Customize your bear cookies by experimenting with different food coloring shades for unique, playful looks.
- Ensure butter is at room temperature for smooth, creamy dough that blends effortlessly.
- Chill the dough for 30 minutes before shaping to prevent spreading and maintain adorable bear shapes during baking.
- For gluten-free options, swap regular flour with a high-quality 1:1 gluten-free baking blend to keep the same tender texture.
- Prep Time: 12 minutes
- Cook Time: 20 minutes
- Category: Desserts, Snacks
- Method: Baking
- Cuisine: American
Nutrition
- Serving Size: 24
- Calories: 150
- Sugar: 10 g
- Sodium: 50 mg
- Fat: 7 g
- Saturated Fat: 4 g
- Unsaturated Fat: 2 g
- Trans Fat: 0 g
- Carbohydrates: 20 g
- Fiber: 1 g
- Protein: 2 g
- Cholesterol: 15 mg
James Mitchell
Founder & Recipe Developer
Expertise
Recipe Creation and Testing, Fusion Cuisine, Food Styling and Photography, Culinary Education
Education
Kendall College, Chicago, IL
The Culinary Institute of America, Hyde Park, NY
James Mitchell is the founder and fearless flavor explorer at Cooking Crusade. With a degree in Culinary Arts from Kendall College and advanced training in global gastronomy from The Culinary Institute of America, James has spent over a decade perfecting the art of recipe creation.
His background includes fine dining, private cheffing, and food styling, but his true joy comes from turning big ideas into doable recipes for home cooks. Every dish he shares is a mix of creativity, culture, and a little kitchen magic, built to bring excitement back to everyday meals.