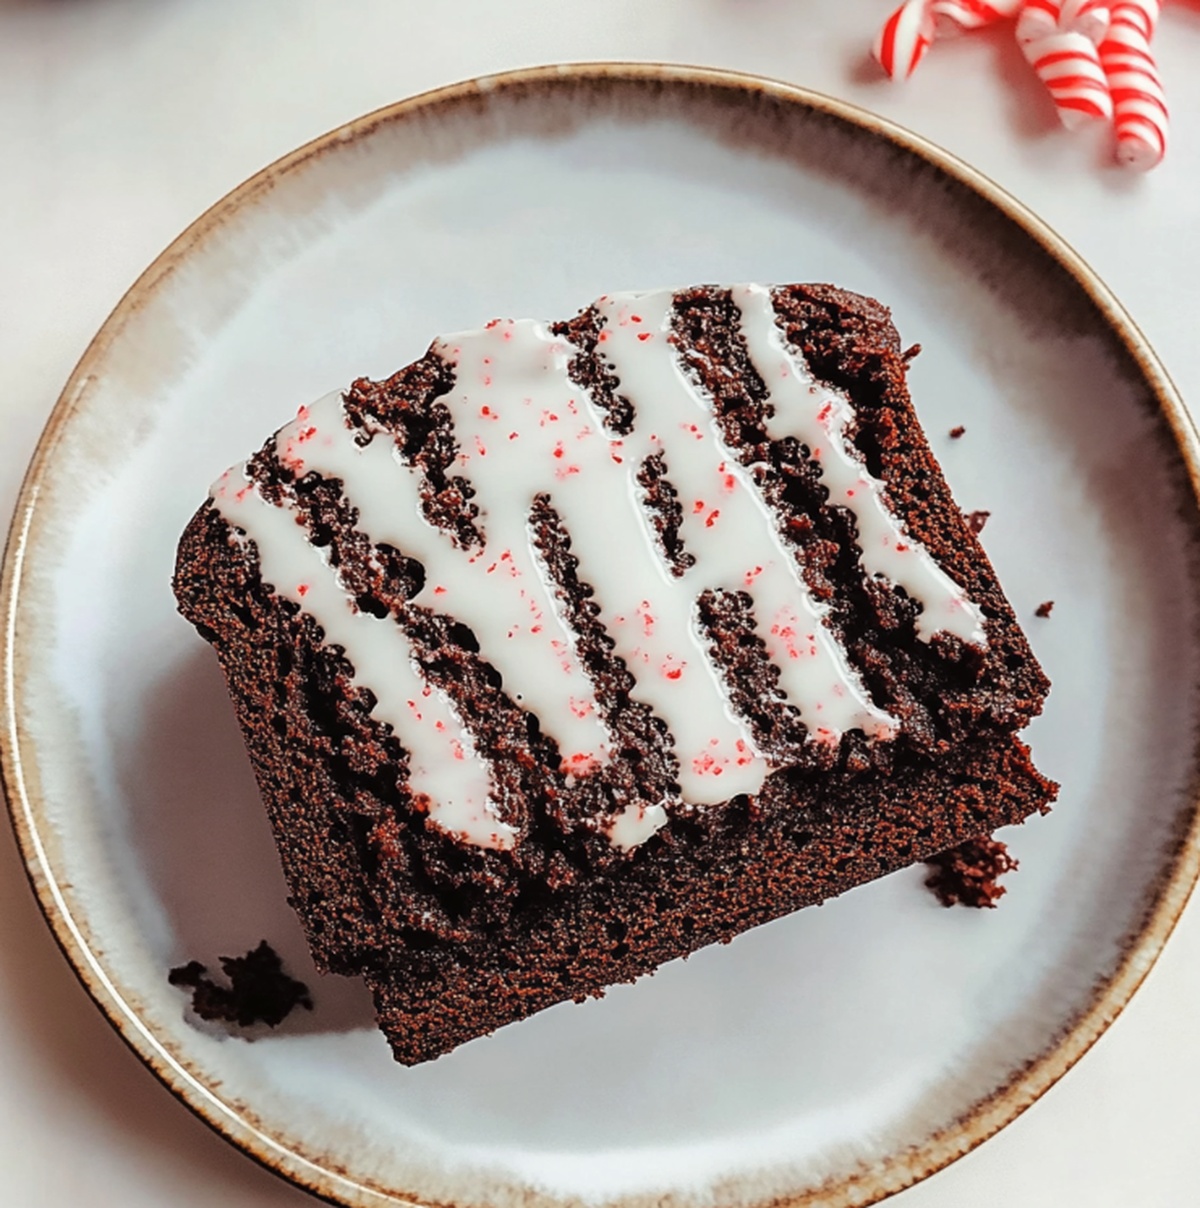
Festive Chocolate Peppermint Bread Recipe: Holiday Joy in a Loaf
Decadent swirls of chocolate mingle with refreshing peppermint in this irresistible chocolate peppermint bread that promises pure indulgence.
Sweet aromas will dance through your kitchen as you craft this delightful treat.
Each slice delivers a perfect balance between rich cocoa and cool mint notes.
The recipe blends simple ingredients into an extraordinary dessert that looks far more complicated than it actually is.
Chocolate lovers will adore the deep, luxurious flavor profile that emerges from this delectable bread.
Winter gatherings or cozy afternoon breaks become extra special with this stunning chocolate peppermint creation.
You won’t be able to resist cutting another slice of this mouthwatering bread that feels like a celebration on a plate.
Quick Recipe Overview
All You Need For Chocolate Peppermint Bread
For Base Ingredients:For Moisture and Richness:For Flavor and Decoration:What Tools You’ll Need For Chocolate Peppermint Bread
Steps To Bake Chocolate Peppermint Bread

Crank the oven to a toasty 350°F and get ready for some baking magic.
Grab your loaf pan and give it a quick butter massage, then tuck a parchment paper blanket inside to make sure your bread slides out like a dream.
Whisk together flour, cocoa powder, baking powder, and salt in a big mixing bowl until they’re best friends and totally combined.
In another bowl, beat butter and sugar until they transform into a fluffy cloud. Crack in the eggs one at a time, mixing thoroughly after each addition.
Gently fold the dry ingredients into the wet mixture, stirring just until everything looks friendly. Splash in some vanilla and peppermint extract for that festive zing.
Transfer the batter into your prepared pan, smoothing the top like you’re creating a chocolate landscape.
Slide the pan into the preheated oven and let it bake for about 50-60 minutes. When a toothpick comes out with just a few moist crumbs, your bread is ready.
Let the bread hang out in the pan for 10 minutes, then lift it out using the parchment paper. Cool completely before slicing into this chocolatey peppermint paradise.
Tips And Tricks For Chocolate Peppermint Bread
Ways To Serve Chocolate Peppermint Bread
Storage Help For Chocolate Peppermint Bread
Print
Rich Chocolate Peppermint Bread Recipe
- Total Time: 1 hour 5 minutes
- Yield: 13 1x
Description
Scrumptious chocolate peppermint bread delivers winter holiday comfort with rich cocoa and cool mint notes. Festive slices promise delightful moments shared around warm kitchens where family and friends gather to enjoy sweet seasonal treats.
Ingredients
- 1.5 cups (360 ml) all-purpose flour
- 0.5 cup (120 ml) unsweetened cocoa powder
- 0.75 cup (150 g) granulated sugar
- 0.5 cup (100 g) brown sugar, packed
- 2 large eggs
- 0.5 cup (120 ml) unsalted butter, melted
- 0.75 cup (180 ml) buttermilk (or whole milk)
- 0.5 cup (85 g) mini chocolate chips
- 0.5 cup (85 g) white chocolate chips (or semisweet chocolate)
- 0.25 cup (30 g) crushed candy canes
- 1 tsp baking soda
- 0.5 tsp baking powder
- 0.5 tsp salt
- 1 tsp vanilla extract
- 1 tsp peppermint extract
- 1 tsp coconut oil or butter (for melting)
Instructions
- Preparation: Generously coat a 9×5-inch loaf pan with butter or cooking spray, lining with parchment paper to facilitate easy bread removal.
- Oven Setup: Preheat oven to 350°F (175°C), positioning the rack centrally for consistent heat distribution.
- Chocolate Melting: Combine cocoa powder and chocolate in a microwave-safe bowl, melting in short intervals and stirring until achieving a smooth, glossy texture.
- Dry Ingredient Blend: Whisk flour, salt, and baking powder in a mixing bowl to create a uniform dry foundation.
- Creaming Process: Blend sugar and butter in a large mixing container until light, fluffy, and free of sugar granules.
- Egg Integration: Add eggs one at a time, thoroughly mixing after each addition to ensure complete emulsification.
- Chocolate Incorporation: Gently fold melted chocolate into the wet ingredients, maintaining the mixture’s delicate aerated structure.
- Batter Composition: Introduce dry ingredients to wet mixture, stirring minimally to prevent excessive gluten development.
- Final Touches: Fold in peppermint extract and chocolate chips, distributing evenly with minimal batter disruption.
- Baking Process: Transfer batter to prepared pan, leveling the surface, and bake for 55-65 minutes, rotating midway to ensure uniform browning.
- Doneness Check: Test with a wooden skewer – it should emerge with minimal to no moist crumbs when inserted into the center.
- Cooling Method: Rest bread in pan for 15 minutes, then transfer to a wire rack using parchment paper edges for complete cooling.
Notes
- Prevent Dry Texture: Avoid overmixing batter to maintain a tender, moist crumb; stir ingredients just until combined to prevent tough bread.
- Chocolate Melting Technique: Use low, gentle microwave heat and stir frequently to prevent chocolate from burning or seizing during melting process.
- Extract Intensity Management: Add peppermint extract gradually and taste to control flavor strength; some extracts are more potent than others.
- Baking Precision: Use an oven thermometer to confirm accurate temperature, as variations can significantly impact bread’s texture and baking duration.
- Prep Time: 15 minutes
- Cook Time: 50 minutes
- Category: Breakfast, Snacks, Desserts
- Method: Baking
- Cuisine: American
Nutrition
- Serving Size: 13
- Calories: 238
- Sugar: 19 g
- Sodium: 160 mg
- Fat: 10 g
- Saturated Fat: 6 g
- Unsaturated Fat: 4 g
- Trans Fat: 0 g
- Carbohydrates: 34 g
- Fiber: 1 g
- Protein: 3 g
- Cholesterol: 47 mg
Olivia Bennett
Co-Founder & Content Creator
Expertise
Nutritional Analysis, Dietary Accommodations, Food Writing and Blogging,
Education
University of Texas at Austin
Institute of Culinary Education, New York, NY
Olivia Bennett is Cooking Crusade’s go-to expert for nutritious, feel-good food. Based in Austin, she blends her degree in Nutrition from the University of Texas with plant-based culinary training from the Institute of Culinary Education.
Olivia’s recipes are all about balance: vibrant, wholesome, and easy-to-love dishes that work for all kinds of eaters. Her mission is simple: to make healthy eating approachable and genuinely tasty, with tips that support your lifestyle, not complicate it.