
Ruth’s Grandma’s Secret Pie Crust Recipe – Family Gold!
Baking a soulful pie with Ruths Grandma’s pie crust recipe connects generations through delicate, flaky magic.
My grandmother always claimed her secret was love kneaded into every ingredient.
Whispers of butter and flour dance together, creating memories that linger long after the last crumb vanishes.
Pastry-making isn’t just cooking—it’s storytelling on a plate.
Each fold and crimp carries tradition, whispering family secrets from one generation to the next.
Serving a slice that feels like a warm embrace from someone who knows exactly how to make you smile.
This isn’t just a recipe; it’s an edible heirloom waiting to become part of your own kitchen legend.
Come learn how simple ingredients can create something extraordinarily memorable.
Why Ruth’s Grandma’s Pie Crust Is Loved For Generations
What Goes Into Ruth’s Grandma’s Pie Crust
Dry Ingredients:Pie Crust Essentials:Liquid Ingredient:How To Make Ruth’s Grandma’s Pie Crust
Step 1: Prepare Dry Ingredients
In a spacious mixing bowl, blend flour, salt, and sugar (if desired) using a whisk. Make sure to thoroughly combine the dry ingredients, creating a smooth and even mixture that will form the base of your delectable pie crust.
Step 2: Cut In Cold Butter
Add chilled butter to the dry ingredients. Using a pastry cutter or your fingertips, work the butter into the flour mixture until it resembles coarse breadcrumbs. The key is to keep the butter cold, which helps create those flaky, melt-in-your-mouth layers that make this pie crust legendary.
Step 3: Introduce Cold Water
Gradually drizzle ice-cold water into the mixture, stirring gently with a fork. Add water sparingly, just enough to help the dough come together. You want the dough to be moist but not wet, holding together when pressed without being sticky.
Step 4: Form Dough Ball
Use your hands to gently press the mixture into a cohesive ball. Be careful not to overwork the dough, as this can make the crust tough. The perfect pie crust requires a delicate touch.
Step 5: Chill The Dough
Wrap the dough ball in plastic wrap and refrigerate for at least an hour. This resting period allows the gluten to relax and the butter to firm up, ensuring a tender and flaky crust.
Step 6: Roll Out Crust
Remove the chilled dough from the refrigerator. On a lightly floured surface, roll out the dough into a circular shape, slightly larger than your pie dish. Gently transfer the rolled-out dough to the pie dish, trimming any excess around the edges.
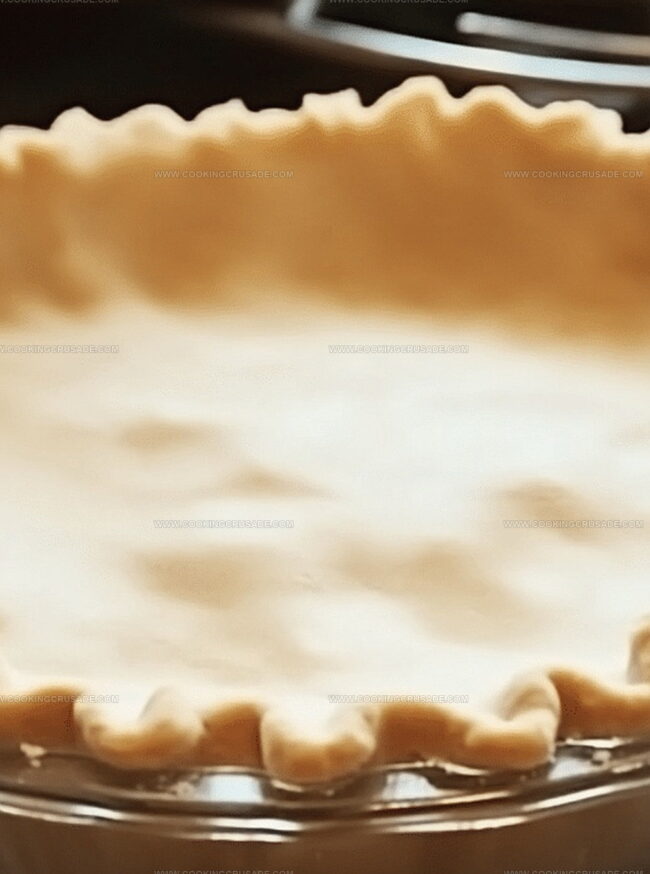
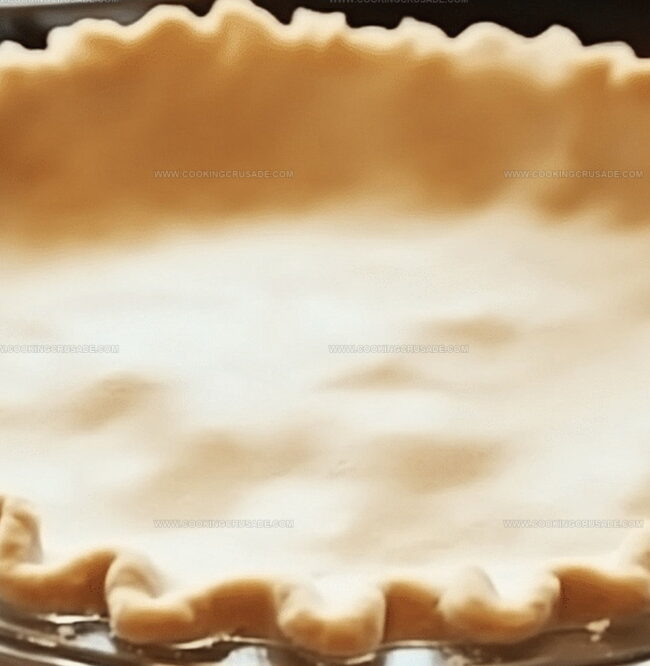
Step 7: Crimp And Prepare
Create a decorative edge by pinching the dough between your fingers or using a fork to press a pattern around the rim. Your pie crust is now ready for filling and baking!
Tips For Flaky Ruth’s Grandma’s Pie Crust
How To Store Ruth’s Grandma’s Pie Crust Properly
What To Serve With Ruth’s Grandma’s Pie Crust
Fun Ways To Change Ruth’s Grandma’s Pie Crust
FAQs About Ruth’s Grandma’s Pie Crust
This recipe comes directly from Ruth’s grandmother, which means it’s a treasured family recipe passed down through generations, giving it authentic, nostalgic flavor and a truly homemade touch.
Absolutely! You can prepare the dough in advance and refrigerate it wrapped in plastic for up to 2 days before using, which helps the gluten relax and makes rolling easier.
Yes, cold butter is crucial for creating a flaky, tender crust. When cold butter hits the hot oven, it creates steam pockets that result in those delicate, layered textures pie lovers crave.
No worries! You can use two knives, a fork, or even your fingertips to cut the butter into the flour mixture. The key is to work quickly and keep the butter cold.
Print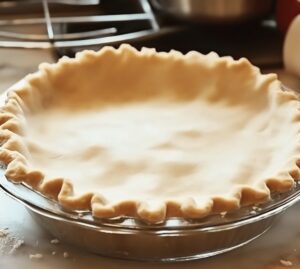
Ruths Grandmas Pie Crust Recipe
- Total Time: 1 hour 15 minutes
- Yield: 1 1x
Description
Grandma’s cherished Ruth’s Pie Crust whispers generations of family baking magic through its delicate, buttery layers. Crisp pastry promises delightful memories waiting to embrace bakers craving authentic homemade comfort with each tender, flaky bite.
Ingredients
Main Ingredients:
- 2 ½ cups (315 g) all-purpose flour
- 1 cup (225 g) cold unsalted butter, cut into small cubes
Seasoning:
- 1 teaspoon salt
- 1 tablespoon granulated sugar (optional, for sweet pies)
Liquid:
- ¼–½ cup (60–120 ml) ice water
Instructions
- Sift together the dry ingredients in a spacious mixing vessel, creating a pristine, aerated foundation for the pastry.
- Cut the chilled butter into small cubes, scattering them evenly across the flour mixture.
- Utilize a pastry blender or your fingertips to incorporate the butter, working quickly to maintain a cool temperature and prevent the fat from melting.
- Continue blending until the mixture resembles coarse breadcrumbs with occasional pea-sized butter clusters.
- Gradually introduce ice-cold water, drizzling it sparingly and mixing gently with a fork until the dough begins to form loose clumps.
- Transfer the fragile dough onto a lightly floured surface, gathering and pressing it together with minimal handling to prevent gluten development.
- Gently knead the dough just until it comes together, forming a cohesive disk without overworking the delicate pastry.
- Wrap the dough disk in plastic film and refrigerate for at least 30 minutes, allowing the butter to solidify and the gluten to relax.
- When ready to use, remove the chilled dough and roll it out on a floured surface to your desired thickness and shape.
Notes
- Opt for cold butter straight from the refrigerator to ensure a flaky, tender crust that crumbles perfectly when baked.
- Use a pastry cutter or your fingertips to work the butter into the flour mixture, creating pea-sized crumbs that guarantee a light texture.
- Chill the dough for at least 30 minutes before rolling to prevent shrinkage and maintain the crust’s shape during baking.
- For a gluten-free version, substitute all-purpose flour with a blend of almond and coconut flour, adding a tablespoon of xanthan gum for binding.
- Prep Time: 15 minutes
- Cook Time: 1 hour
- Category: Desserts
- Method: Mixing
- Cuisine: American
Nutrition
- Serving Size: 1
- Calories: 360
- Sugar: 1 g
- Sodium: 380 mg
- Fat: 30 g
- Saturated Fat: 19 g
- Unsaturated Fat: 11 g
- Trans Fat: 0 g
- Carbohydrates: 26 g
- Fiber: 1 g
- Protein: 4 g
- Cholesterol: 60 mg
James Mitchell
Founder & Recipe Developer
Expertise
Recipe Creation and Testing, Fusion Cuisine, Food Styling and Photography, Culinary Education
Education
Kendall College, Chicago, IL
The Culinary Institute of America, Hyde Park, NY
James Mitchell is the founder and fearless flavor explorer at Cooking Crusade. With a degree in Culinary Arts from Kendall College and advanced training in global gastronomy from The Culinary Institute of America, James has spent over a decade perfecting the art of recipe creation.
His background includes fine dining, private cheffing, and food styling, but his true joy comes from turning big ideas into doable recipes for home cooks. Every dish he shares is a mix of creativity, culture, and a little kitchen magic, built to bring excitement back to everyday meals.