Vegetable Oil: Cold-pressed oils provide cleaner, more neutral taste for consistent spread consistency.
For Flavor Enhancers:
Vanilla Extract: Pure vanilla adds warm, rounded notes and complements chocolate’s richness.
Salt: Flaky sea salt deepens overall flavor complexity and balances sweet undertones.
Hazelnut Oil: Pressed from roasted hazelnuts to intensify nutty essence and boost authentic taste.
Kitchen Tools For Homemade Nutella Recipe
Baking sheet: Essential for toasting hazelnuts evenly and creating a golden, crispy exterior.
Kitchen towel: Perfect for removing hazelnut skins after roasting, creating a clean and smooth texture.
Food processor or blender: Key tool for grinding hazelnuts into a smooth, creamy spread and blending ingredients.
Spatula: Helpful for scraping down sides of processor and ensuring all ingredients mix thoroughly.
Mixing bowl: Useful for holding and preparing ingredients during the recipe process.
Measuring cups and spoons: Crucial for accurate ingredient measurements and consistent results.
How To Make Homemade Nutella Recipe
Warm Up the Oven Get your oven ready by setting the temperature to a toasty 350°F (175°C).
Roast the Hazelnuts Spread those delicious nuts on a baking sheet and pop them in the oven. Give the tray a little shake after about 6 minutes to ensure even roasting. You’ll want to keep them in for 10-12 minutes total, watching for the skins to darken and crack.
Cool and Clean the Nuts Carefully remove the hazelnuts from the oven and let them cool down. Once they’re comfortable to touch, grab a clean kitchen towel and gently rub the nuts to remove most of their papery skins. Don’t stress if a few stubborn bits stick around – that’s totally okay!
Tips To Change Up Homemade Nutella Recipe
Skin-Smoothing Technique: Gently rubbing toasted hazelnuts in a kitchen towel helps easily remove most of the bitter skins, creating a smoother final spread.
Roasting Pro-Tip: Shake the baking tray midway through toasting to ensure even browning and prevent burning, which can make the nuts taste bitter.
Storage Savvy: Store your homemade Nutella in an airtight glass jar in the refrigerator for up to two weeks, allowing flavors to meld and preserve freshness.
Dietary Adaptations: For a vegan version, replace milk chocolate with dark dairy-free chocolate and use plant-based milk alternatives like almond or oat milk.
Flavor Twist: Experiment with adding a pinch of sea salt, a dash of cinnamon, or a splash of vanilla extract to create your personalized chocolate hazelnut spread.
Ways To Serve Homemade Nutella Recipe
Rustic Breakfast Companion: Spread this homemade Nutella on warm, freshly toasted sourdough bread for a decadent morning treat that melts beautifully and fills your kitchen with a rich, nutty aroma.
Sweet Dessert Drizzle: Use the Nutella as a luxurious topping for vanilla ice cream, pancakes, or waffles, creating an instant gourmet dessert that transforms simple sweets into something extraordinary.
Gourmet Pastry Filling: Fill homemade croissants, crepes, or thumbprint cookies with this creamy chocolate-hazelnut spread, adding a delightful surprise that elevates classic baked goods with minimal effort.
Elegant Snack Dip: Serve alongside fresh strawberries, apple slices, or pretzels as a sophisticated dipping sauce that turns ordinary snacking into a memorable culinary experience.
How To Store Homemade Nutella Recipe And Plan Meals
Smart Storage Solutions: Keep your homemade Nutella in an airtight glass container in the refrigerator for up to 2 weeks, ensuring maximum freshness and flavor preservation.
Quick Chilling Tip: Allow the spread to reach room temperature before serving for the smoothest, most spreadable consistency that glides perfectly on toast or pastries.
Temperature Control: Store away from direct sunlight and heat sources to maintain the rich, creamy texture and prevent separation of ingredients.
Flavor Maintenance: Stir the Nutella gently before each use to reincorporate any natural oil separation, keeping the texture consistent and delicious.
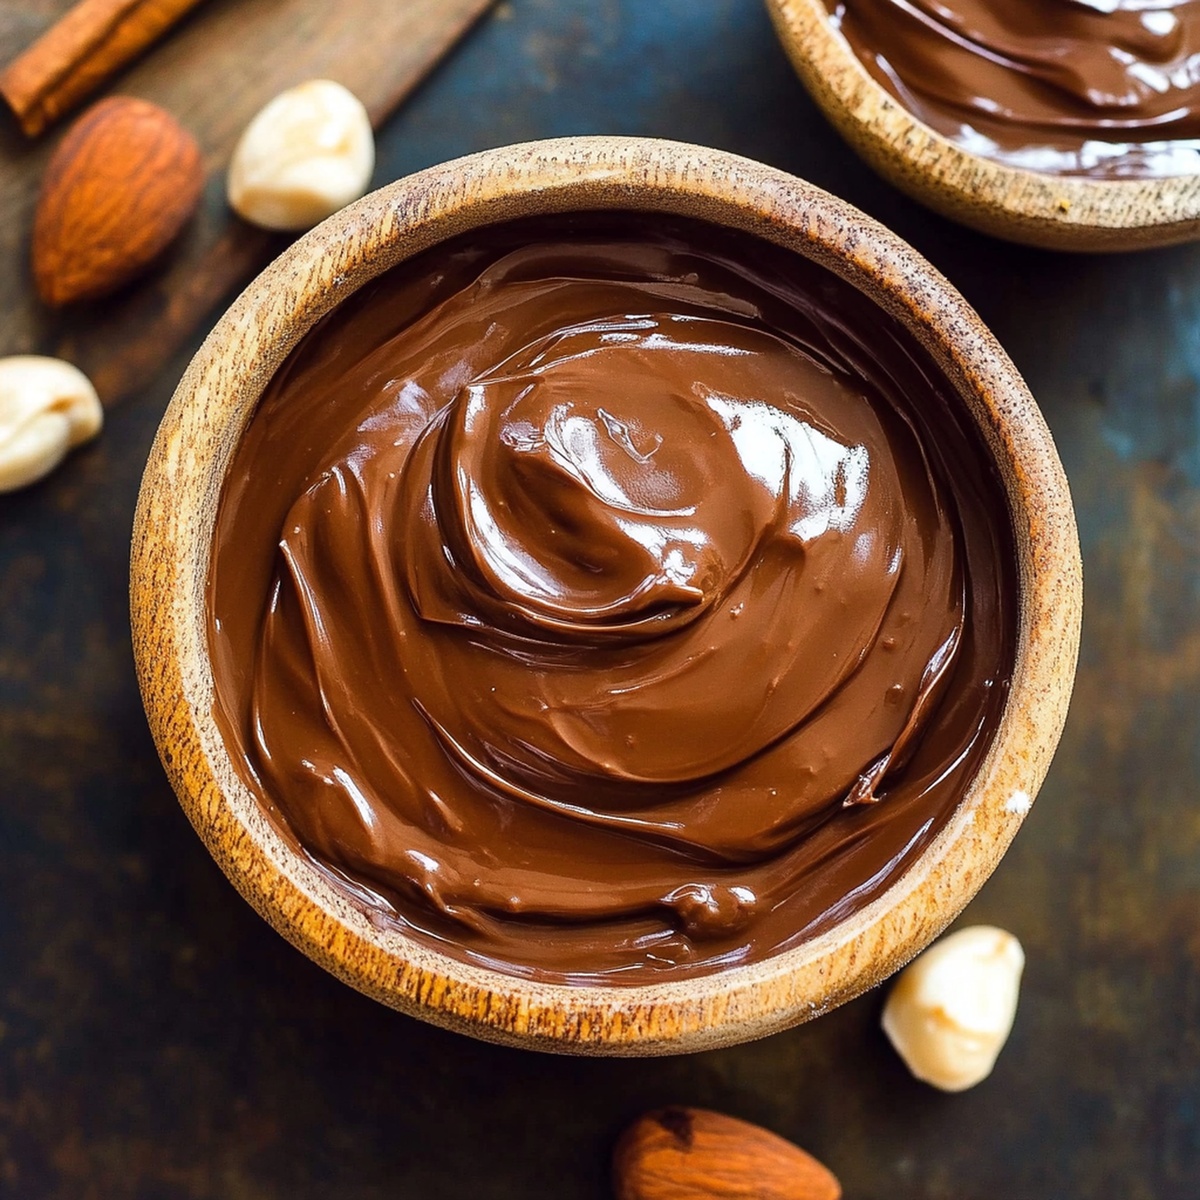
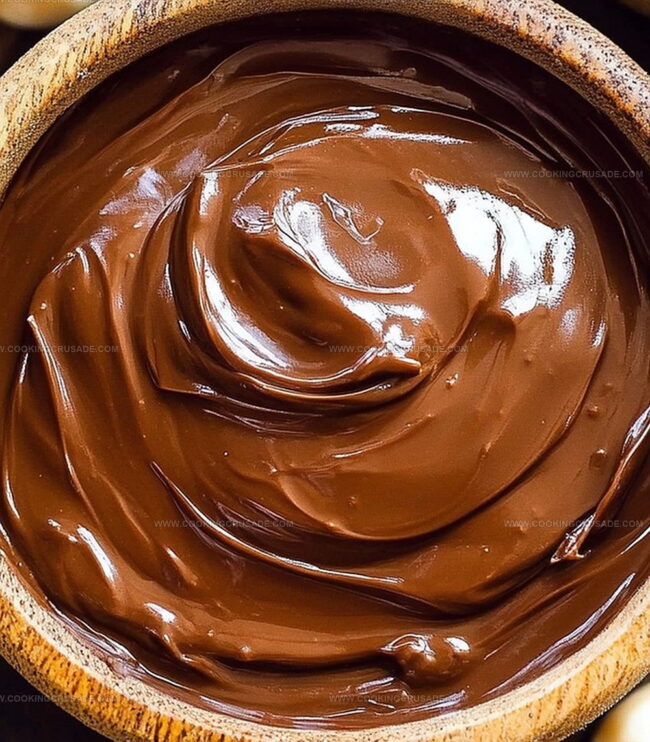
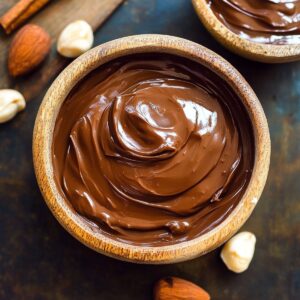
Rich homemade nutella blends roasted hazelnuts with chocolate for an irresistible spread. Creamy cocoa and nut flavors mingle in this simple, delightful recipe you’ll savor from first bite to last.
½ cup (50 grams / 1.8 oz) unsweetened cocoa powder
¾ cup (100 grams / 3.5 oz) powdered sugar
2 tbsps neutral oil (sunflower or avocado)
1 tsp vanilla extract
¼ tsp salt
2–4 tbsps milk (optional, for creamier texture)
maple syrup (alternative natural sweetener)
Instructions
Roasting Nuts: Spread hazelnuts on a baking sheet and toast in a preheated oven at 350F (175C), gently shaking the tray midway through for even roasting until skins darken and become crisp, about 10-12 minutes.
Skin Removal: Allow roasted nuts to cool completely, then vigorously rub them inside a clean kitchen towel to loosen and remove most papery skins, leaving minimal remnants intact.
Grinding Process: Transfer de-skinned hazelnuts to a food processor and pulse continuously until they transform into a smooth, liquid-like butter, periodically scraping down the sides to ensure uniform consistency.
Flavor Infusion: Add cocoa powder, powdered sugar, vanilla extract, and vegetable oil to the hazelnut base, blending thoroughly until a rich, glossy chocolate spread develops with a completely uniform texture.
Final Refinement: Continue processing the mixture, pausing occasionally to check consistency, until the homemade spread achieves a silky, spreadable state with no granular elements.
Storage: Transfer the finished chocolate-hazelnut spread to a sterilized glass jar, seal tightly, and refrigerate to preserve flavor and texture.
Notes
Roast Carefully: Watch hazelnuts closely during toasting to prevent burning, as their high oil content can quickly turn them bitter and dark.
Skin Removal Technique: Use a clean kitchen towel and apply gentle friction to remove hazelnut skins efficiently without losing precious nuts in the process.
Processor Patience: Process hazelnuts slowly and consistently, allowing natural oils to release gradually for a smoother, more intense butter-like consistency.
Texture Control: Adjust vegetable oil quantity to customize spreadability – less oil for thicker spread, more oil for silkier texture that’s easier to spread.
Nutritional Analysis, Dietary Accommodations, Food Writing and Blogging,
Education
University of Texas at Austin
Degree: Bachelor of Science in Nutrition
Focus: Emphasis on dietary planning, food science, and the relationship between nutrition and health.
Institute of Culinary Education, New York, NY
Program: Plant-Based Culinary Arts Certificate
Focus: Specialized training in vegetarian and vegan cooking techniques, emphasizing whole foods and sustainability.
Olivia Bennett is Cooking Crusade’s go-to expert for nutritious, feel-good food. Based in Austin, she blends her degree in Nutrition from the University of Texas with plant-based culinary training from the Institute of Culinary Education.
Olivia’s recipes are all about balance: vibrant, wholesome, and easy-to-love dishes that work for all kinds of eaters. Her mission is simple: to make healthy eating approachable and genuinely tasty, with tips that support your lifestyle, not complicate it.

Olivia Bennett
Co-Founder & Content Creator
Expertise
Nutritional Analysis, Dietary Accommodations, Food Writing and Blogging,
Education
University of Texas at Austin
Institute of Culinary Education, New York, NY
Olivia Bennett is Cooking Crusade’s go-to expert for nutritious, feel-good food. Based in Austin, she blends her degree in Nutrition from the University of Texas with plant-based culinary training from the Institute of Culinary Education.
Olivia’s recipes are all about balance: vibrant, wholesome, and easy-to-love dishes that work for all kinds of eaters. Her mission is simple: to make healthy eating approachable and genuinely tasty, with tips that support your lifestyle, not complicate it.