
Festive Candy Corn Rice Krispie Treats Recipe for Sweet Snacking
Sweet meets spooky in these delightful candy corn rice krispie treats that promise to haunt your taste buds.
Halloween brings out the playful side of desserts with this festive twist on a classic favorite.
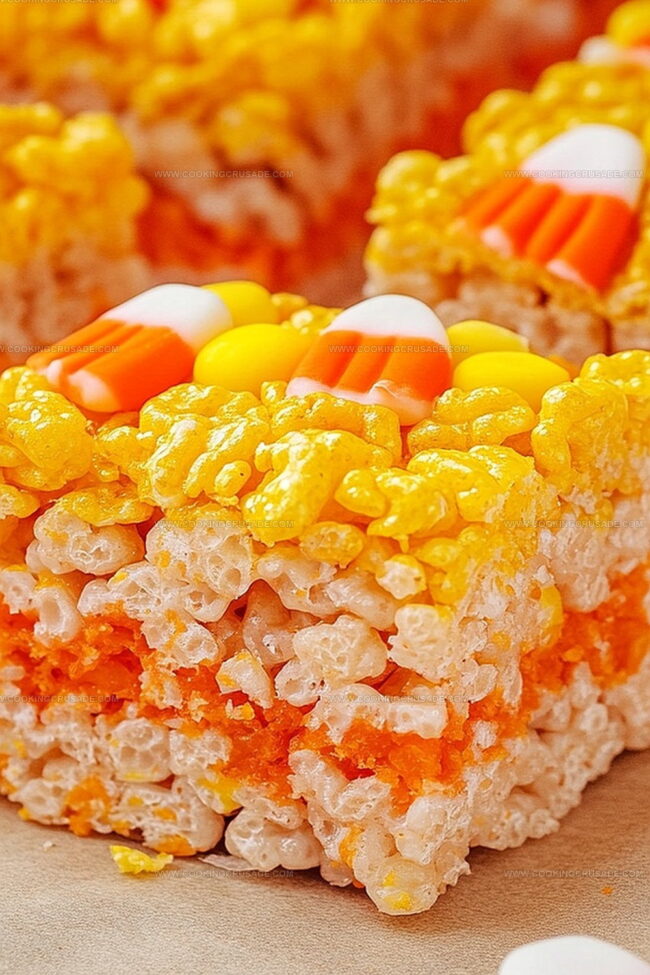
Marshmallows melt into a gooey base, creating the perfect canvas for colorful candy corn kernels.
Crispy rice cereal adds a satisfying crunch that makes every bite a textural adventure.
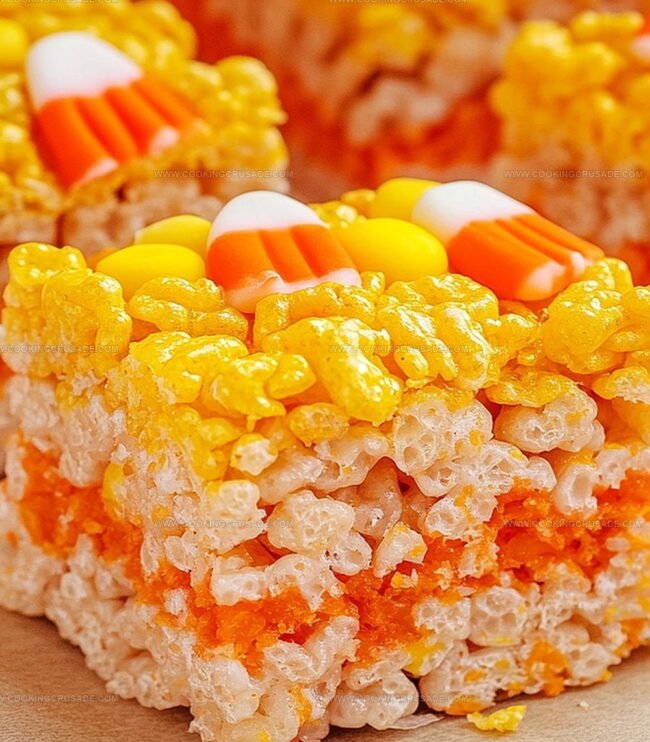
The vibrant orange and yellow hues instantly capture the spirit of the season.
Kids and adults alike will fall under the spell of these wickedly delicious treats.
These no-bake delights are sure to cast a delectable spell at any Halloween gathering.
Quick Recipe Overview
Ingredients Breakdown For Candy Corn Rice Krispie Treats
For Base and Binding:For Color and Decoration:For Optional Garnish:Tools And Supplies For Candy Corn Rice Krispie Treats
How To Make Candy Corn Rice Krispie Treats
Grab a 9×13 inch pan and coat it with a light layer of non-stick spray or butter. This prevents your treats from sticking and makes cleanup a breeze.
Melt butter in a large pot over medium heat, then toss in marshmallows. Stir until they transform into a smooth, gooey mixture. Add a splash of yellow food coloring to capture that sunny candy corn vibe. Fold in Rice Krispies cereal until everything is perfectly coated.
Quickly spread the yellow mixture into the prepared pan, using a greased spatula to press it down evenly. Let the treats chill at room temperature for about half an hour until they firm up completely.
Cut the treats into triangular shapes that mimic candy corn, or stick with classic squares if you prefer. Your delicious, festive snack is ready to devour and share with friends and family.
Helpful Ideas And Tweaks For Candy Corn Rice Krispie Treats
How To Serve Candy Corn Rice Krispie Treats With Style
Candy Corn Rice Krispie Treats Prep And Storage Tips
Print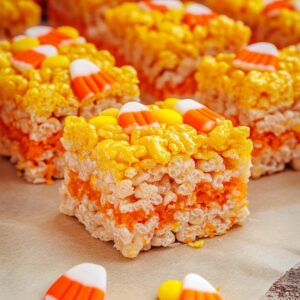
Spooky Candy Corn Rice Krispie Treats Recipe
- Total Time: 45 minutes
- Yield: 13 1x
Description
Sweet candy corn rice krispie treats combine autumn’s favorite colors in a nostalgic Halloween dessert. Marshmallow-bound crispy rice cereal and festive candy corn create a simple, delightful seasonal snack you’ll crave during fall festivities.
Ingredients
- 10 cups (400 g) mini marshmallows
- 6 cups (160 g) Rice Krispies cereal
- 6 tbsps (85 g) unsalted butter
- 1 tsp vanilla extract
- Yellow gel food coloring
- Orange gel food coloring
- 1 cup candy corn
- Non-stick spray or butter (for greasing the pan)
Instructions
- Preparation: Liberally grease a baking pan with non-stick spray or butter. Line with parchment paper for seamless removal of the treats.
- Marshmallow Fusion: In a large saucepan, gently melt butter over medium heat. Add marshmallows, stirring continuously until they transform into a silky, uniform liquid. Incorporate yellow food coloring to achieve a vibrant candy corn-inspired hue.
- Cereal Integration: Thoroughly fold Rice Krispies into the colored marshmallow mixture, ensuring each crisp kernel is completely coated with the sweet glaze.
- Molding: Transfer the warm mixture into the prepared pan. Use a lightly greased spatula to evenly distribute and compress the mixture, creating a smooth, compact layer.
- Setting: Allow the confection to rest at room temperature for 30-45 minutes, enabling complete solidification and structural stability.
- Finishing: Once cooled, slice into traditional square segments or triangular shapes mimicking candy corn design. Store in an airtight container to maintain optimal freshness and texture.
Notes
- Butter Selection: Choose unsalted butter for better control of sweetness and to prevent over-salting the treats.
- Color Precision: Use gel food coloring instead of liquid for more vibrant, intense yellow without altering mixture consistency.
- Marshmallow Melting: Stir constantly and maintain low-medium heat to prevent burning or scorching, which can create bitter undertones.
- Cooling Technique: Let treats cool completely before cutting to ensure clean, crisp edges and prevent crumbling during slicing.
- Prep Time: 15 minutes
- Cook Time: 30 minutes
- Category: Snacks, Desserts
- Method: Mixing
- Cuisine: American
Nutrition
- Serving Size: 13
- Calories: 130
- Sugar: 12 g
- Sodium: 80 mg
- Fat: 5 g
- Saturated Fat: 3 g
- Unsaturated Fat: 2 g
- Trans Fat: 0 g
- Carbohydrates: 20 g
- Fiber: 0 g
- Protein: 1 g
- Cholesterol: 15 mg
Olivia Bennett
Co-Founder & Content Creator
Expertise
Nutritional Analysis, Dietary Accommodations, Food Writing and Blogging,
Education
University of Texas at Austin
Institute of Culinary Education, New York, NY
Olivia Bennett is Cooking Crusade’s go-to expert for nutritious, feel-good food. Based in Austin, she blends her degree in Nutrition from the University of Texas with plant-based culinary training from the Institute of Culinary Education.
Olivia’s recipes are all about balance: vibrant, wholesome, and easy-to-love dishes that work for all kinds of eaters. Her mission is simple: to make healthy eating approachable and genuinely tasty, with tips that support your lifestyle, not complicate it.