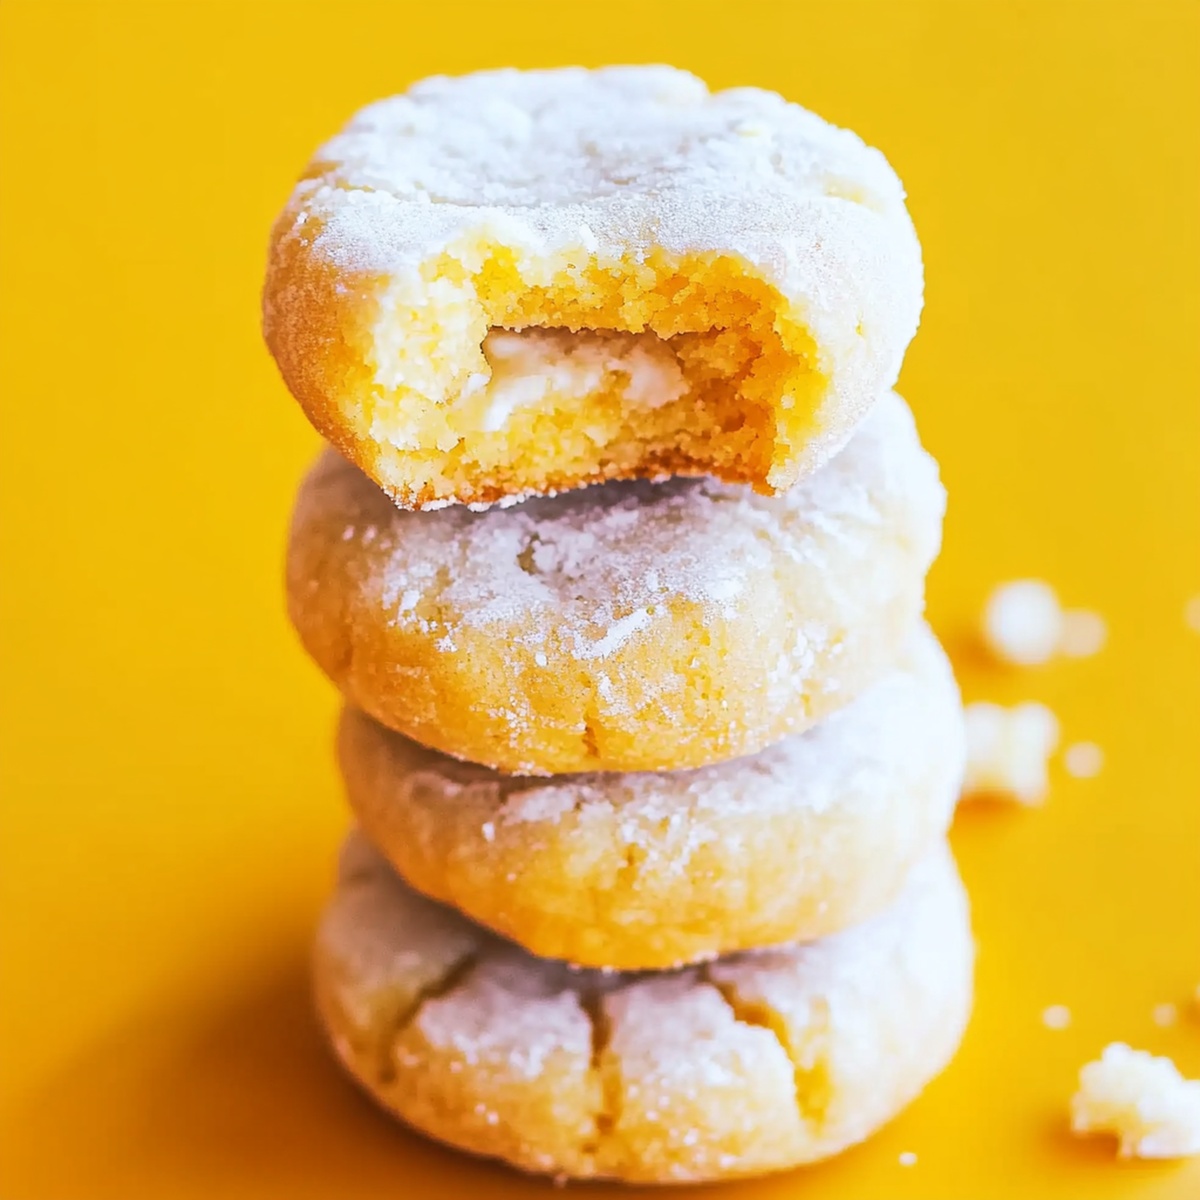
Zesty Lemon Pixie Cookies Recipe: A Bright Bite of Magic
Sweet, buttery, and bursting with zesty sunshine, these tangy lemon pixie cookies dance with bright citrus flavor in every single bite.
Powdered sugar coats each delicate morsel like a soft, snowlike dusting.
The delightful recipe brings a burst of cheerful energy to any dessert plate.
Crisp edges give way to soft, melt-in-your-mouth centers that sparkle with fresh lemon essence.
Minimal ingredients combine to create a cookie that feels both elegant and comforting.
Baking these treats fills your kitchen with an irresistible aroma that beckons everyone to the counter.
You’ll want to share these delectable morsels with friends and savor every delightful crumb.
Quick Recipe Overview
Things You Need For Lemon Pixie Cookies
For Dry Ingredients:For Wet and Binding Ingredients:For Finishing Ingredients:Tools To Use For Lemon Pixie Cookies
Steps To Bake Lemon Pixie Cookies
Warm the oven to a cozy 350F and line a baking sheet with parchment paper for easy cookie removal.
Whisk flour, baking powder, baking soda, and salt together in a bowl until perfectly blended.
Beat butter and sugar until they transform into a fluffy, cloud-like mixture that promises deliciousness.
Incorporate egg, vanilla, lemon juice, and zest into the butter mixture, stirring until everything looks smooth and bright.
Gently fold dry ingredients into wet ingredients, mixing just until combined. Pop the dough in the refrigerator for a quick 30-minute chill to help it set up perfectly.
Scoop out small balls of dough and roll them generously in powdered sugar, creating a delicate, snow-like coating.
Arrange cookies on the prepared sheet, giving them room to spread. Bake for 10-12 minutes until edges look set but centers remain soft and inviting.
Let cookies rest briefly on the baking sheet before transferring to a cooling rack, then enjoy these lemony delights!
Tips And Tweaks For Lemon Pixie Cookies
Cute Ways To Share Lemon Pixie Cookies
Storage Plans For Lemon Pixie Cookies
Print
Tangy Lemon Pixie Cookies Recipe
- Total Time: 1 hour
- Yield: 25 1x
Description
Delightful lemon pixie cookies bring zesty brightness to classic shortbread with powdered sugar coating. Crumbly, tangy treats offer perfect balance between sweet citrus notes and buttery texture for delectable dessert enjoyment.
Ingredients
- 1 ¾ cups (220 grams) all-purpose flour
- 1 cup (200 grams) granulated sugar
- ½ cup (115 grams) unsalted butter, softened
- ½ cup (60 grams) powdered sugar (for rolling)
- 1 large egg
- 2 tablespoons (30 ml) fresh lemon juice
- 1 tablespoon (15 ml) lemon zest (about 1 large lemon)
- 1 teaspoon vanilla extract
- 1 teaspoon baking powder
- ¼ teaspoon baking soda
- ¼ teaspoon salt
Instructions
- Oven Preparation: Set oven to 350F (175C) and line baking sheet with parchment paper for optimal cookie performance.
- Dry Ingredient Fusion: Whisk flour, baking powder, baking soda, and salt in a mixing bowl until uniformly blended, creating a smooth foundational mixture.
- Butter Transformation: Cream butter and granulated sugar until the mixture becomes light, fluffy, and significantly expanded, achieving a cloud-like texture.
- Moisture Infusion: Blend egg, vanilla extract, lemon juice, and lemon zest into the butter mixture, creating a silky, aromatic consistency that promises vibrant flavor.
- Dough Development: Gently fold wet and dry ingredients together until just combined. Chill the dough for 30 minutes to develop structural integrity and create signature crinkly surfaces.
- Cookie Shaping and Coating: Form tablespoon-sized dough balls, rolling each generously in powdered sugar to create a delicate, snow-white exterior that promises a melt-in-your-mouth experience.
- Baking and Finishing: Arrange sugar-coated dough balls on prepared baking sheet with ample spacing. Bake for 10-12 minutes until edges firm up while centers remain tantalizingly soft, creating the perfect textural contrast.
- Cooling Process: Rest cookies briefly on baking sheet, then transfer to a wire rack, allowing them to cool and solidify their delicate, crackled exterior.
Notes
- Chill Dough Strategically: Refrigerate the cookie dough for at least 30 minutes to prevent spreading and create a more compact, crinkly texture during baking.
- Zest with Precision: Use fresh lemon zest and avoid the bitter white pith underneath the lemon skin for a pure, bright citrus flavor in your cookies.
- Sugar Coating Technique: Roll cookies generously in powdered sugar just before baking, creating a beautiful crackled exterior that adds visual appeal and subtle sweetness.
- Temperature Control Matters: Remove cookies from the oven when edges are set but centers look slightly underbaked to guarantee a soft, tender texture that melts in your mouth.
- Prep Time: 15 minutes
- Cook Time: 15 minutes
- Category: Desserts, Snacks
- Method: Baking
- Cuisine: American
Nutrition
- Serving Size: 25
- Calories: 153
- Sugar: 10 g
- Sodium: 33 mg
- Fat: 7 g
- Saturated Fat: 4 g
- Unsaturated Fat: 2 g
- Trans Fat: 0 g
- Carbohydrates: 22 g
- Fiber: 0.3 g
- Protein: 1.6 g
- Cholesterol: 20 mg


Olivia Bennett
Co-Founder & Content Creator
Expertise
Nutritional Analysis, Dietary Accommodations, Food Writing and Blogging,
Education
University of Texas at Austin
Institute of Culinary Education, New York, NY
Olivia Bennett is Cooking Crusade’s go-to expert for nutritious, feel-good food. Based in Austin, she blends her degree in Nutrition from the University of Texas with plant-based culinary training from the Institute of Culinary Education.
Olivia’s recipes are all about balance: vibrant, wholesome, and easy-to-love dishes that work for all kinds of eaters. Her mission is simple: to make healthy eating approachable and genuinely tasty, with tips that support your lifestyle, not complicate it.