Tropical Paradise Hawaiian Pineapple Coconut Thumbprint Cookies Recipe
Sweet meets tropical in these delectable pineapple coconut thumbprint cookies that capture the essence of island flavor.
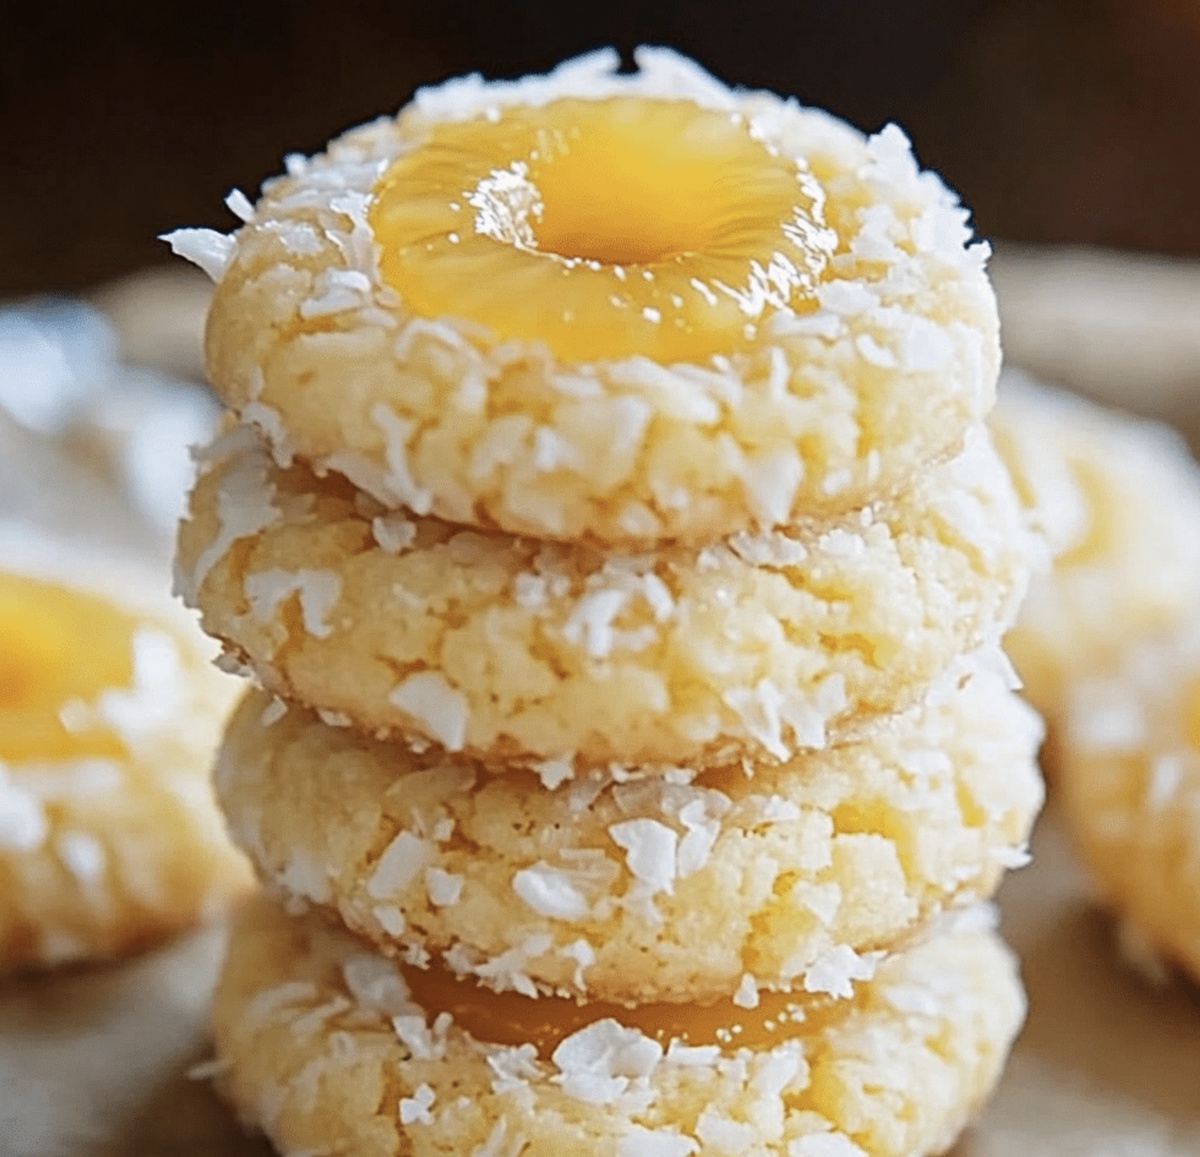
Soft, buttery cookie dough provides the perfect canvas for a burst of fruity goodness.
Crumbly edges and a golden center make these treats irresistibly tempting.
Shredded coconut adds a delightful texture that complements the rich, sweet filling.
Each bite transports you to a sun-drenched paradise with its vibrant blend of tropical ingredients.
Simple to prepare and even easier to devour, these cookies promise to become a standout dessert at any gathering.
Bake a batch and watch them disappear in moments of pure culinary bliss.
Quick Recipe Overview

Needed Items For Hawaiian Pineapple Coconut Thumbprint Cookies
For Cookie Base:For Coating and Texture:For Filling and Flavor:Gear You’ll Want For Hawaiian Pineapple Coconut Thumbprint Cookies
How To Make Hawaiian Pineapple Coconut Thumbprint Cookies

Grab your mixing bowl and blend butter with sugars until they’re cloud-like and dreamy. Toss in egg yolk and vanilla, stirring until everything hugs together nicely. Slowly fold in flour and salt, creating a soft, tender dough. Pop the mixture in the fridge for a quick 30-minute chill.
Heat your oven to a toasty 350F. Line a baking sheet with parchment paper. Roll dough into adorable little balls. Dunk each ball in whisked egg white, then roll generously in shredded coconut for a tropical jacket. Place these coconut-kissed spheres on the sheet, leaving room to breathe.
Gently press a thumb or spoon into each cookie’s heart, making a sweet little pocket. Bake for 10 minutes, then re-press the centers to deepen those lovely divots. Dollop pineapple jam into each indentation. Return to the oven for another 8-10 minutes until edges turn golden and coconut looks perfectly toasted.
Let cookies rest on the baking sheet for five minutes, then transfer to a cooling rack. Once completely cool, these tropical treats are ready to transport you to Hawaiian paradise with every delightful bite.
Tips And Variations For Hawaiian Pineapple Coconut Thumbprint Cookies
How To Serve Hawaiian Pineapple Coconut Thumbprint Cookies
How To Store Hawaiian Pineapple Coconut Thumbprint Cookies
Print
Tropical Pineapple Coconut Thumbprint Cookies Recipe
- Total Time: 1 hour 15 minutes
- Yield: 25 1x
Description
Delightful Hawaiian pineapple coconut thumbprint cookies blend tropical flavors in a sweet treat. Buttery shortbread nestles tangy pineapple jam, inviting bakers to savor island-inspired comfort with each delectable bite.
Ingredients
- 2 cups (480 ml) all-purpose flour
- 1 cup (226 g) unsalted butter (softened)
- 1 cup (80 g) sweetened shredded coconut
- ½ cup (100 g) granulated sugar
- ¼ cup (55 g) light brown sugar (packed)
- ½ cup pineapple jam (store-bought or homemade)
- 1 large egg yolk
- 1 tsp vanilla extract
- ¼ tsp salt
- 1 tsp lime juice (optional, for extra zing)
Instructions
- Dough Preparation: Cream butter with granulated and brown sugars until light and fluffy. Incorporate egg yolk and vanilla extract, mixing until uniformly combined.
- Dough Development: Fold in flour and salt, creating a cohesive dough. Refrigerate for 30 minutes to enhance flavor and stabilize texture.
- Preheating and Shaping: Warm oven to 350F (175C) and line baking sheet with parchment. Form dough into uniform tablespoon-sized spheres.
- Coating Process: Dip each dough ball into egg white, then roll generously in shredded coconut to create a crisp, textured exterior.
- Initial Baking: Arrange coconut-coated spheres on baking sheet with ample spacing. Create a central indentation using thumb or utensil.
- Jam Filling: Bake for 10 minutes, briefly remove to reinforce indentations, then carefully place a dollop of pineapple jam in each cookie’s center.
- Final Baking and Cooling: Return to oven for 8-10 minutes until edges turn golden and coconut reaches a toasted perfection. Transfer to cooling rack, allowing cookies to set and develop full flavor profile.
Notes
- Manage Coconut Coating: Ensure coconut is evenly distributed and gently pressed into cookie dough for consistent texture and complete coverage.
- Chill Dough Strategically: Refrigerating dough prevents spreading and helps cookies maintain perfect shape during baking, creating more structured results.
- Control Jam Application: Add pineapple jam sparingly to prevent overflow and maintain clean, attractive cookie appearance during final baking stage.
- Temperature Precision: Use room temperature ingredients for smoother mixing and consistent cookie texture, particularly with butter and egg components.
- Prep Time: 20 minutes
- Cook Time: 25 minutes
- Category: Desserts, Snacks
- Method: Baking
- Cuisine: Hawaiian
Nutrition
- Serving Size: 25
- Calories: 145
- Sugar: 8 g
- Sodium: 60 mg
- Fat: 9 g
- Saturated Fat: 5 g
- Unsaturated Fat: 4 g
- Trans Fat: 0 g
- Carbohydrates: 16 g
- Fiber: 1 g
- Protein: 1 g
- Cholesterol: 26 mg
Olivia Bennett
Co-Founder & Content Creator
Expertise
Nutritional Analysis, Dietary Accommodations, Food Writing and Blogging,
Education
University of Texas at Austin
Institute of Culinary Education, New York, NY
Olivia Bennett is Cooking Crusade’s go-to expert for nutritious, feel-good food. Based in Austin, she blends her degree in Nutrition from the University of Texas with plant-based culinary training from the Institute of Culinary Education.
Olivia’s recipes are all about balance: vibrant, wholesome, and easy-to-love dishes that work for all kinds of eaters. Her mission is simple: to make healthy eating approachable and genuinely tasty, with tips that support your lifestyle, not complicate it.