Dreamy Valentine’s Day Red Velvet Cake Balls Recipe
These decadent valentines day red velvet cake balls sparkle with romantic charm and sweet intentions.
My kitchen often becomes a playground of culinary creativity during special occasions.
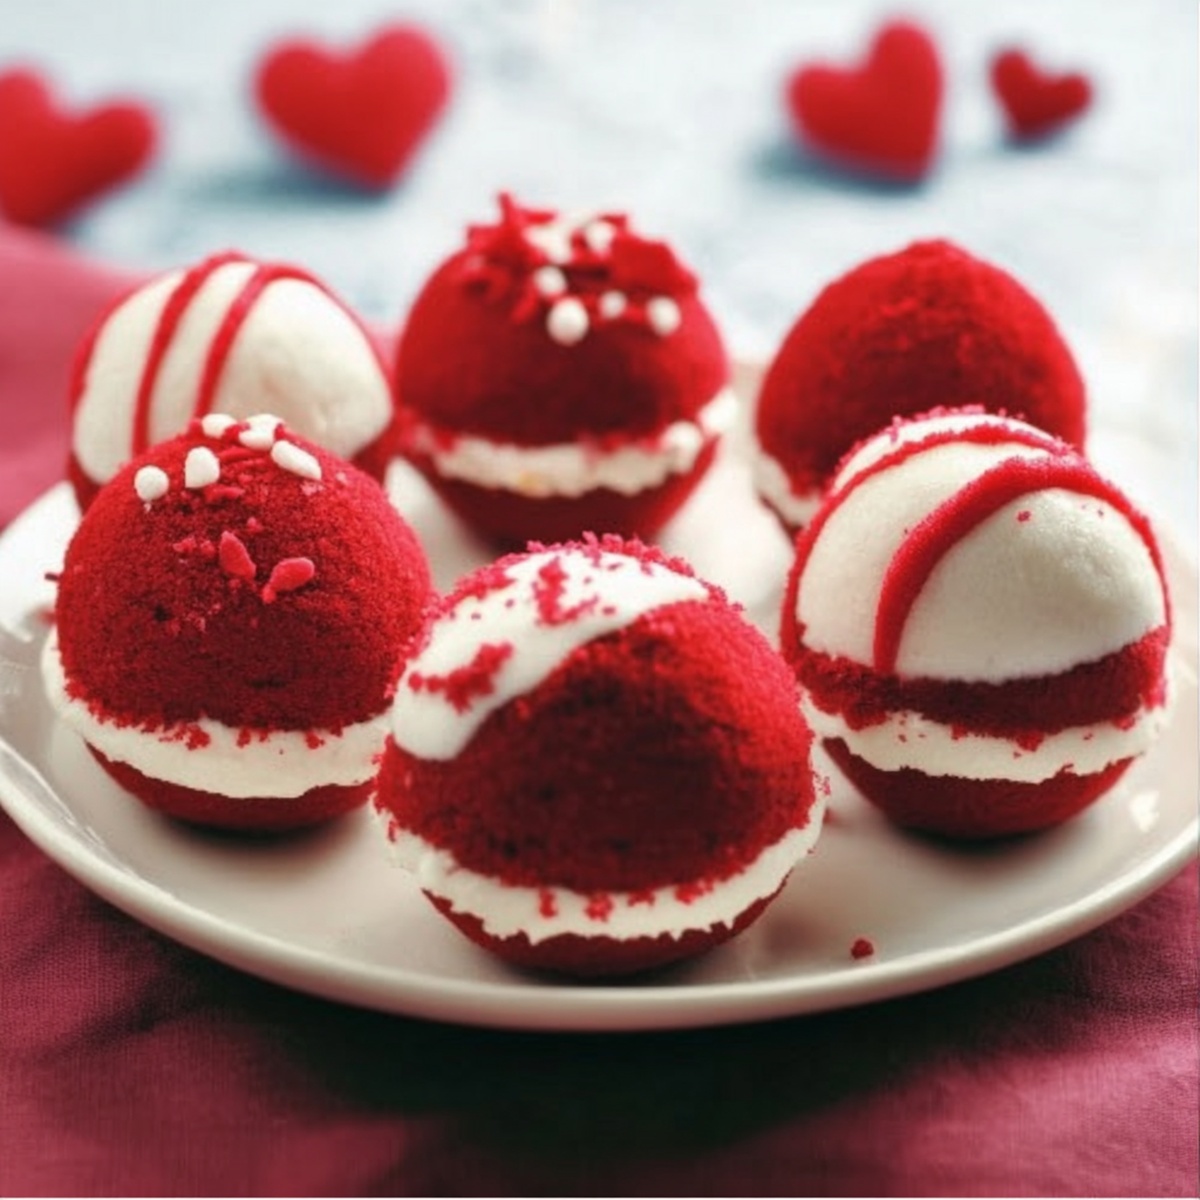
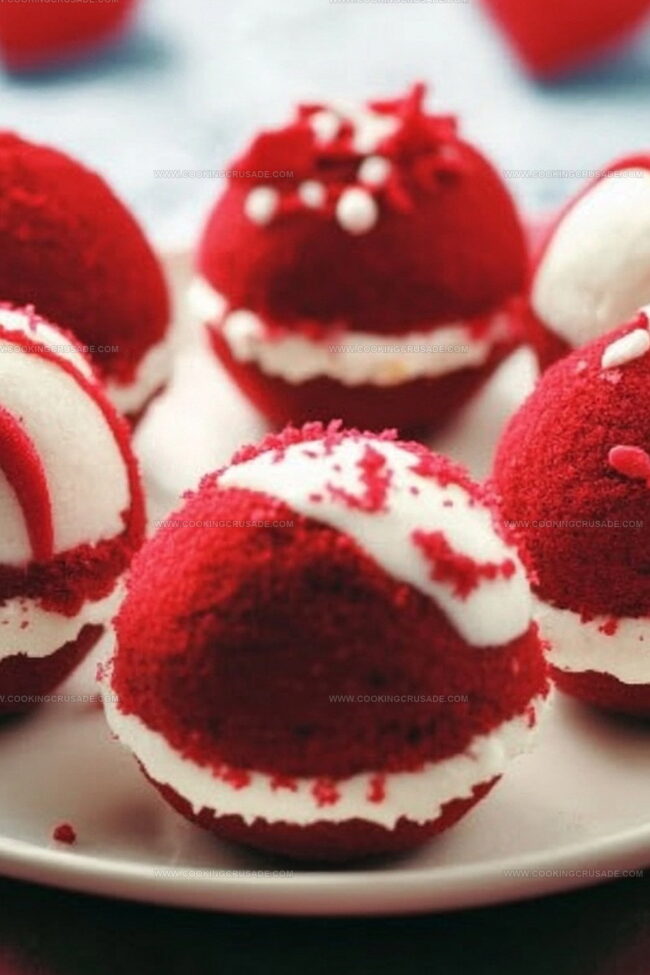
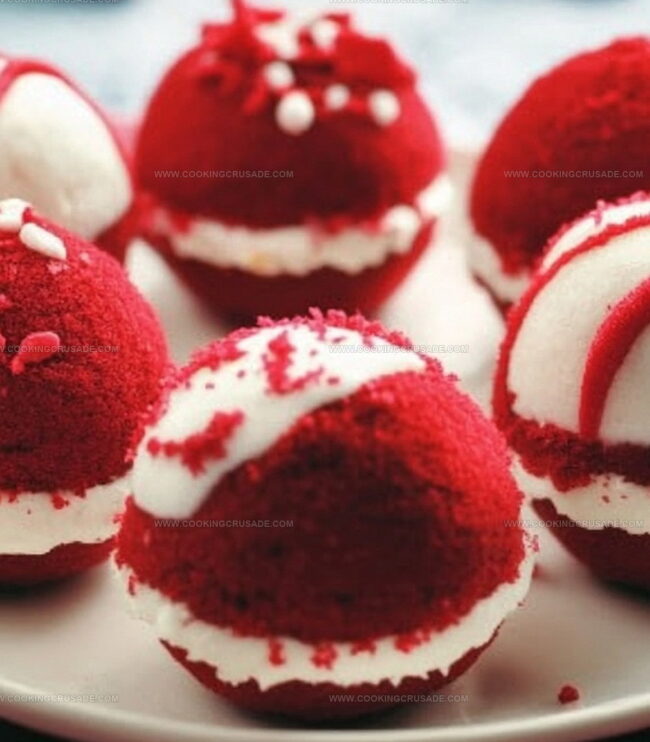
Delicate crimson spheres dotted with white chocolate drizzles catch everyone’s attention instantly.
Crafting these bite-sized delights requires minimal effort but promises maximum delight.
Chocolate lovers and baking enthusiasts appreciate how simple ingredients combine into something magical.
Each little sphere represents a perfect balance of rich flavor and elegant presentation.
Trust me, nobody can resist these irresistible morsels that scream love and indulgence.
Grab a mixing bowl and let’s create something wonderfully memorable together.
Why Valentines Day Red Velvet Cake Balls Are Sweet And Festive
Everything Needed For Valentines Day Red Velvet Cake Balls
Cake Base:Cream Cheese Mixture:Coating and Decoration:Steps To Make Valentines Day Red Velvet Cake Balls
Step 1: Whip Up the Cake Base
Grab a red velvet cake mix and follow the package directions. Bake the cake in a 9×13 inch pan. Once done, let the cake cool completely on a wire rack. Gently crumble the entire cake into fine, delicate crumbs in a spacious mixing bowl.
Step 2: Create Creamy Cake Ball Mixture
In a separate bowl, grab these ingredients:Beat the ingredients together until they transform into a silky, smooth mixture. Pour this creamy goodness into the crumbled cake and mix thoroughly. Use your hands or a spatula to combine until the mixture holds together like a soft, pliable dough.
Step 3: Shape and Chill the Balls
Roll the mixture into bite-sized spheres, each about the size of a golf ball. Arrange these delightful orbs on a parchment-lined baking sheet. Slide the tray into the refrigerator and let them chill for 45 minutes. This helps the balls firm up and makes coating easier.
Step 4: Chocolate Coating Magic
Prepare the chocolate coating ingredients:Melt the white chocolate in the microwave, stirring every 30 seconds to prevent burning. If the chocolate seems too thick, stir in a touch of coconut oil to create a smooth, glossy finish.
Using a fork or dipping tool, carefully submerge each cake ball into the melted chocolate. Tap gently to remove excess coating. Place back on the parchment paper.
Quickly sprinkle festive Valentine’s Day decorations before the chocolate sets.
Step 5: Final Touches and Serving
Allow the chocolate-covered cake balls to set at room temperature for about 15 minutes. For a quicker setup, pop them in the refrigerator for 10 minutes. These adorable treats are now ready to charm your Valentine!
Store in an airtight container in the refrigerator for up to 5 days. Bring to room temperature before serving for the best flavor and texture.
Tips For Valentines Day Red Velvet Cake Balls Success
Storage Guide For Valentines Day Red Velvet Cake Balls
Perfect Pairings For Valentines Day Red Velvet Cake Balls
Fun Ways To Switch Up Valentines Day Red Velvet Cake Balls
Questions About Valentines Day Red Velvet Cake Balls
Red velvet cake balls capture the romantic spirit with their beautiful red color and sweet cream cheese flavor. They’re perfect for sharing with someone you love and add a festive touch to your Valentine’s celebration.
Absolutely! You can prepare the cake balls up to 3 days in advance. Store them in an airtight container in the refrigerator, and they’ll stay fresh and delicious. This makes them a convenient and stress-free dessert for Valentine’s Day.
Not at all! You’ll only need basic kitchen tools like a mixing bowl, baking sheet, and fork or toothpick for dipping. A parchment-lined baking sheet helps with easy cleanup and prevents sticking.
To achieve a smooth coating, melt the white chocolate slowly and stir frequently. Adding a tablespoon of coconut oil or shortening helps create a glossy, even finish. Use a fork or toothpick to dip and tap off excess chocolate for a professional look.
Print
Valentines Day Red Velvet Cake Balls Recipe
- Total Time: 50 minutes
- Yield: 24 1x
Description
Romantic red velvet cake balls dance with passion, celebrating love’s sweet embrace. Chocolate-dipped and sprinkled with charm, these bite-sized delights will make hearts flutter and spark joy for any Valentine’s Day celebration.
Ingredients
Cake Base:
- 1 box red velvet cake mix
- Ingredients needed to bake cake mix
Filling and Coating:
- 1 (8 ounces / 226 grams) package cream cheese (softened)
- ½ cup powdered sugar
- ½ teaspoon vanilla extract
- 12 ounces (340 grams) white chocolate or candy melts (melted)
- 1 tablespoon coconut oil or vegetable shortening (optional, for smoother coating)
Decoration:
- Valentines Day sprinkles
Instructions
- Create a vibrant red velvet cake following the package guidelines, ensuring an even, rich color and tender crumb.
- Once the cake has completely cooled, delicately crumble it into fine, uniform particles within a spacious mixing vessel.
- In a separate mixing bowl, whip cream cheese, powdered sugar, and vanilla extract until the mixture achieves a silky, homogeneous texture.
- Gently fold the cream cheese mixture into the cake crumbs, blending thoroughly until the combination forms a malleable, cohesive dough.
- Using gentle pressure, shape the mixture into compact, uniform spheres approximately one inch in diameter, positioning each carefully on a parchment-lined tray.
- Chill the formed spheres in the refrigerator for 45 minutes, allowing them to firm and maintain their structured shape.
- Melt white chocolate in a microwave-safe container, heating in brief intervals and stirring between each to prevent scorching.
- Incorporate coconut oil or shortening into the melted chocolate to enhance its glossy, smooth consistency.
- Delicately immerse each cake sphere into the molten chocolate, utilizing a fork or specialized dipping tool to ensure even coverage.
- Allow excess chocolate to gracefully drip off before transferring the coated spheres back to the parchment-lined surface.
- While the chocolate remains liquid, quickly adorn with romantic Valentine’s themed sprinkles for a festive touch.
- Allow the decorated cake balls to set at ambient temperature for approximately 15 minutes, or expedite the process by briefly chilling in the refrigerator.
- Arrange on a decorative platter and present these delectable, love-inspired confections.
Notes
- Make cake balls ahead of time to reduce day-of stress and allow flavors to meld perfectly.
- Ensure cake is completely cool before crumbling to prevent mixture from becoming too wet or sticky.
- Use room temperature cream cheese for smoother, lump-free cake ball mixture that blends easily.
- Control chocolate coating thickness by tapping fork gently to remove excess before placing on parchment paper.
- Opt for gluten-free cake mix and check cream cheese ingredients for gluten-sensitive guests.
- Add food-safe red food coloring to white chocolate for extra Valentine’s Day romantic touch.
- Store cake balls in airtight container in refrigerator for up to 5 days, maintaining texture and freshness.
- Experiment with different chocolate coatings like dark or milk chocolate for varied flavor profiles.
- Use silicone baking mat instead of parchment paper for easier cake ball removal and cleanup.
- Choose organic ingredients for a cleaner, healthier dessert that doesn’t compromise on deliciousness.
- Prep Time: 20 minutes
- Cook Time: 30 minutes
- Category: Desserts, Snacks
- Method: Baking
- Cuisine: American
Nutrition
- Serving Size: 24
- Calories: 150
- Sugar: 10 g
- Sodium: 180 mg
- Fat: 7 g
- Saturated Fat: 4 g
- Unsaturated Fat: 2 g
- Trans Fat: 0 g
- Carbohydrates: 20 g
- Fiber: 1 g
- Protein: 2 g
- Cholesterol: 15 mg
James Mitchell
Founder & Recipe Developer
Expertise
Recipe Creation and Testing, Fusion Cuisine, Food Styling and Photography, Culinary Education
Education
Kendall College, Chicago, IL
The Culinary Institute of America, Hyde Park, NY
James Mitchell is the founder and fearless flavor explorer at Cooking Crusade. With a degree in Culinary Arts from Kendall College and advanced training in global gastronomy from The Culinary Institute of America, James has spent over a decade perfecting the art of recipe creation.
His background includes fine dining, private cheffing, and food styling, but his true joy comes from turning big ideas into doable recipes for home cooks. Every dish he shares is a mix of creativity, culture, and a little kitchen magic, built to bring excitement back to everyday meals.